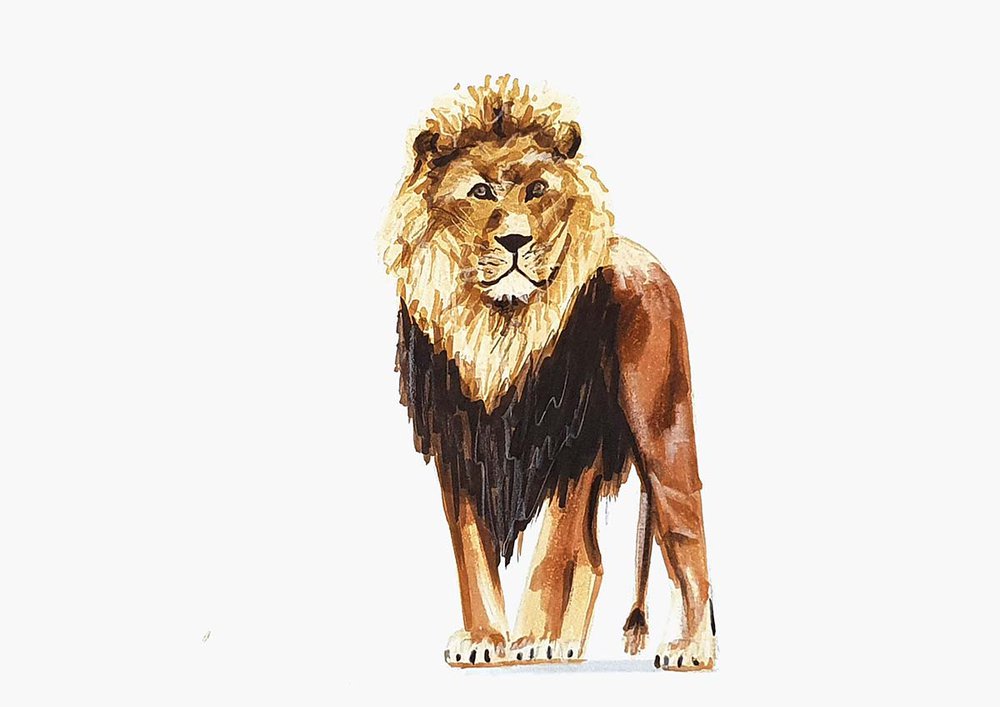
How To Draw A Lion Step By Step (Easy Tutorial For Beginners)
Want to learn how to draw a lion that’s both simple and a little realistic?
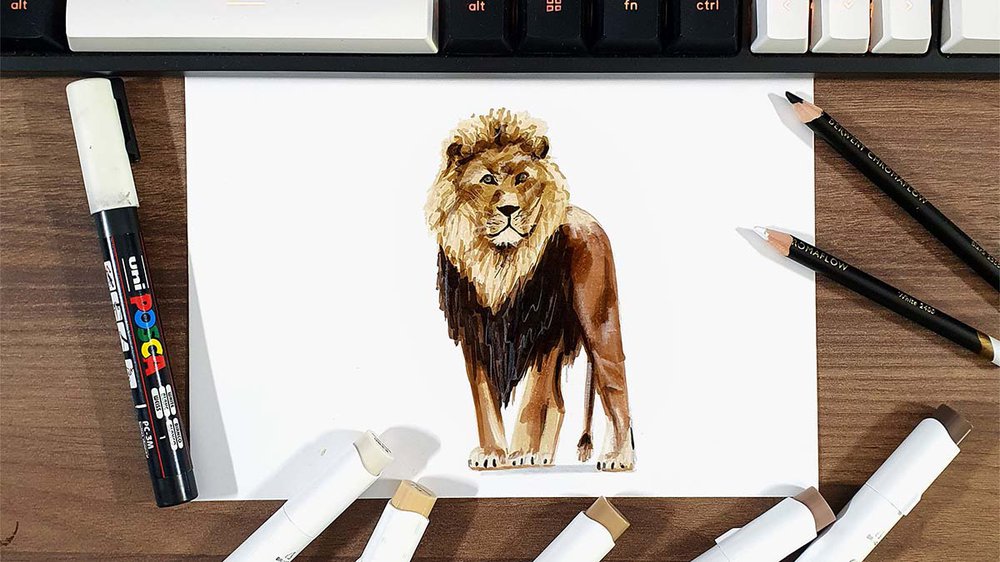
In this easy step-by-step tutorial, I’ll show you exactly how I drew this lion using alcohol markers and a few colored pencil details.
We’ll go from a basic circle to a full lion with shading, texture, and a fluffy mane.
Whether you're a beginner or just looking for a fun animal drawing idea, this guide will help you bring your lion to life — no fancy skills required!
Disclaimer: In the name of full transparency, please be aware that this blog post contains affiliate links and any purchases made through such links will result in a small commission for me (at no extra cost for you).
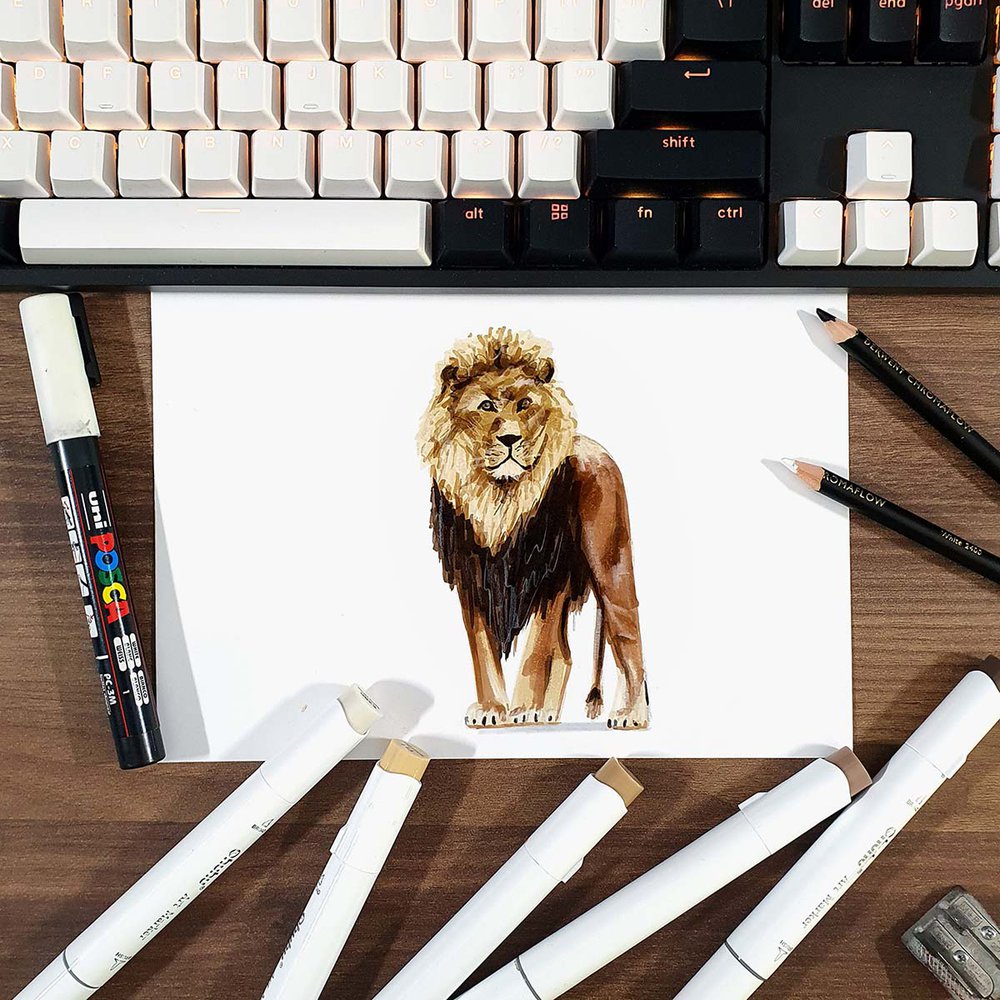
Drawing Materials I Used To Make This Lion Drawing
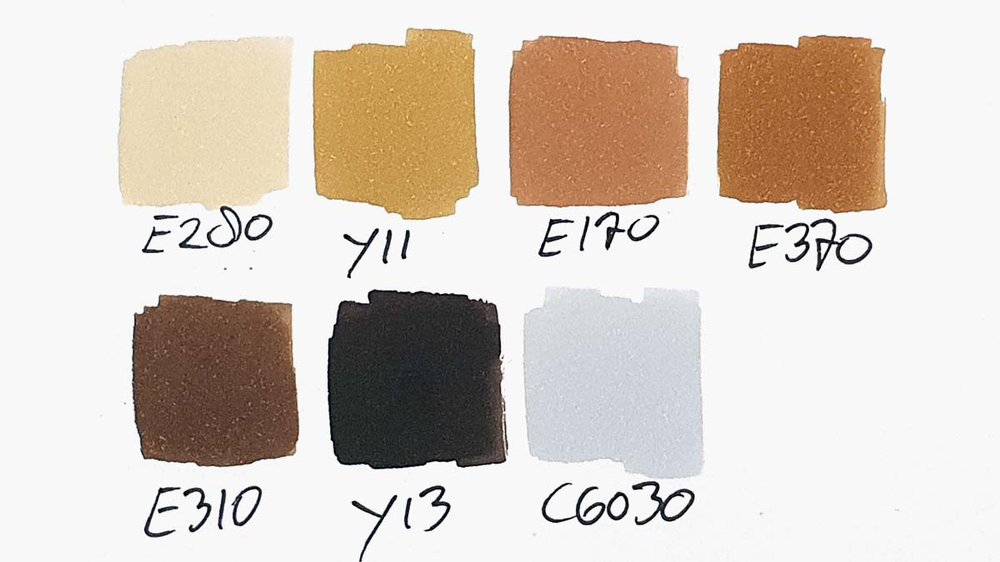
To make this drawing, I used Ohuhu Honolulu markers in the colors Sand White (E280), Brown Grey (Y11), Caribe Cocoa (E170), Light Walnut (E370), Dark Brown (E310), Chestnut Brown (Y13), and Neutral Grey 03 (CG030).
I also used some Derwent Chromaflow colored pencils to add details. I used the White 2400 and Black 2300.
And I used an HB pencil and an eraser.
I made this drawing using Canson Illustration Manga Paper.
How Do You Draw A Lion?
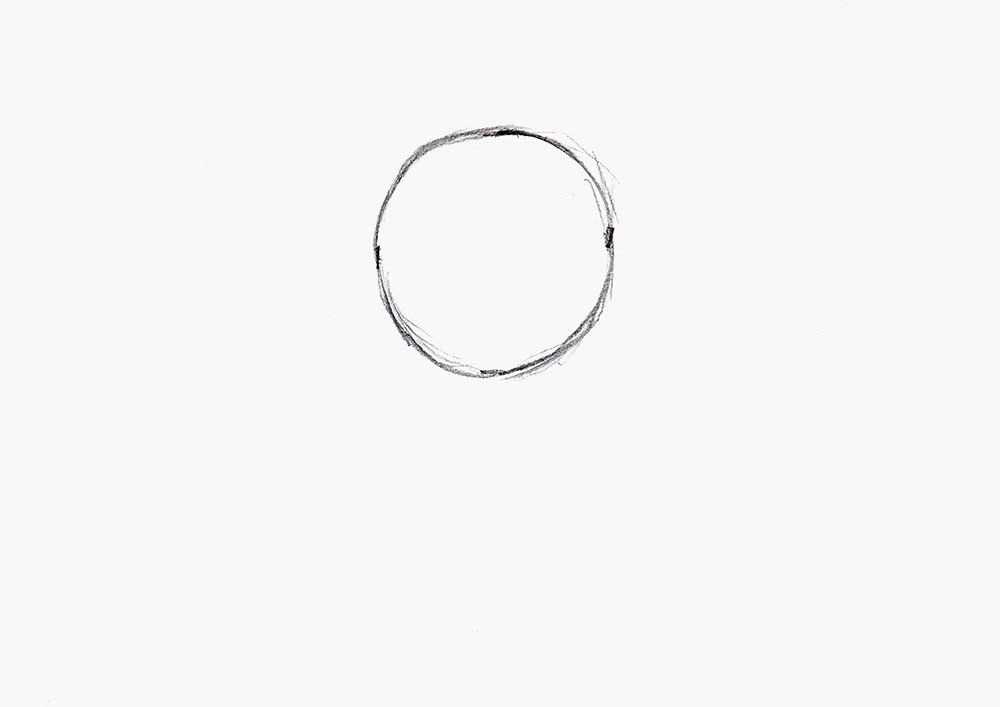
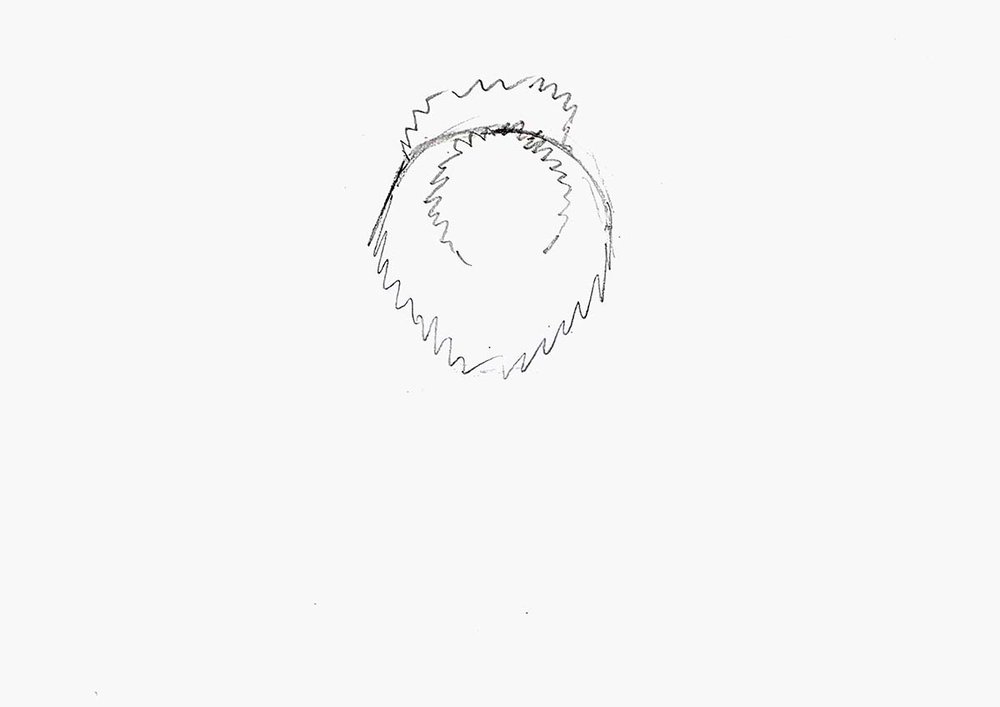
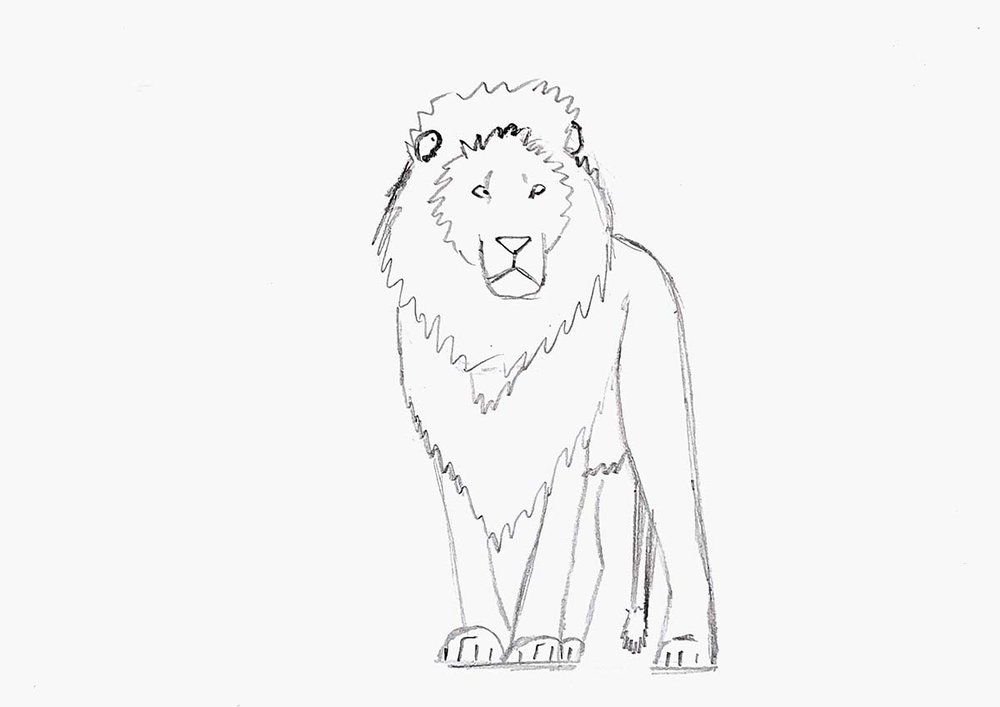
Step 1: Sketch A Circle
To draw a lion, I first sketched a circle right above the center of my paper.
This will become its head.
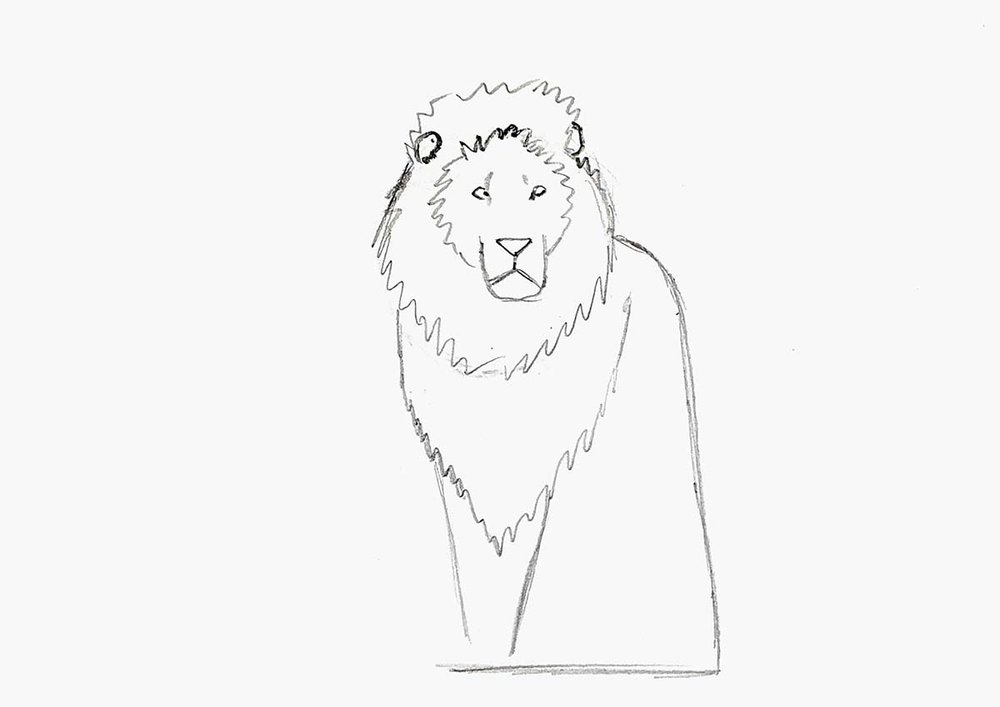
Step 2: Sketch The Lion's Mane
Next, I erased the bottom half of the circle and replaced it with a squiggly line representing the first bit of the lion's mane.
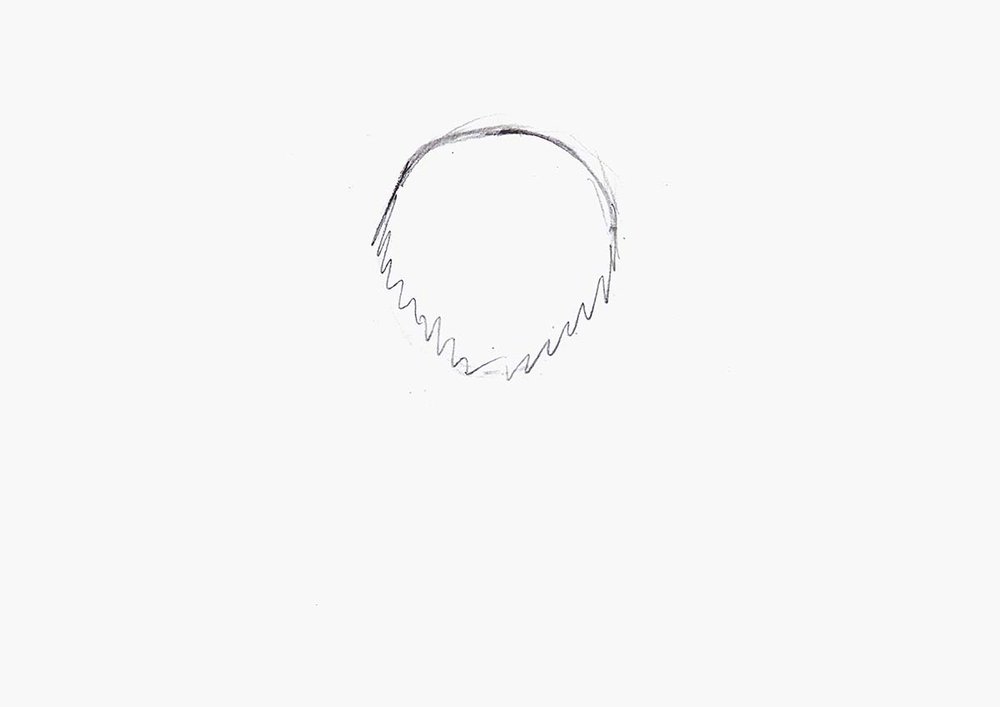
After that, I added some more mane outlines. 1 around the face of the lion, and 1 on top of its head.
Step 3: Sketch The Nose, Mouth, Ears, And Eyes Of The Lion
Then, I added the snout, which looks like a more squared-off U-shape, the ears, which are hiding in the mane, and the nose bridge.
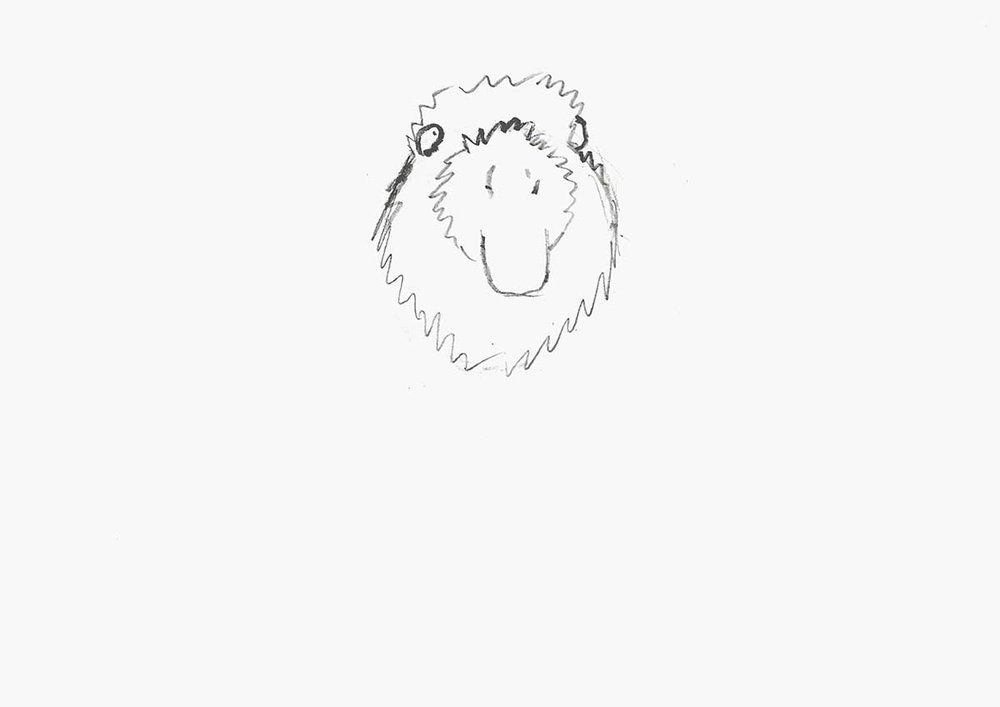
After that, I added the eyes, which are a little more round than human eyes, the triangular nose, and the Mercedes logo mouth.
And that's the lion's face already done.
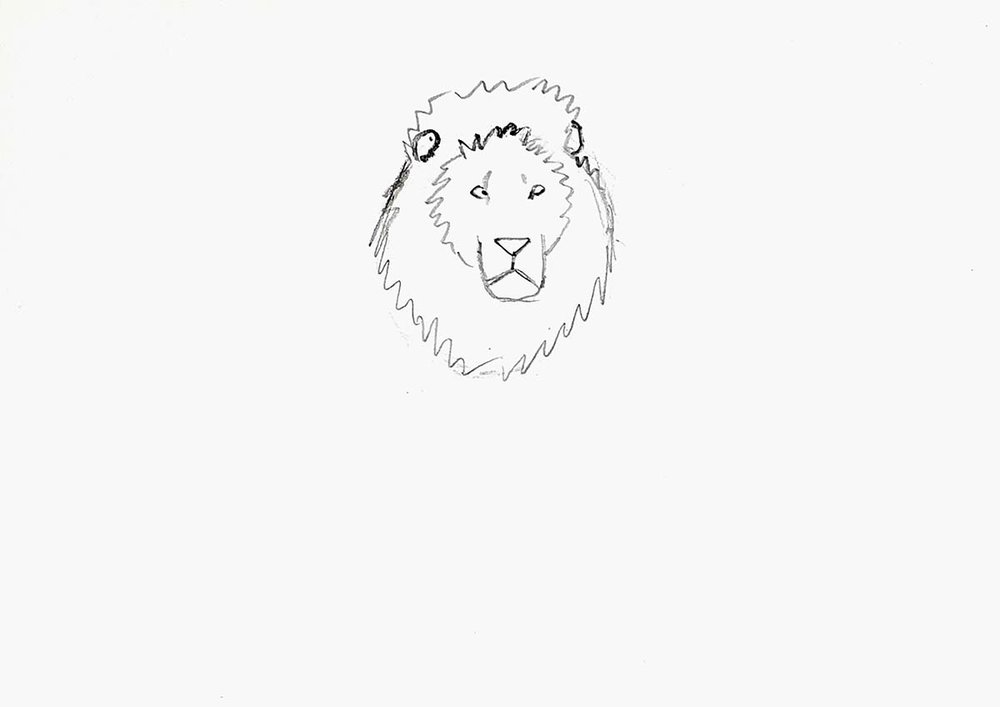
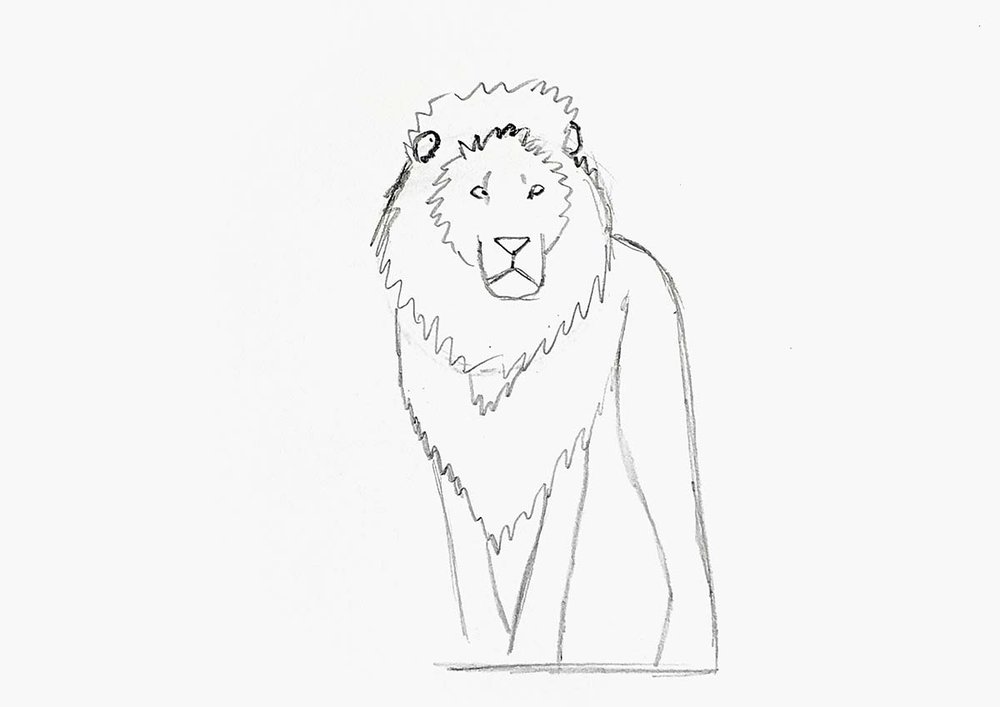
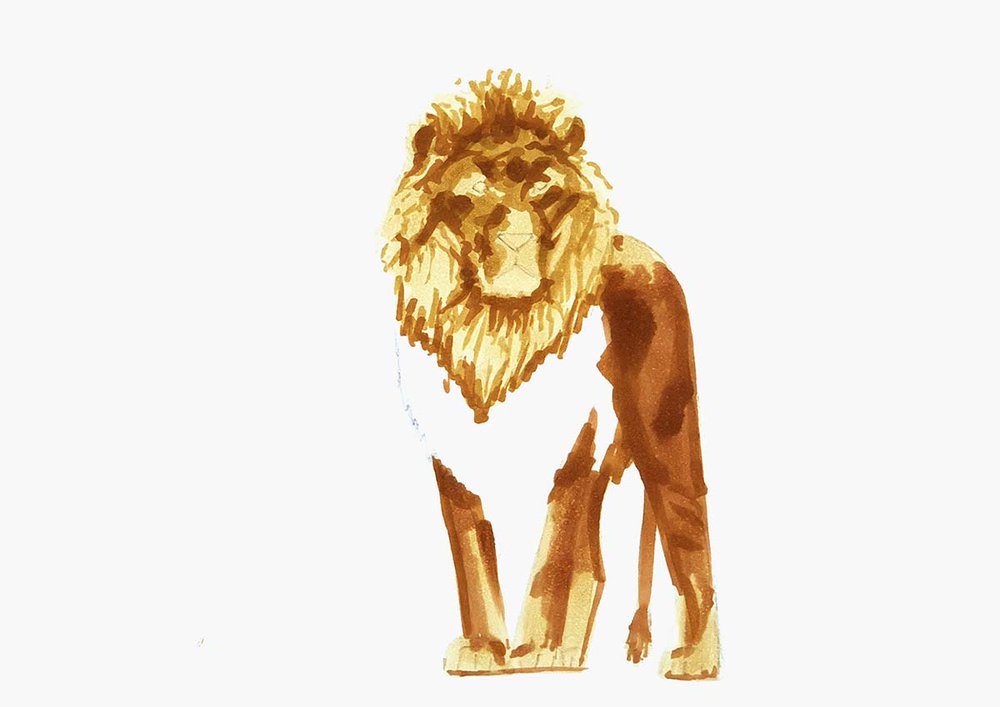
Step 4: Sketch The Legs And More Of The Mane Of The Lion
Next up, I sketched the beard part of the lion's mane and added an upside-down hockey stick shape to the left of its head.
After that, I added a base line where the bottom of his paws line up.
I also added 2 lines below the beard mane that are slightly diagonal.
Then, I added a line next to both of the diagonal lines we just sketched, and I drew an elongated S-shaped line to the left of the back leg.
Next, I sketched the other back leg and the fur on its belly.
I also sketched the top edges of the lion's paws and erased the base line.
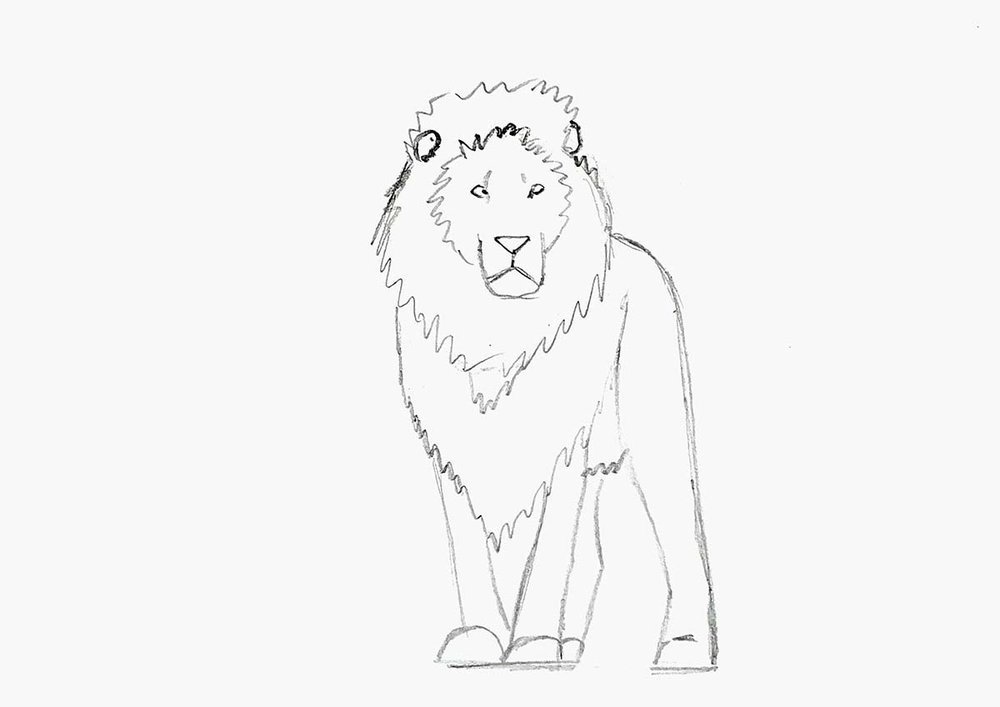
To finish off the legs, I added a line to separate the toes of the lion.
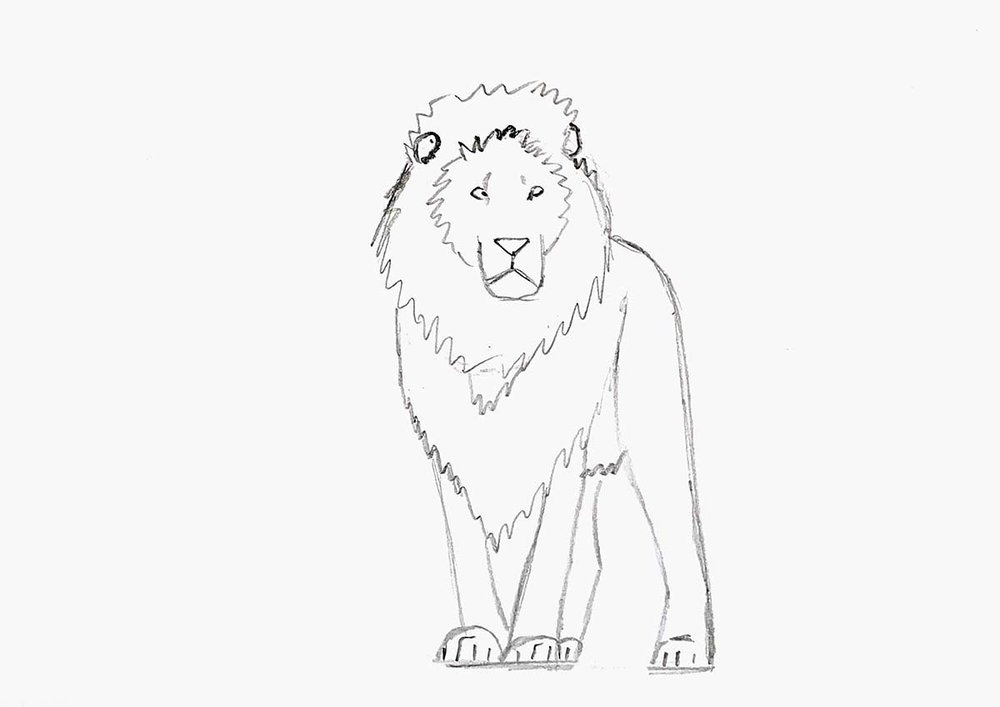
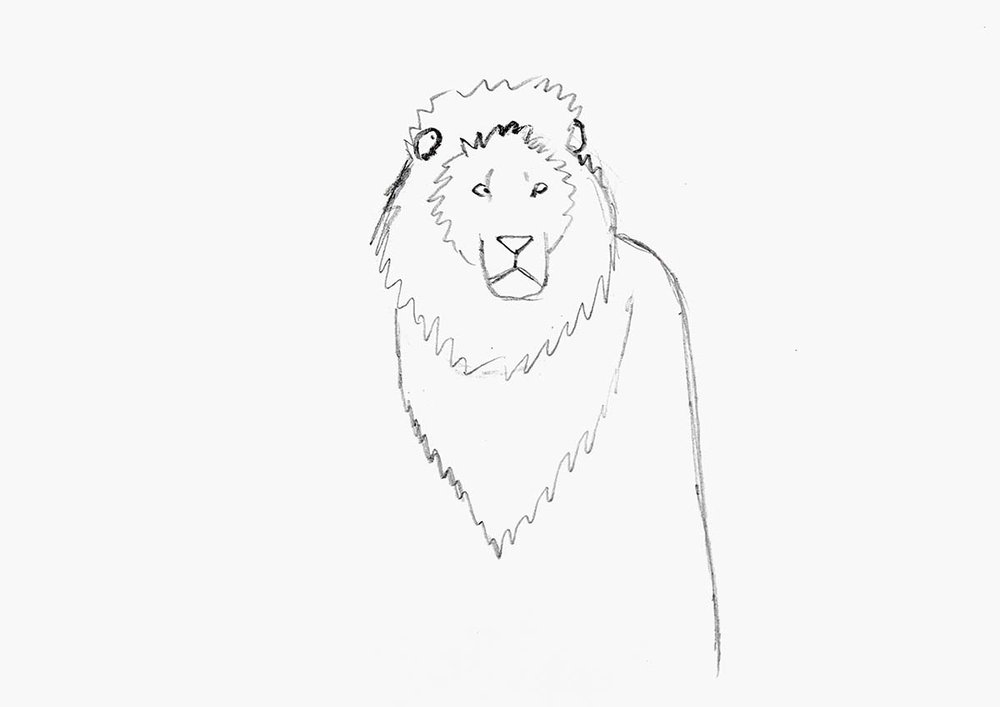
Step 5: Sketch The Tail Of The Lion
And to complete the sketch, I drew the tail of the lion.
It's just 2 parallel lines with a fluffy part on the end.
Step 6: Color The Lion With Markers
With the sketch all done, we can start coloring it.
To color the lion, I used my favorite markers: Ohuhu Honolulu markers.
I like to start off with the light colors and work my way to the darker ones.
I first lightened the whole sketch, and then I colored the whole lion with Sand White (E280) except for its beard mane.
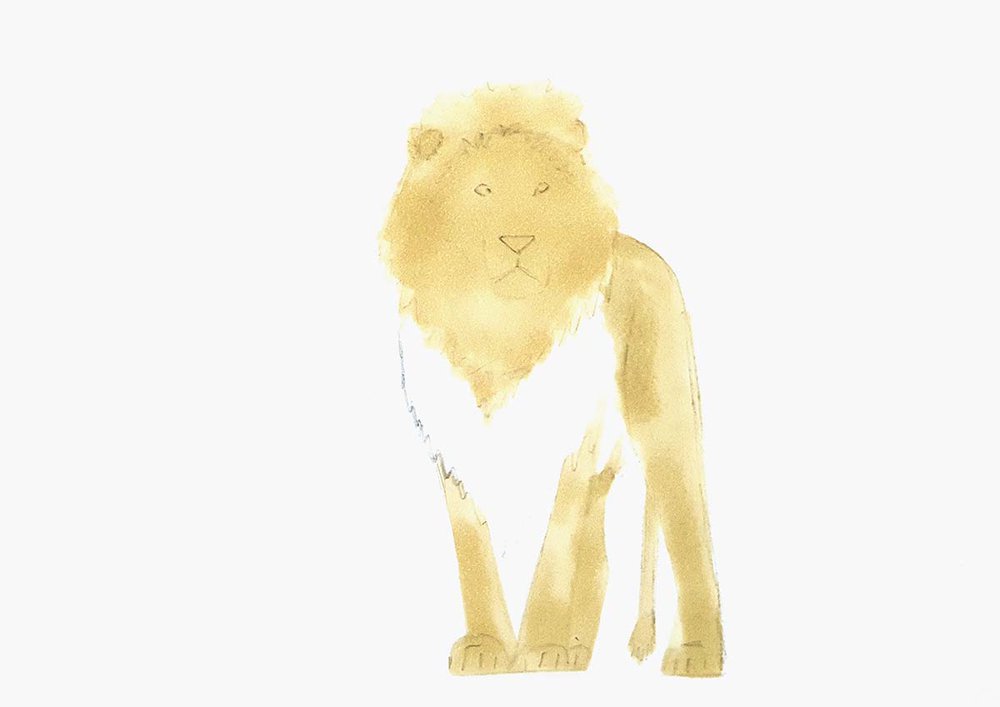
After that, I used Brown Grey (Y11) to add shading to the head and the mane around its head.
To shade the mane, I used longer lines.
For the rest of the lion's body, I used Caribe Cocoa (E170) for the shading.
Next, I used Light Walnut (E370) to add more shading to the lion's head and body.
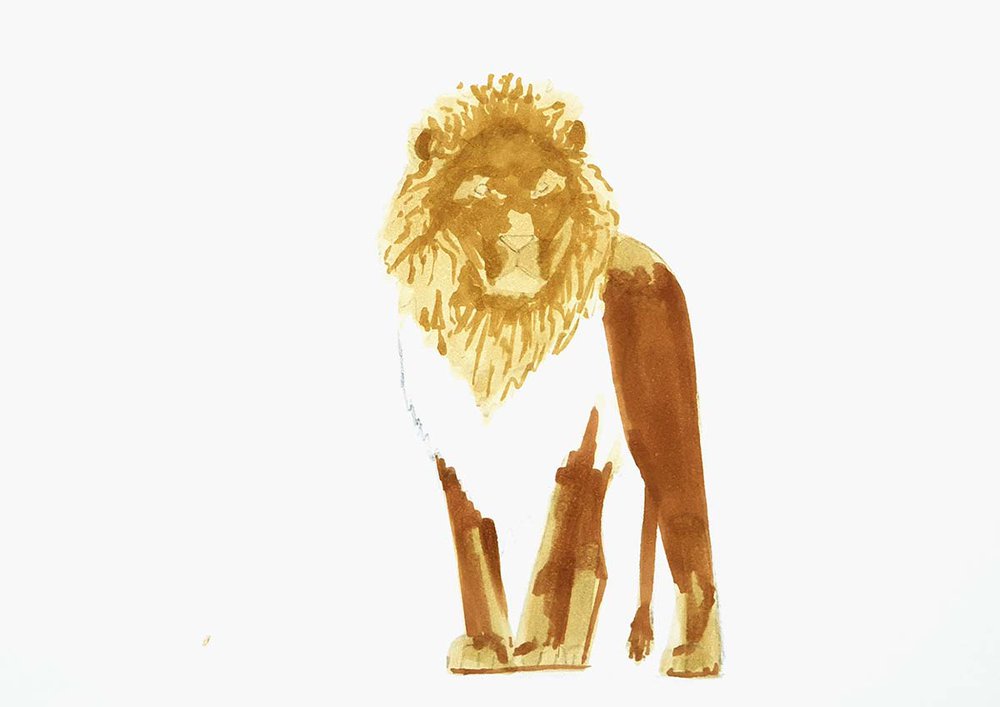
After that, I colored its eyes with Brown Grey (Y11) and outlined them with Dark Brown (E310).
I also used Dark Brown (E310) to add even more shading to the head and body, especially the nose, mouth, mane of its head, ears, belly, and fluffy tail.
In this step, I also colored the beard mane of the lion using Dark Brown (E310).
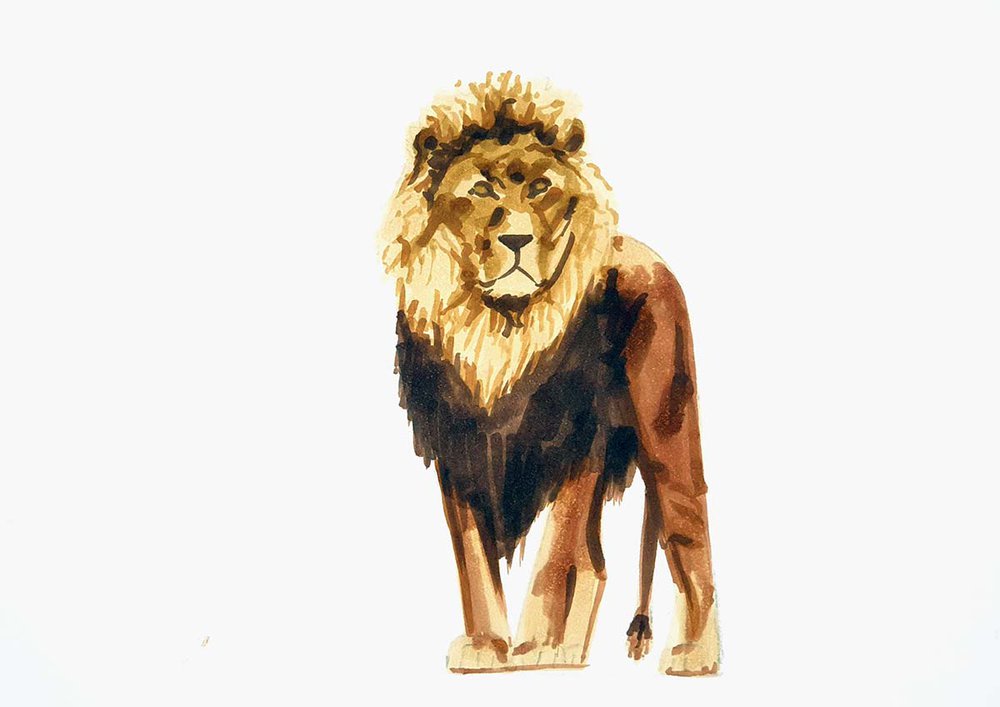
Lastly, I used Chestnut Brown (Y13) to color in the beard with long strokes, darkened the nose and mouth lines, and added more shading to the ears, eyes, tail, and belly of the lion.
I also colored the shadow below the lion with Neutral Grey 03 (CG030).
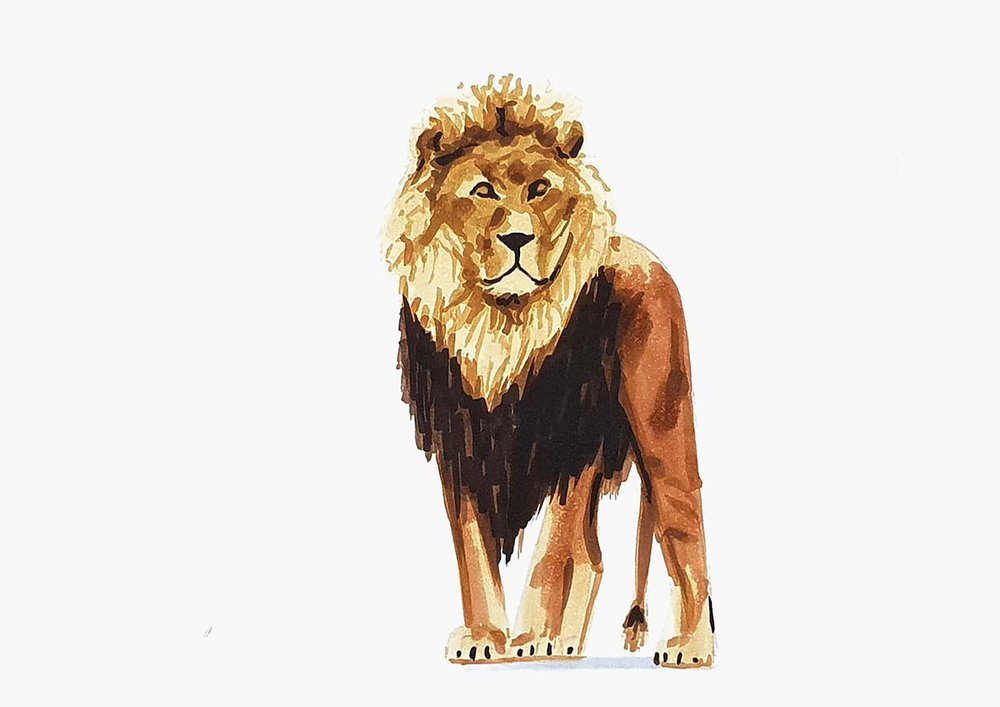
Step 7: Add Some Details With Colored Pencils
To add a little bit more details to the lion's face and the texture to the fur and mane, I used the white and black Derwent Chromaflow colored pencils.
I used the white pencil to add some streaks on its beard mane, and some short squiggly lines on the lighter parts of the fur.
I also used the white pencil to lightly add the whiskers.
And I used the black pencil to add a few darker spots, like below the chin, in the mane on its head, the beard mane, and the starting points of the whiskers.
Now the lion drawing is all done!
And that's exactly how I drew this lion.
I hope you enjoyed this simple and kind of realistic step by step lion drawing tutorial, as much as I enjoyed making it!
Thank you!
Tags
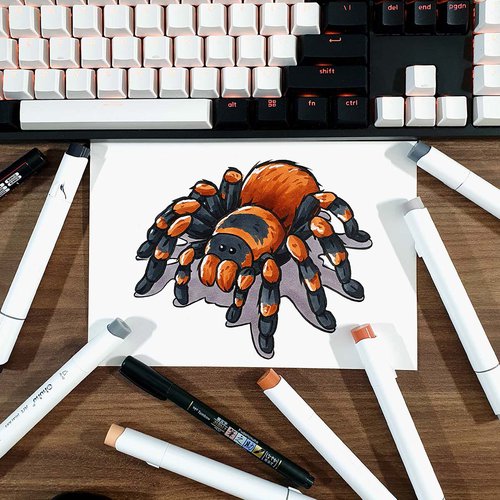
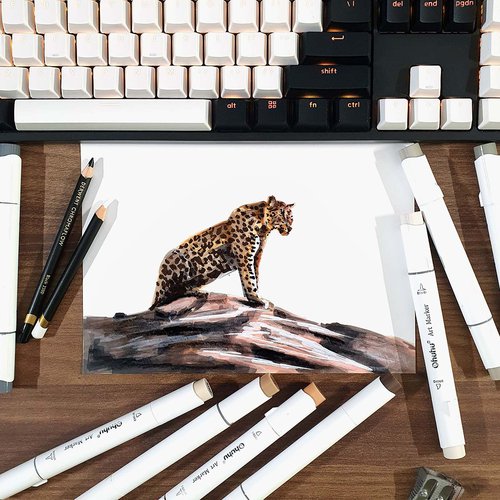
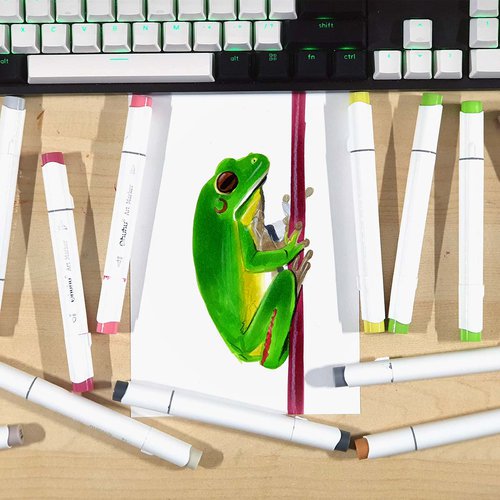
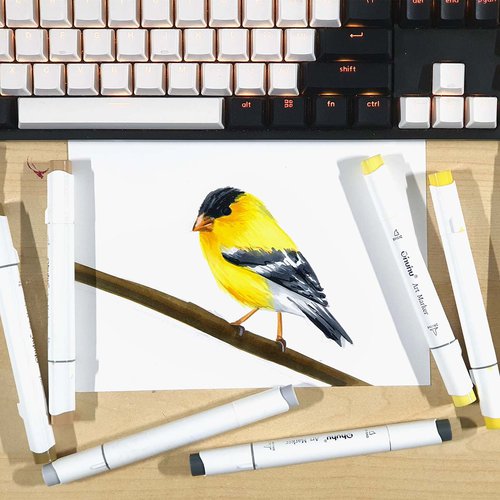
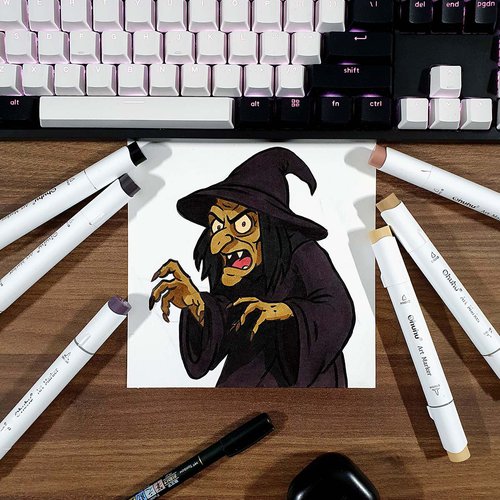
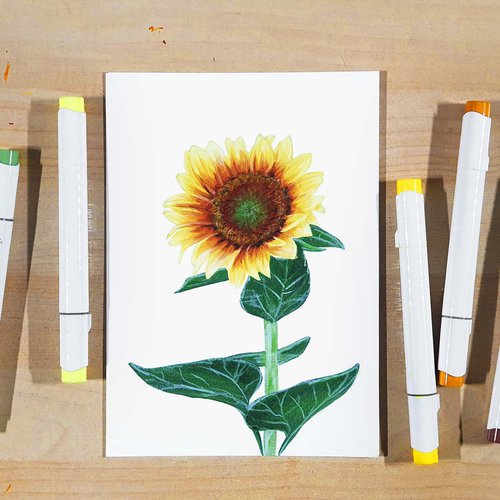
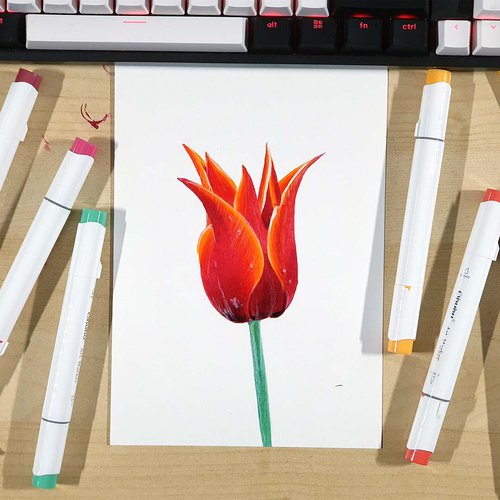
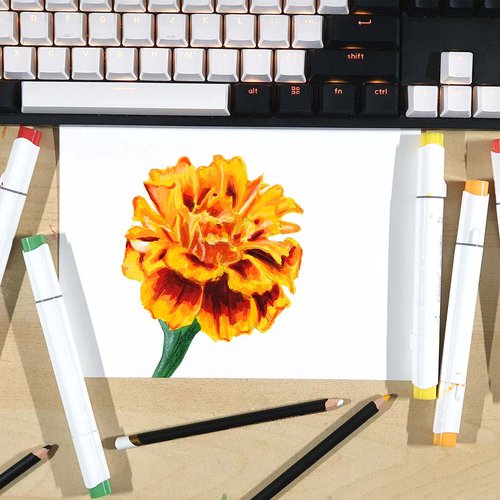
Articles You Might Also Like


I love bringing cars to life with alcohol markers and colored pencils.
Whether you're just starting out or looking to improve your skills, I'm here to help!
Click here to learn more about me.


Be the first to comment!
Comments
There are no comments yet.