How To Draw A Realistic Jaguar Step By Step - Easy Drawing Tutorial
Want to learn how to draw a jaguar step by step, even if you’re a beginner?
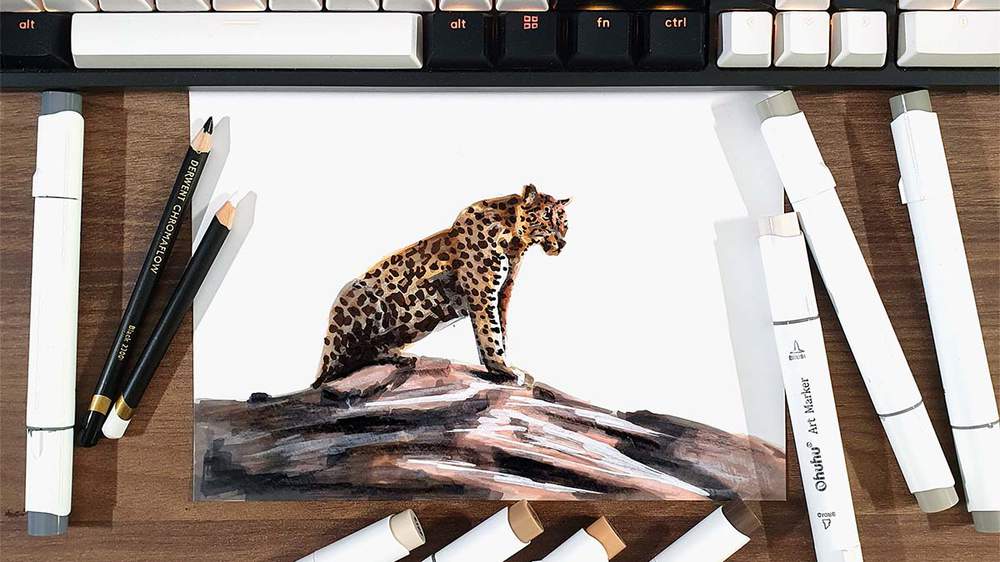
In this easy tutorial, I’ll show you exactly how I created a simple, semi-realistic jaguar drawing using Ohuhu markers, a few colored pencils, and some creative shading techniques.
You’ll start with a basic sketch, then layer in color, texture, and highlights to bring your jaguar to life, complete with rocky terrain and dramatic lighting.
Whether you're new to alcohol markers or just looking for inspiration, this tutorial will walk you through the process in clear, easy steps.
Let's get started!
Disclaimer: In the name of full transparency, please be aware that this blog post contains affiliate links and any purchases made through such links will result in a small commission for me (at no extra cost for you).
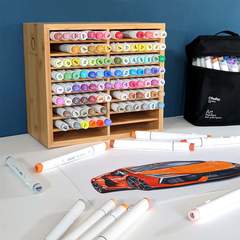
Drawing Supplies I Used In This Jaguar Drawing Tutorial
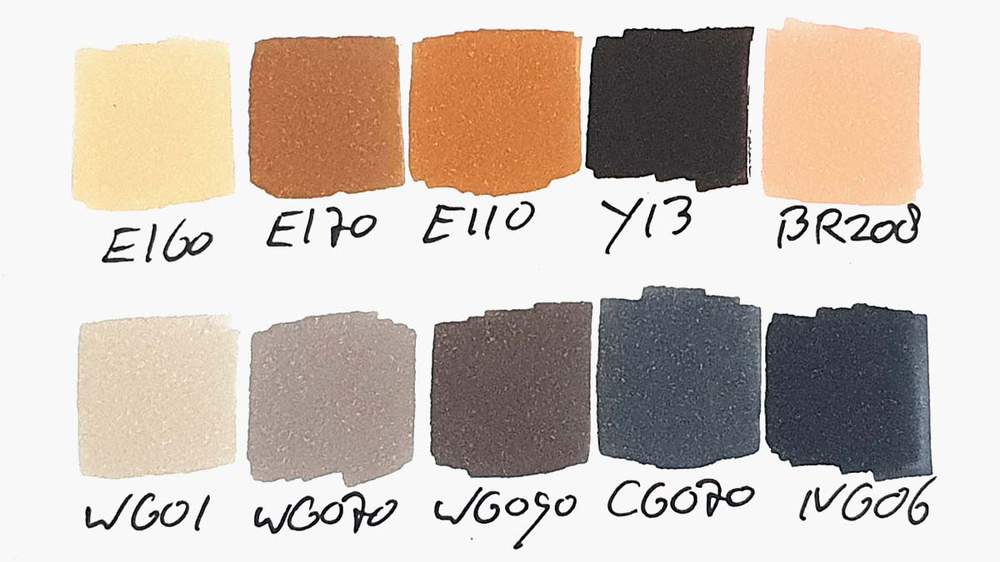
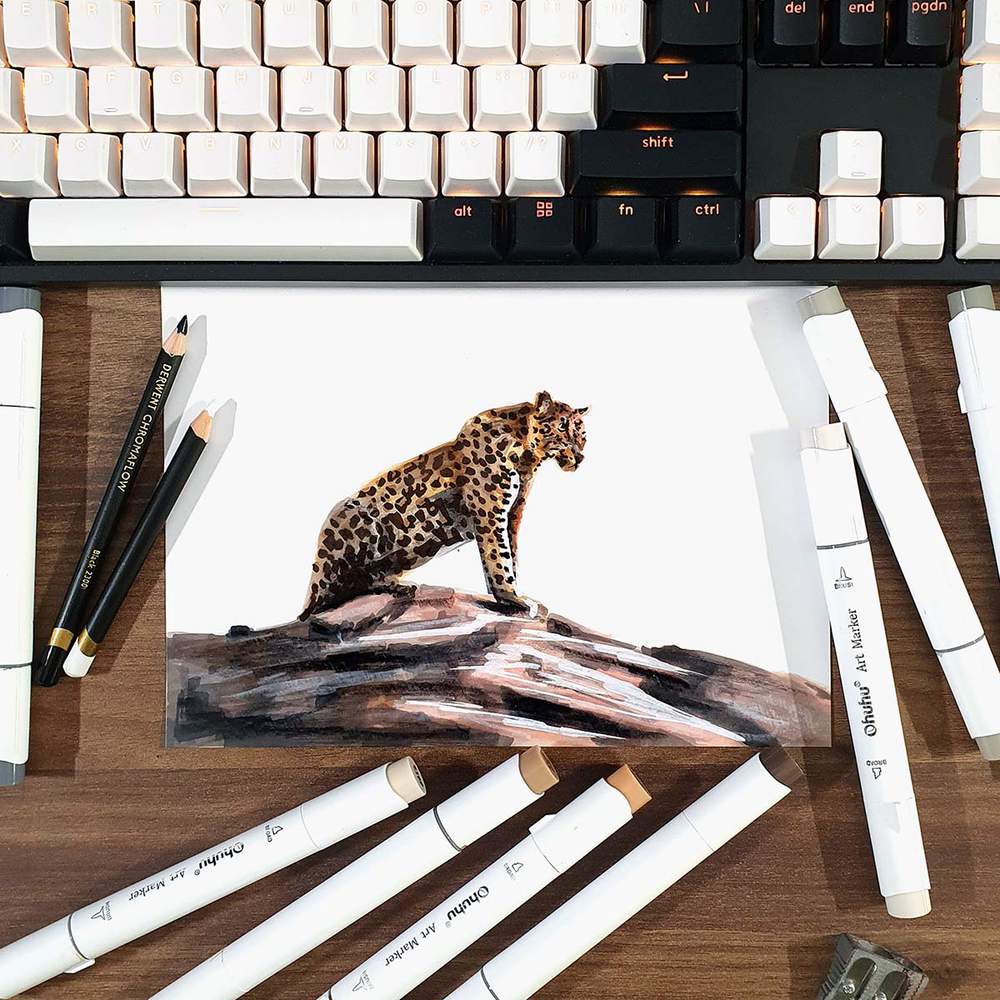
To make this drawing, I used Ohuhu Honolulu markers in the colors Soft Sun (E160), Caribe Cocoa (E170), Dark Suntan (E110), Chestnut Brown (Y13), Black Brown (BR208), Warm Grey 1 (WG01), Warm Grey 07 (WG070), Warm Grey 09 (WG090), Neutral Grey 07 (CG070), and Neutral Grey 6 (NG06).
I also used some Derwent Chromaflow colored pencils to add details. I used the White and Black pencils.
I used a white Posca PC-3M paint marker to add white highlights.
And I used an HB pencil and an eraser.
I made this drawing on Canson Illustration Manga Paper.
How Do You Draw A Jaguar Step By Step?
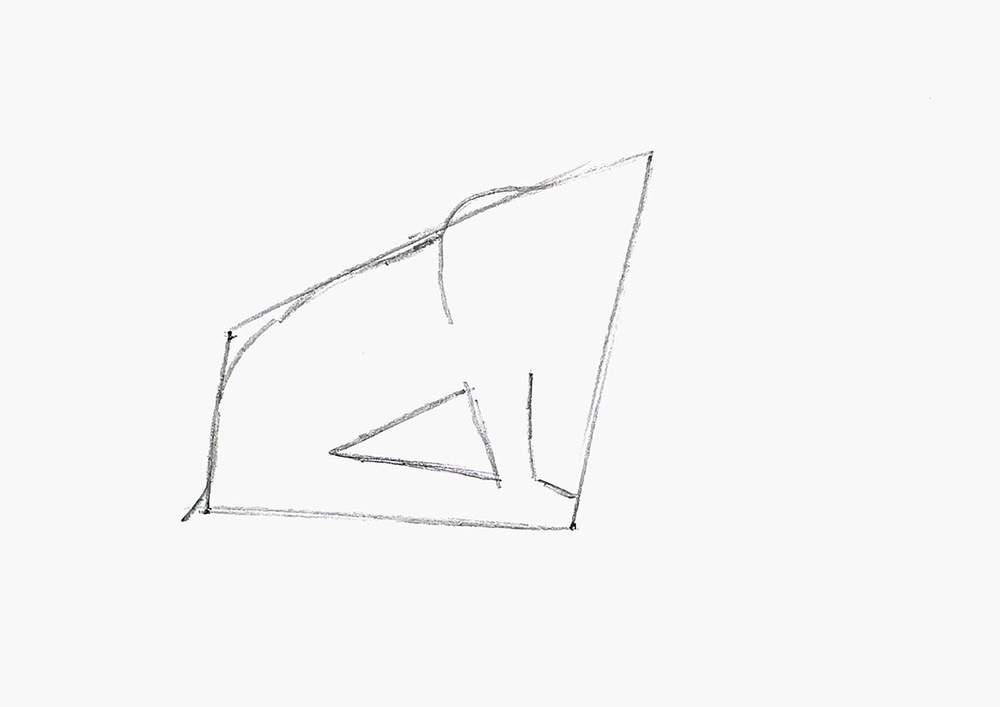
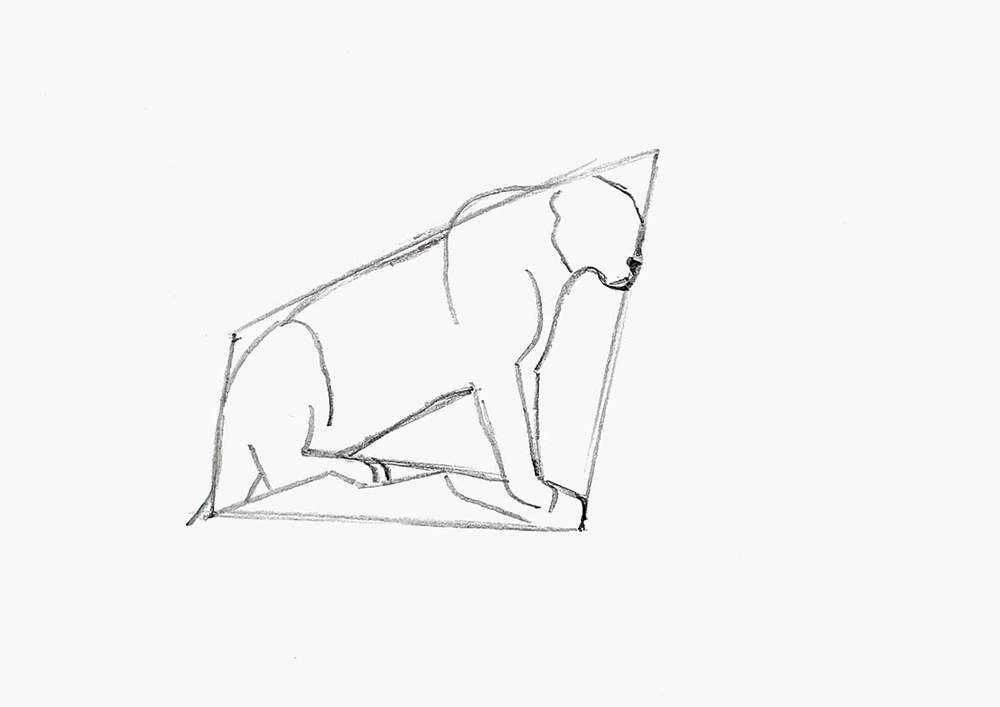
Step 1: Sketch A Construction Shape For The Jaguar's Body
To sketch the outline of the jaguar, I first drew a construction shape where the whole body of the jaguar fits into.
This makes it easier to accurately sketch the proportions of the jaguar later on.

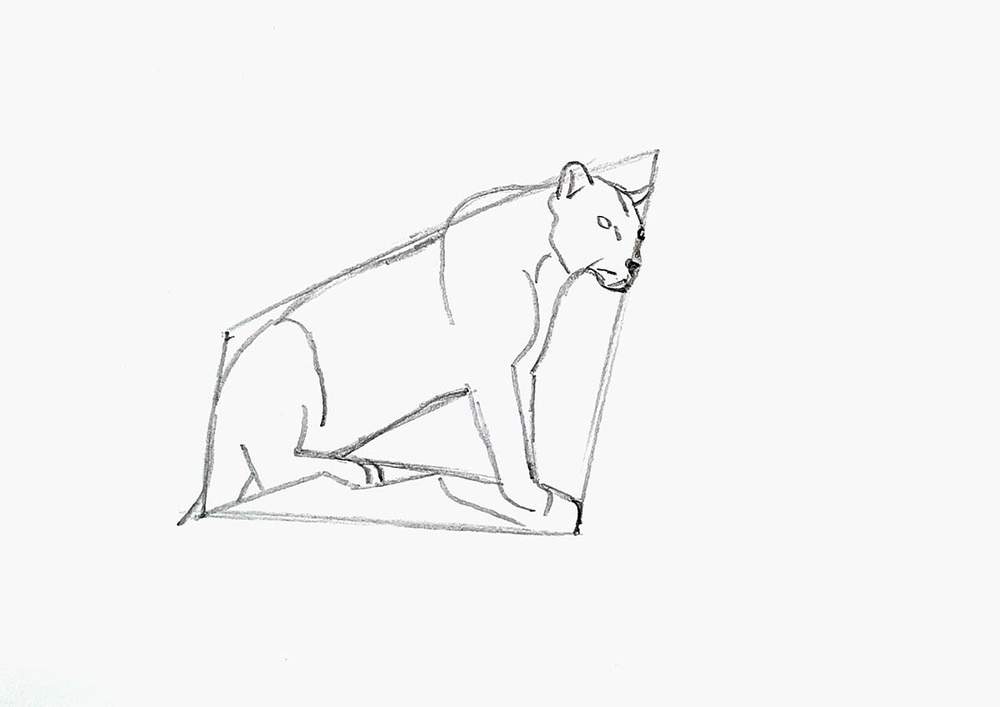
Step 2: Sketch The Outline Of The Jaguar
After that, I started sketching the outline of the jaguar.
I sketched the back of the jaguar from the shoulder to the tail. And I sketched a triangle with a hockey stick shape to the right of it.
After that, I sketched the outline of the head and neck and added its back paws.
I also started sketching the rocky terrain the jaguar is sitting on.
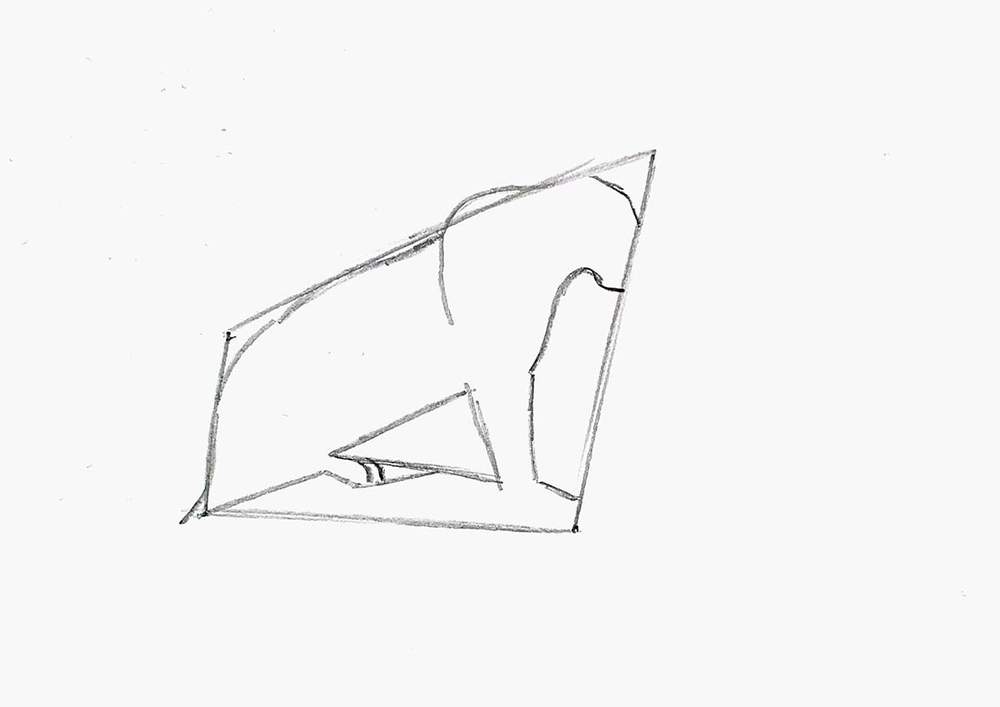
Lastly, I sketched the legs, the back of the head, the nose, and the mouth of the jaguar.
Step 3: Sketch The Jaguar's Face
Next, I sketched the jaguar's face.
I added its eyes, ears, nose bridge, and a few more small lines.
I also erased the trapezium construction shape as I no longer needed it.

Step 4: Sketch The Rocky Terrain Where The Jaguar Is Sitting On
After that, I continued on the rocky terrain.
I added some long jagged lines.
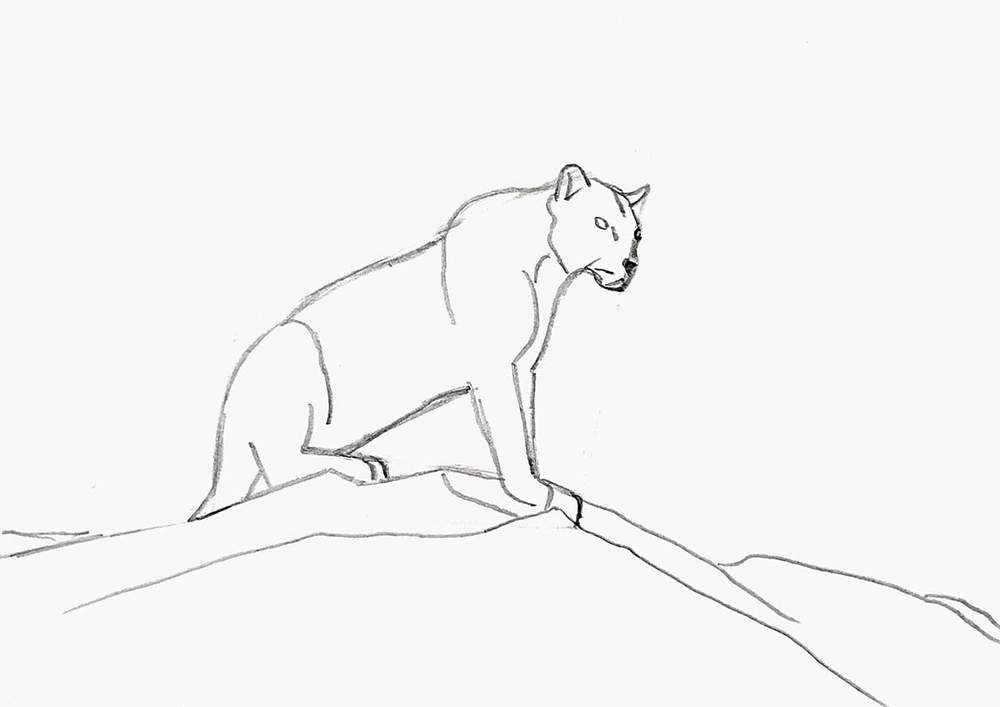
And then, I added some shorter jagged lines for more texture and layers.
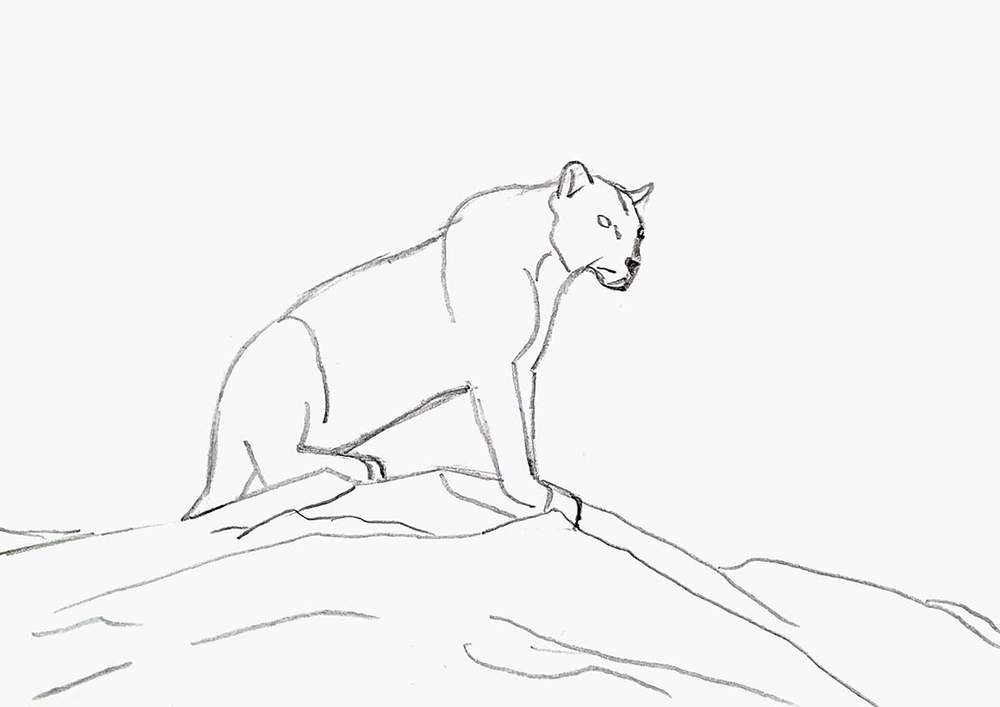
And that's the sketch all done.
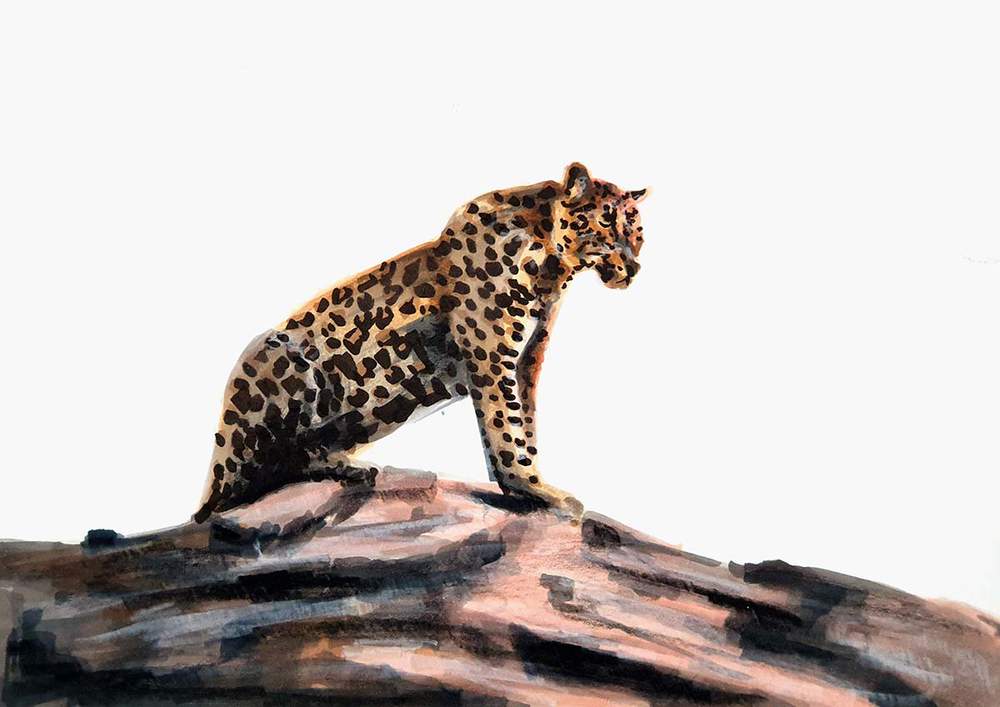
Step 5: Color The Jaguar With Markers
Now we can start with coloring the jaguar.
To do this, I used my favorite alcohol based markers: Ohuhu Honolulu markers.
I started by coloring the light brown parts of the jaguar with Soft Sun (E160).
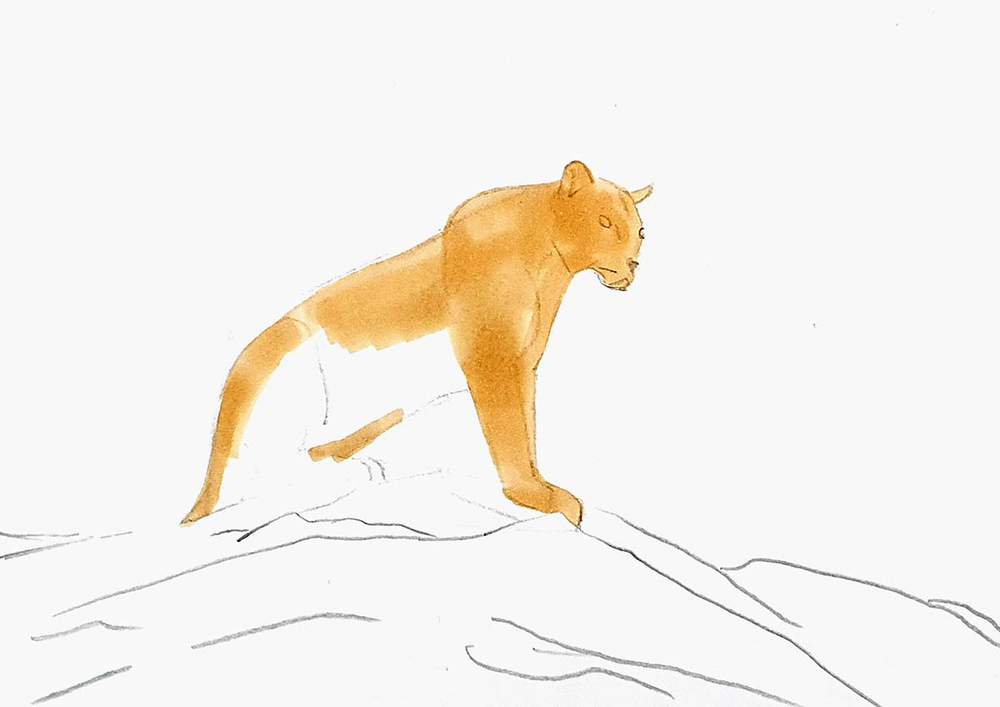
Then, I colored the remainder with Warm Grey 1 (WG01).
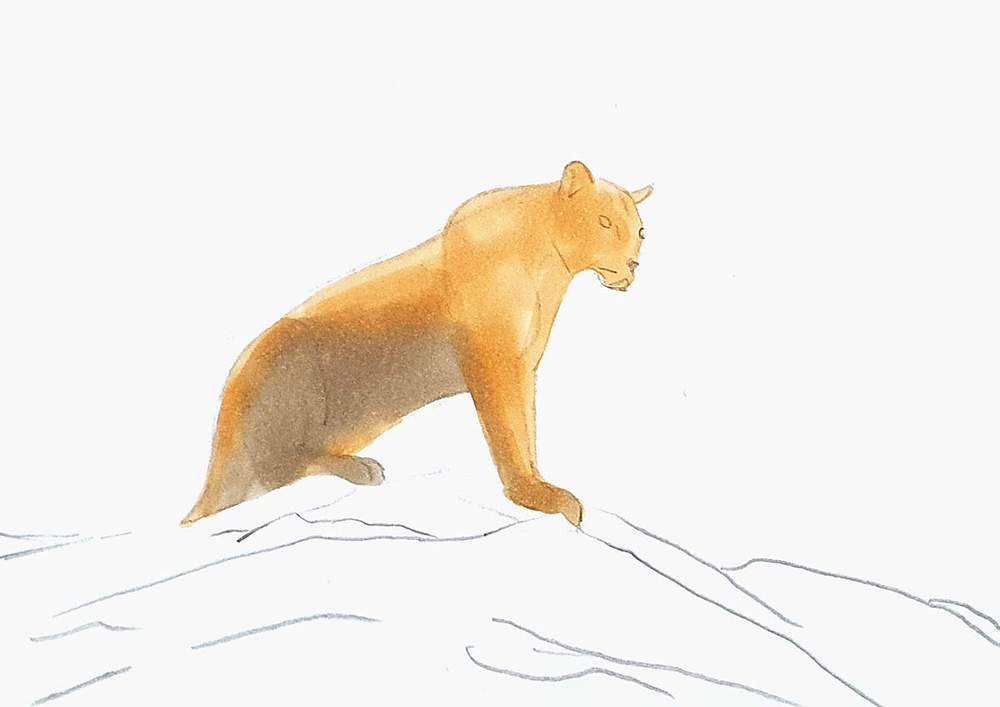
Next, I used Dark Suntan (E110) to add shading to the light brown parts, and I colored the top right of its head with Black Brown (BR208).
After that, I added shading to the grey parts with Warm Grey 07 (WG070), and I darkened the brown shading just a little bit with Caribe Cocoa (E170).

Next up, I colored the rosettes.
I first colored them light brown with Dark Suntan (E110).
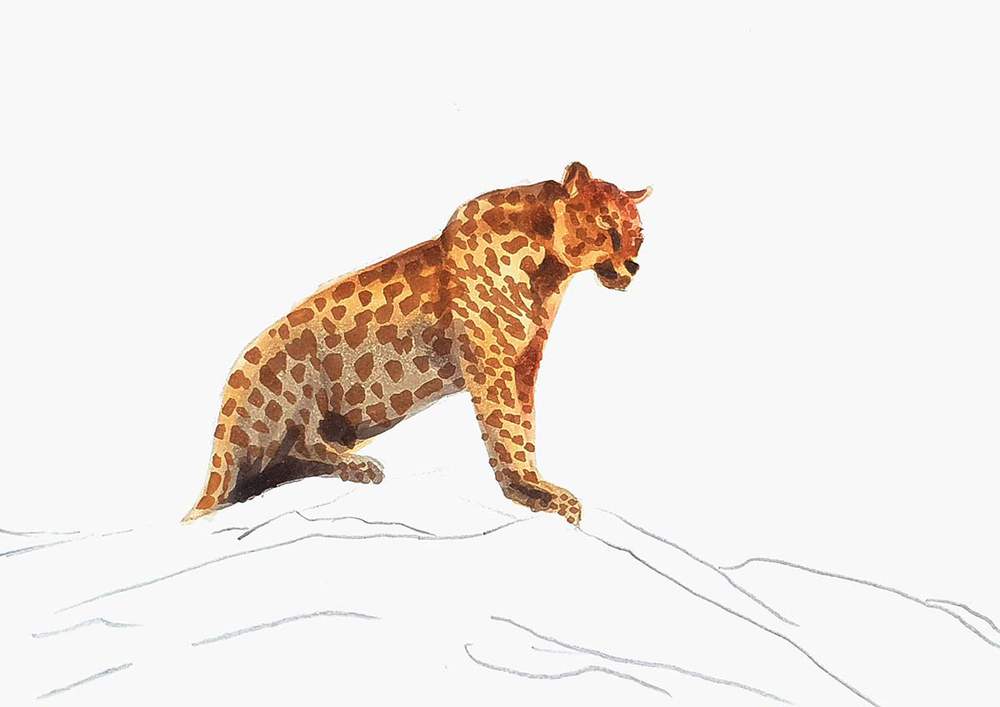
And then, I added the black edge with Chestnut Brown (Y13).
I also colored the nose and mouth of the jaguar with Chestnut Brown (Y13).

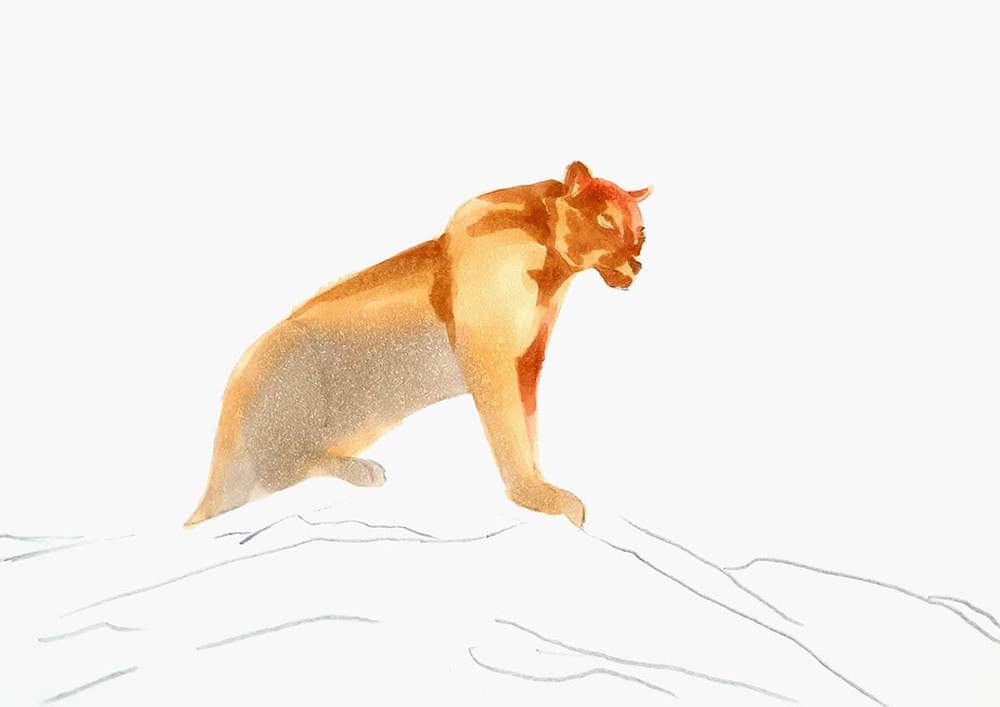
And to finish the drawing off, I added some darker shading as I thought it looked too light overall.
I used Warm Grey 09 (WG090) to add shading to the brown parts and Neutral Grey 07 (CG070) for the grey parts.
And I used Neutral Grey 6 (NG06) for the darkest parts on its back legs.
And that's the jaguar all colored.

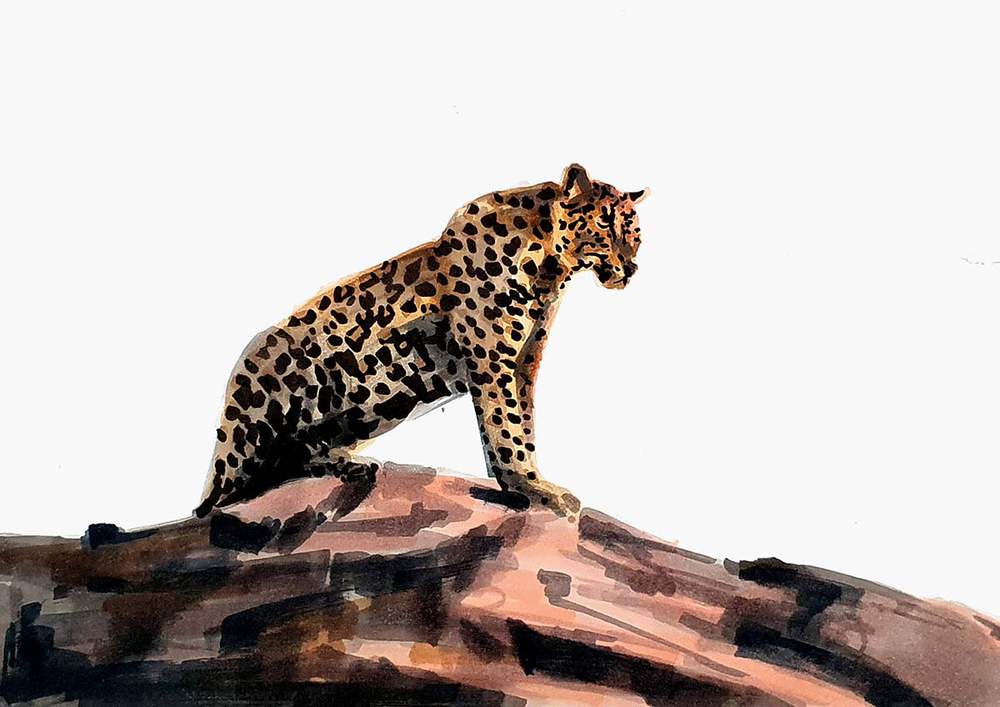
Step 6: Color The Rocky Terrain With Markers
After that, I colored the rocky terrain with Warm Grey 1 (WG01).
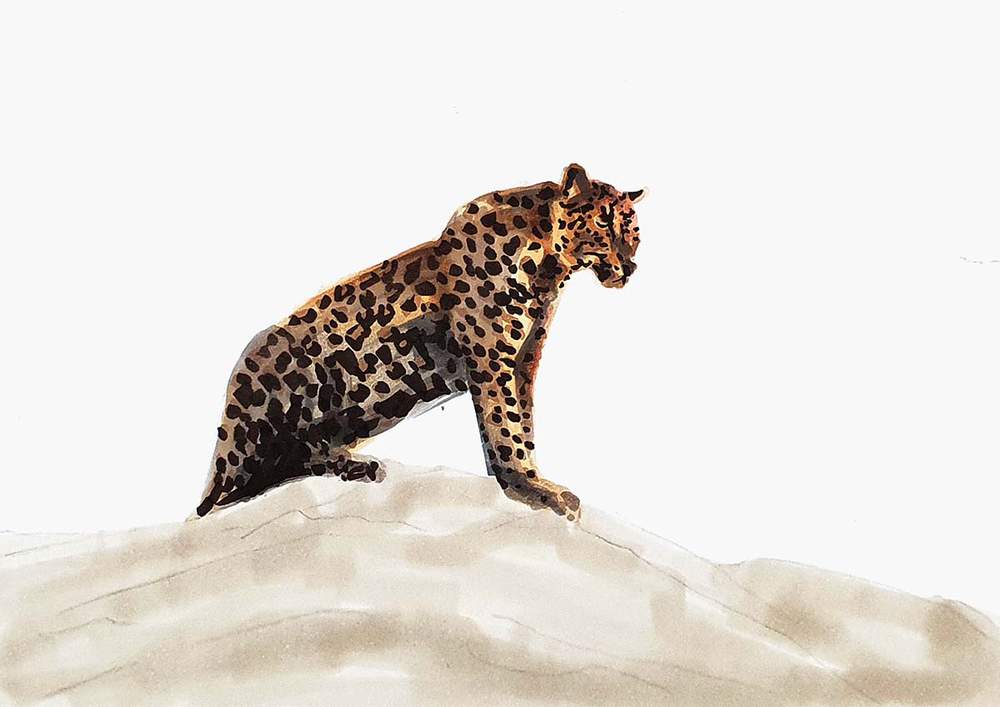
Then, I added some shading with Warm Grey 07 (WG070).
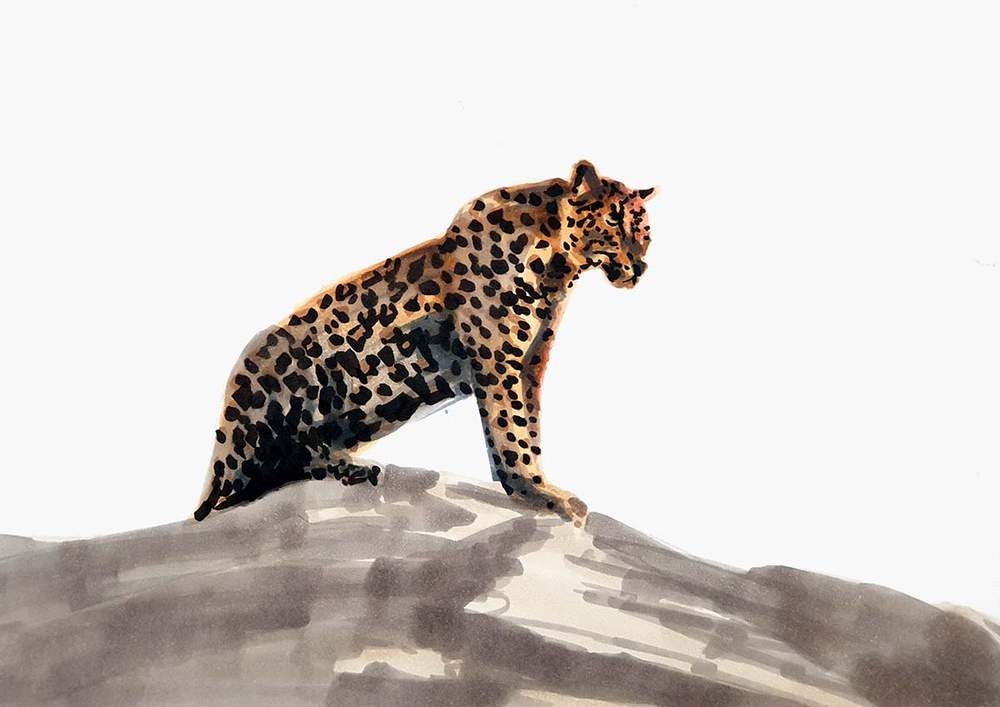
And then, some more shading with Warm Grey 09 (WG090).
And again, more shading with Neutral Grey 07 (CG070) and Neutral Grey 6 (NG06), but more sparsely this time.

And lastly, I added a pinkish sunset glow on the rocks with Black Brown (BR208).
Step 7: Add Details To The Jaguar & The Rocky Terrain With Colored Pencils
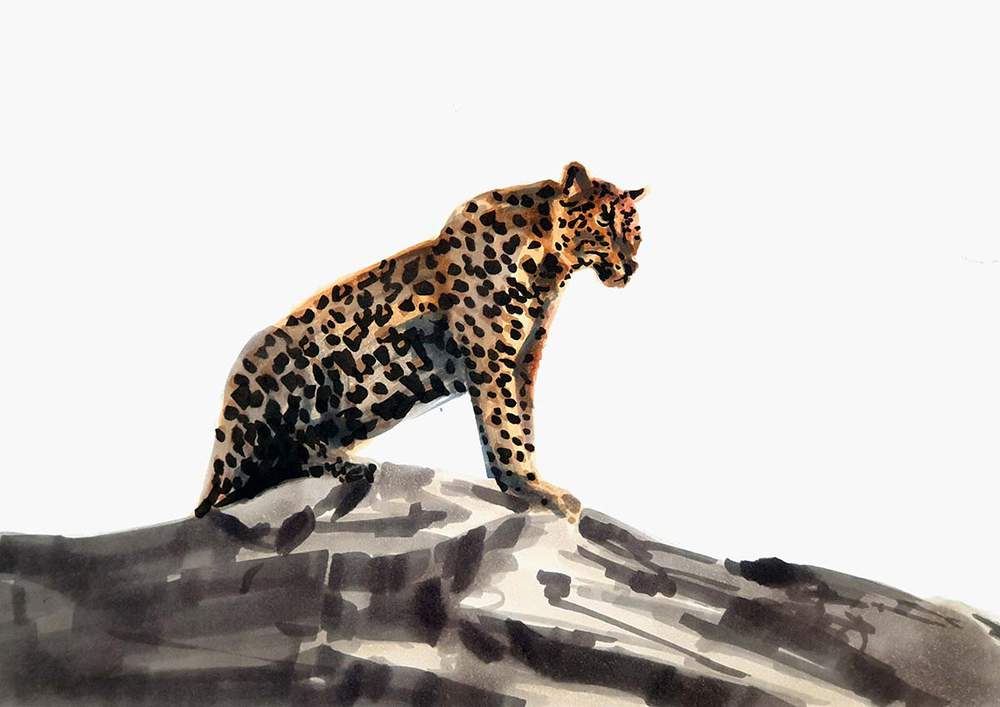
Next, I added some details to the jaguar and the rocks with my Derwent Chromaflow colored pencils.

I used white to add just a few light highlights on the jaguar's face and front-facing edges of its legs.
I also used the white to add highlights to the terrain with the flat edge of the tip.
And I used the black pencil to add some dark black details and cracks to the darker parts of the rocks.
Step 8: Add White Highlights To The Jaguar & The Rocks
To finish the jaguar drawing, I used my white Posca PC-3M paint marker to add some final highlights on the jaguar's leg as well as the lighter parts of the rocky terrain.
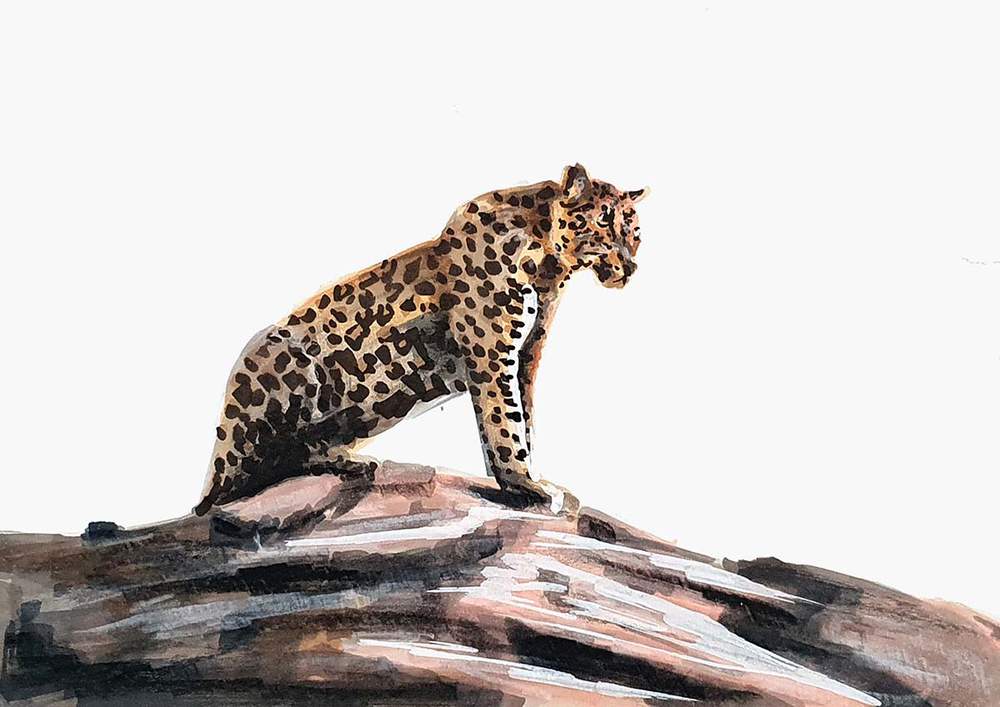
And that's how I drew this simplified, realistic jaguar sitting on some rocks with markers and two colored pencils.
I hope you enjoyed this tutorial as much as I did creating it!
Thank you!
P.S. While you're here, check out my other drawing tutorials. I'm sure there are some that you'll also like.
Tags
Articles You Might Also Like


I love bringing cars to life with alcohol markers and colored pencils.
Whether you're just starting out or looking to improve your skills, I'm here to help!
Click here to learn more about me.


Be the first to comment!
Comments
There are no comments yet.