How To Draw A Frog - Cute & Easy Step-By-Step Tutorial
In this step-by-step guide, I'll show you how to draw a cute and realistic frog.
This drawing might seem difficult at first, but I've broken everything up into easy-to-follow steps so you can draw one just as well as I did.
Let's get started!
Disclaimer: In the name of full transparency, please be aware that this blog post contains affiliate links and any purchases made through such links will result in a small commission for me (at no extra cost for you).
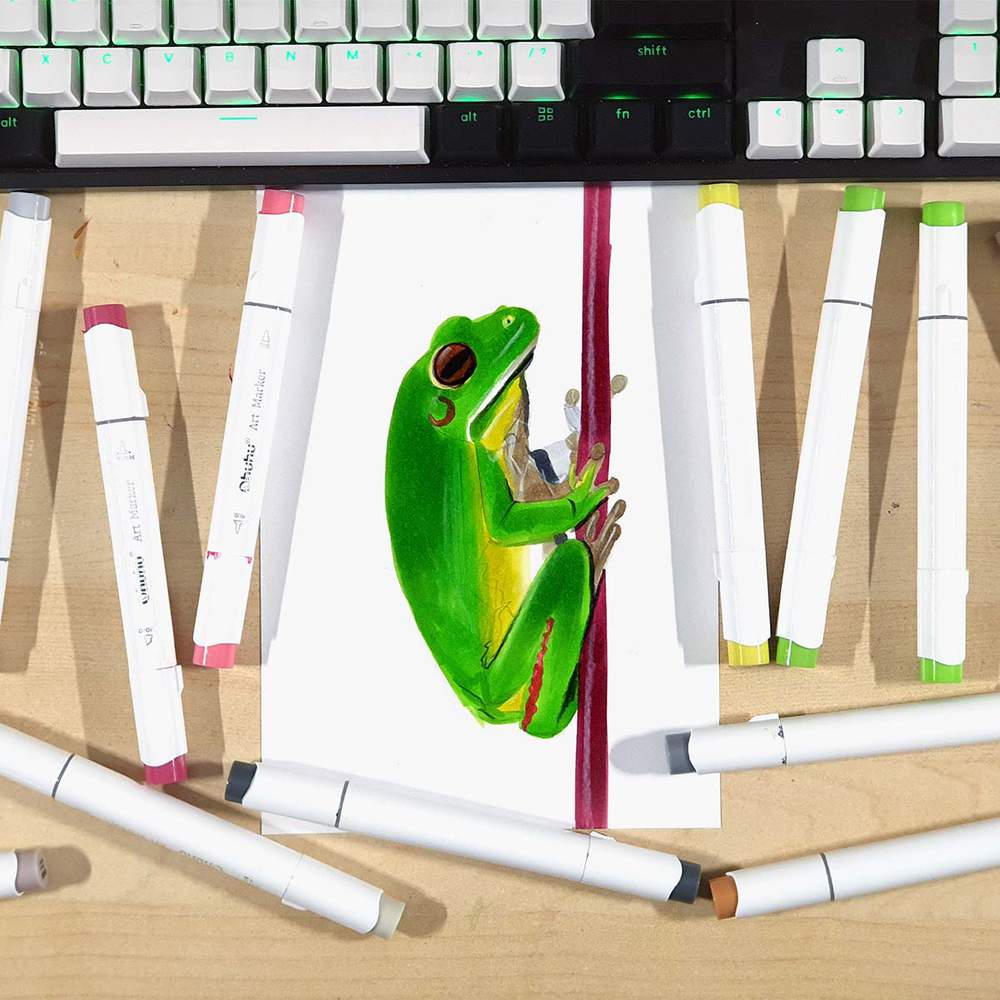
Drawing Materials I Used To Draw This Frog
To make this frog drawing, I used Ohuhu Honolulu markers in the colors G070 Lemon Green, G170 May Green, G190 Olive Green, YG080 Yellow Grey 08, E300 Clay, E260 Leather, CG030 Neutral Grey 03, CG070 Neutral Grey 07, 120 Black, R200 Carolessence, and R240 Garnet.
If you're on a tighter budget, these Caliart markers seem like a good and cheap alternative.
I also used 2400 White and 2300 Black Derwent Chromaflow colored pencils.
And I made this drawing on Canson Illustration Manga paper.
How To Draw A Frog?
To draw a frog, you first sketch the stem the frog is sitting on. Then you mark the top, left, and bottom edges of the frog to use as a guide. Next, you sketch the frog step-by-step until you've sketched all the parts. Lastly, you color the frog using markers and you add just a few details with a white and a black colored pencil.
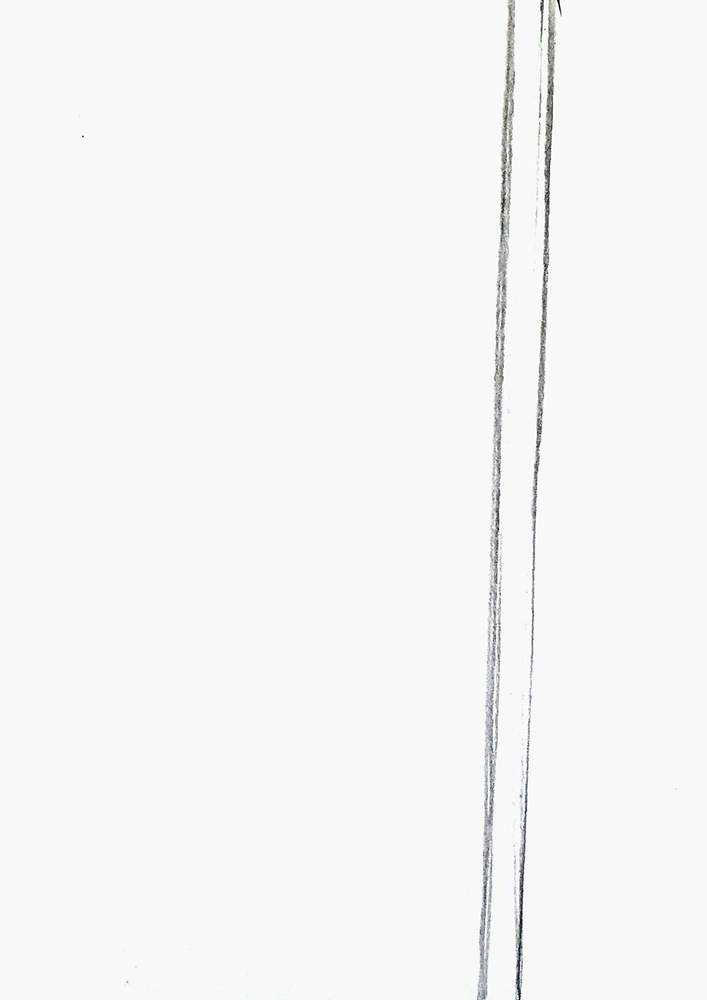
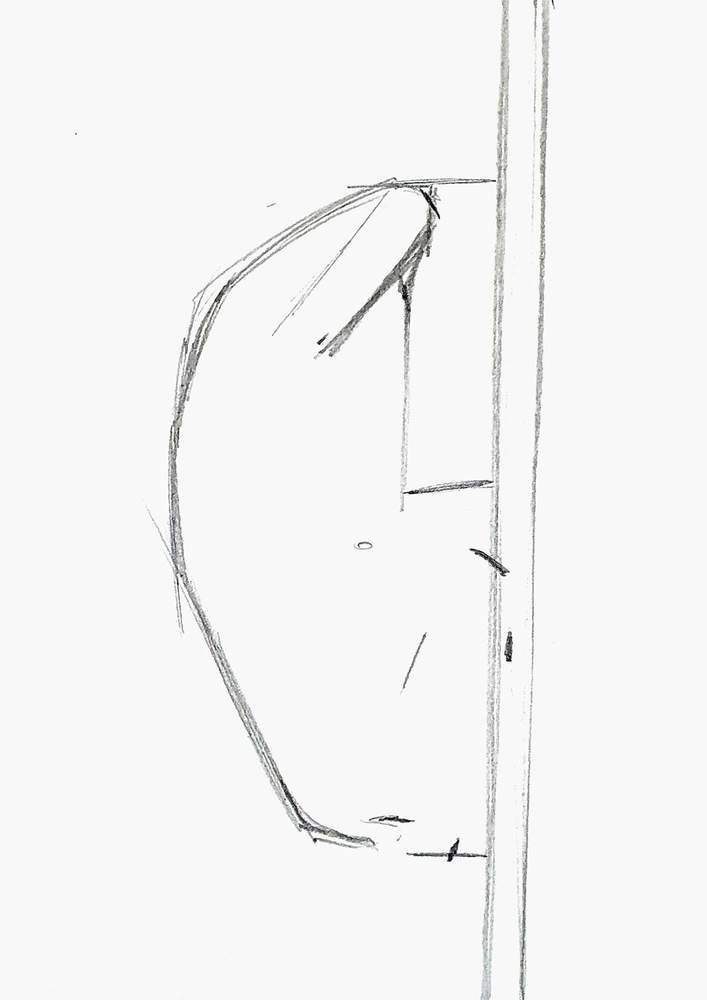
Step 1: Sketch The Stem
I started by sketching 2 parallel lines toward the right side of the paper for the stem where the frog sits on.
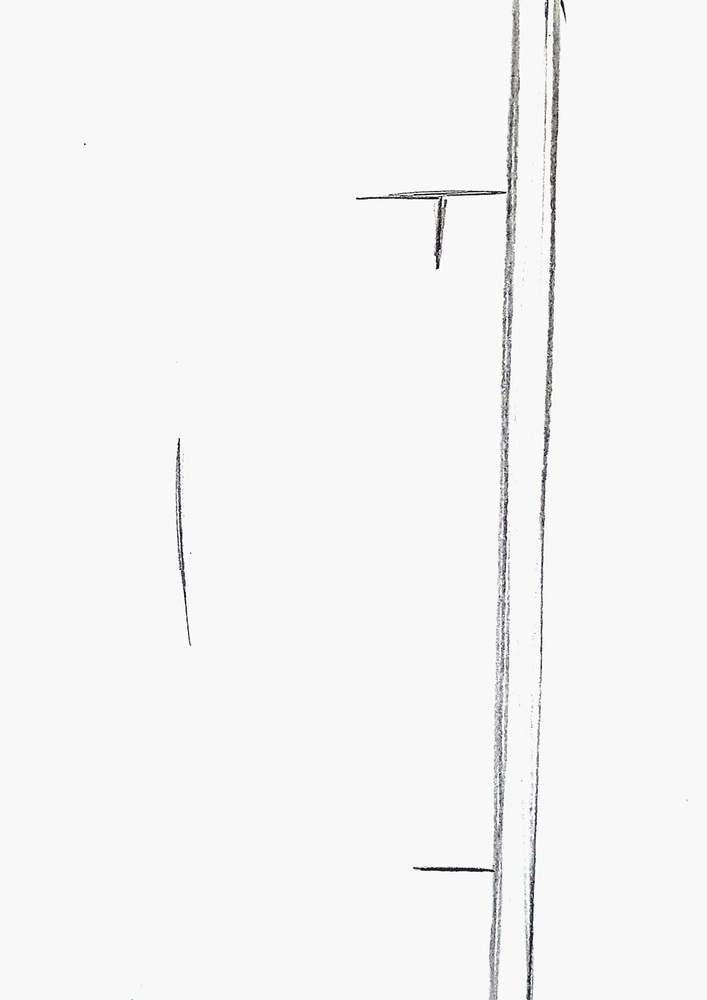
Step 2: Mark The Frogs Back, Bottom, And Top Edges
After that, I marked where the top, left, and bottom edges of the frog are going to be.
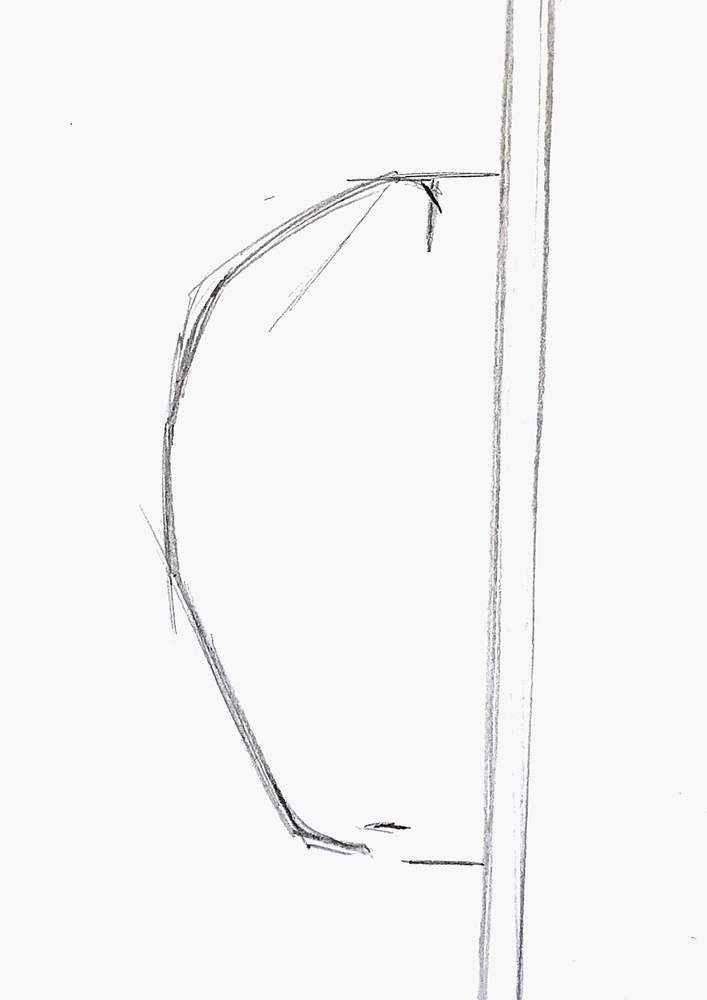
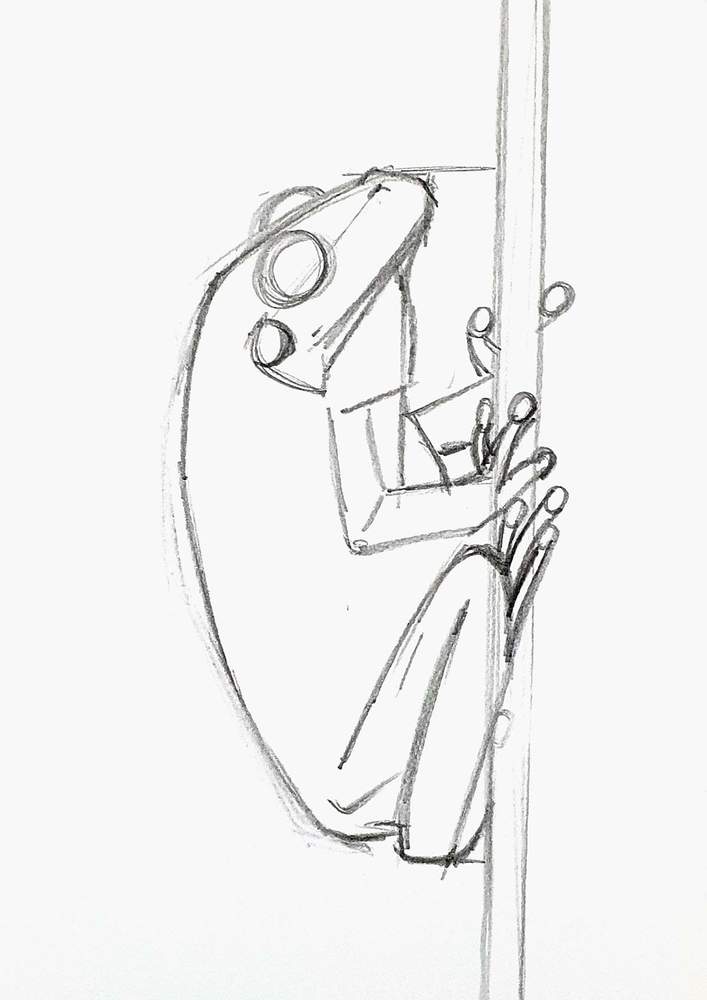
Step 3: Sketch The Back Of The Frog
Next, I sketched the back of the frog from the nose all the way down.
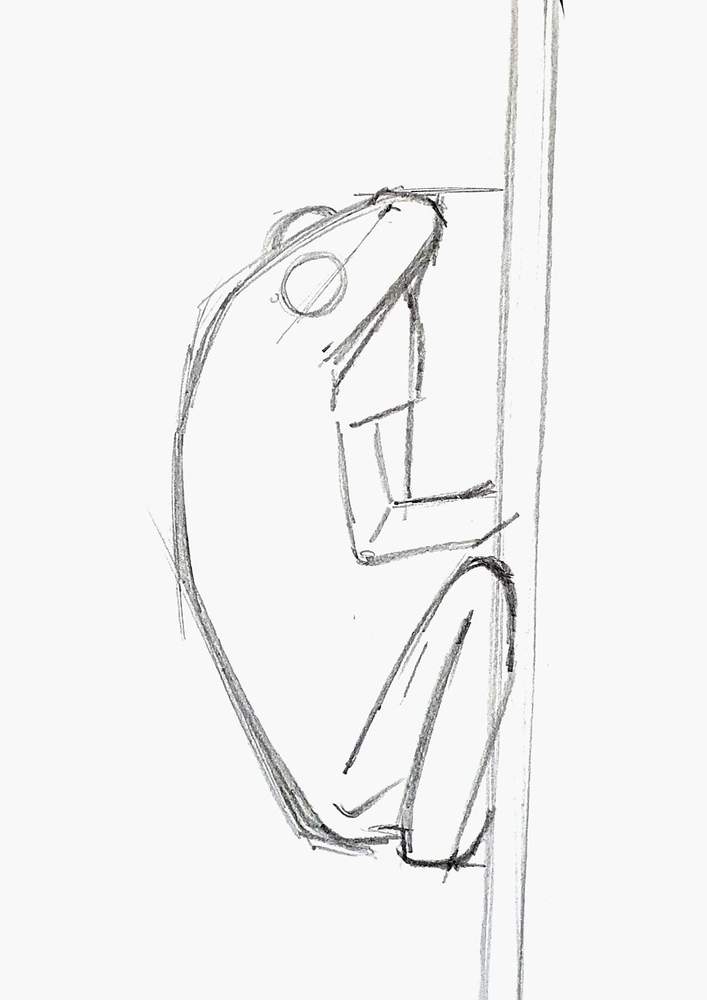
Step 4: Sketch The Legs & The Head Of The Frog
Then, I sketched the line of its mouth and a line down from there to its front leg.
I also added some markings for the rear leg of the frog.
After that, I sketched the rear leg using the markings.

Next, I sketched the front leg and the frog's eyes. The left eye sticks out a bit above his head.
Then, I sketched the fingers of his front leg. Each finger has a circle on the end.
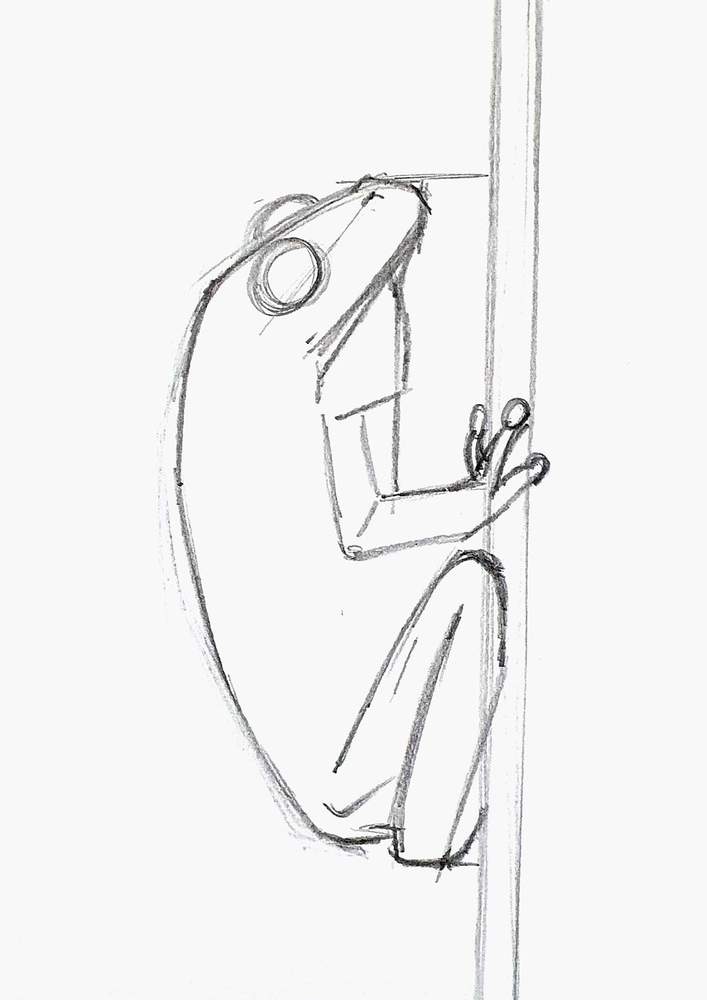
I sketched the fingers of the other side. At least the 2 you can see.
And I Sketched the toes of the frog. These are 2 long lines with a circle on the end.
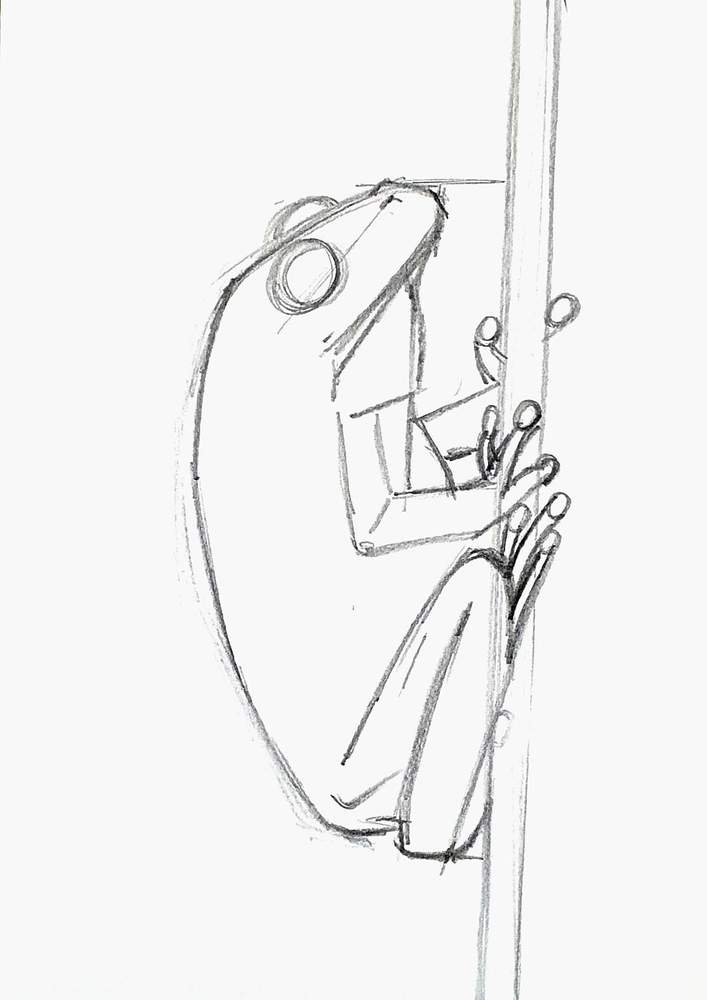
To finish the sketch, I sketched what I believe is the ear of the frog, a small circle below the eye.
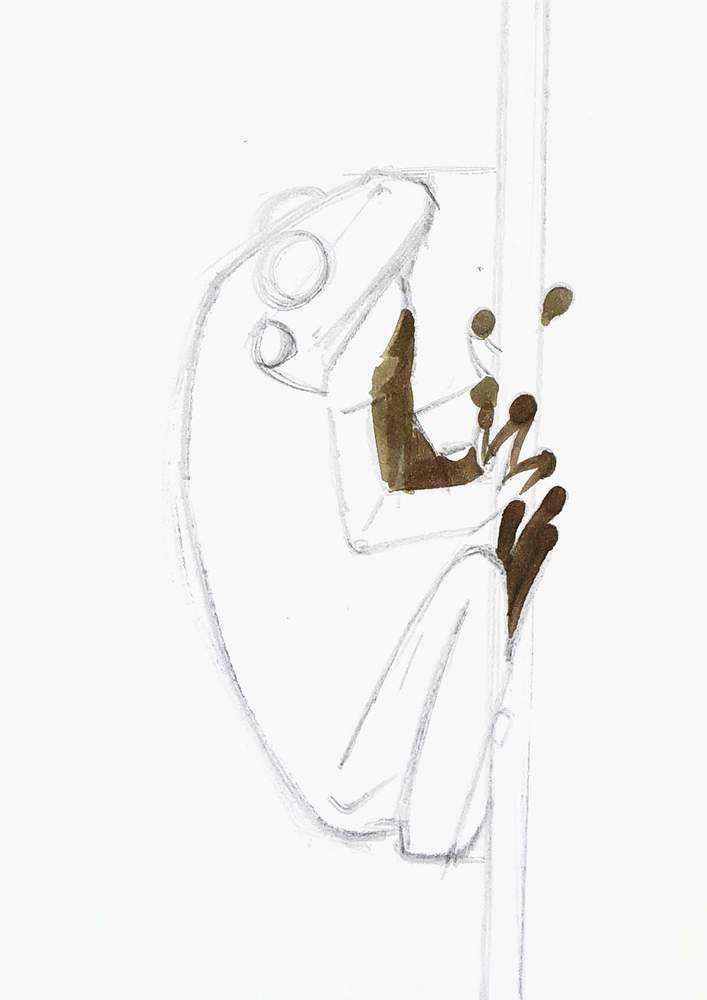
Step 5: Color The Frog
After that, I first lightened the sketch with an eraser so that the sketch wouldn't show too much through the ink.
And I colored the toes, the fingers of his right hand, and his chest with E300 Clay.

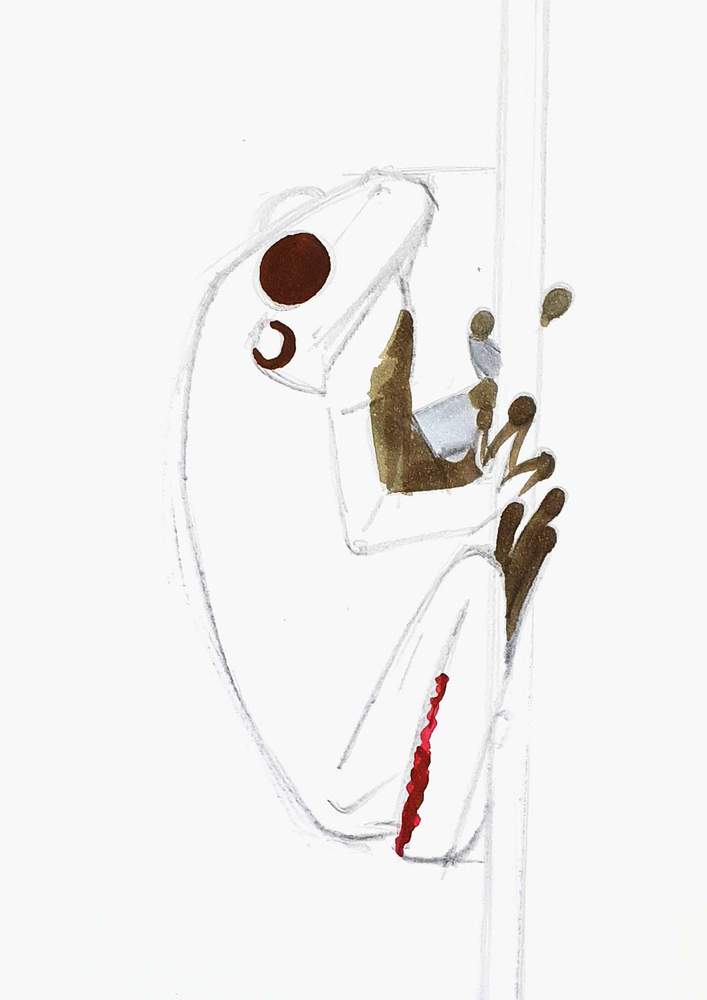
Next, I the fingers on his left hand and more of his chest with YG080 Yellow Grey 08.
Then, I colored his left arm with CG030 Neutral Grey 03, the red markings on his leg with R200 Carolessence and E260 Leather, and his eyes and edge around his ear with E260 Leather.
After that, I used G070 Lemon Green to color the rest of his chin/chest, the left and bottom edge of his arm, his stomach, the edge around his eye, his nostril, and a triangle on his bottom.
I also colored his pupil with 120 Black.

Next, I used G170 May Green to color the remainder of the frog.
I also added some dark shadows on his chin and arms with CG070 Neutral Grey 07.
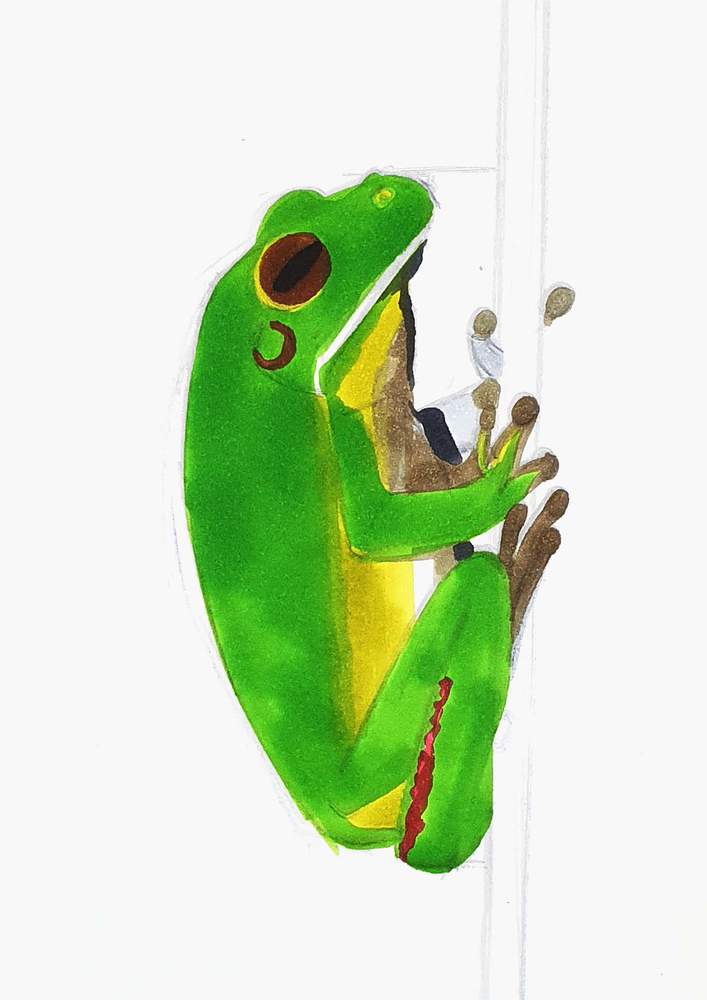
Lastly, I used G190 Olive Green to add some darker green shadows on the frog's skin and I used R240 Garnet to color the stem.

Step 6: Add A Few Details With Colored Pencils
To finish the drawing off, I used a black and a white colored pencil to add just a few details on the skin of the frog and to highlight the stem.
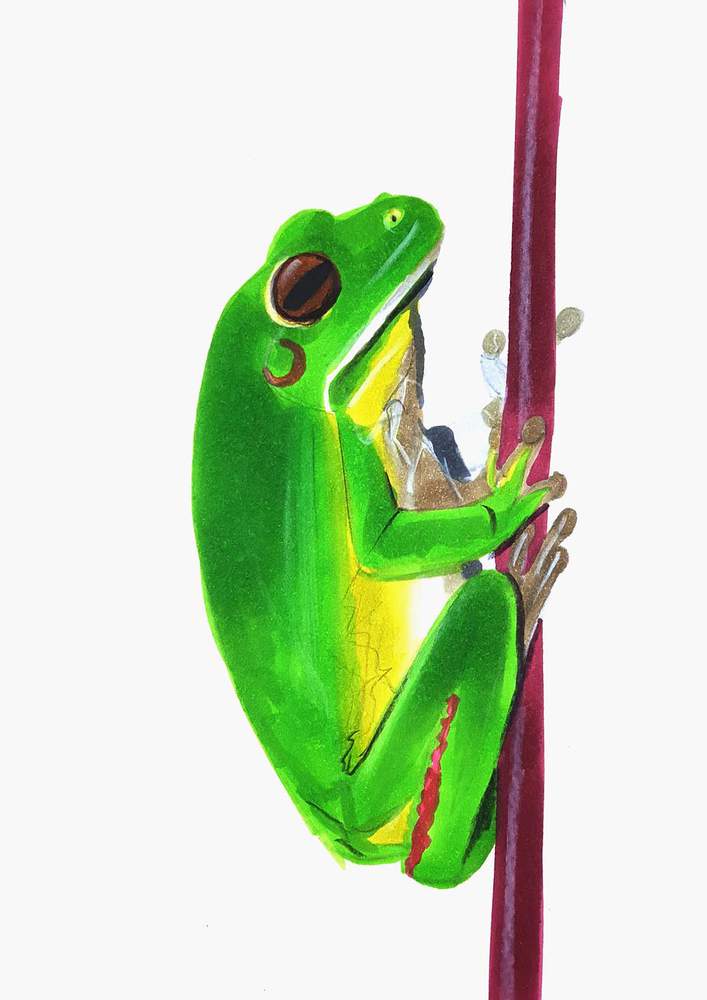
And that's how I drew this cute little frog.
I hope you found this helpful!
And I'll see you in my next drawing tutorial!
Articles You Might Also Like


I love bringing cars to life with alcohol markers and colored pencils.
Whether you're just starting out or looking to improve your skills, I'm here to help!
Click here to learn more about me.


Be the first to comment!
Comments
There are no comments yet.