How To Draw A Dragon - Easy & Realistic Step By Step Guide
In this drawing tutorial, I’m going to show you how to draw a realistic dragon, step by step.
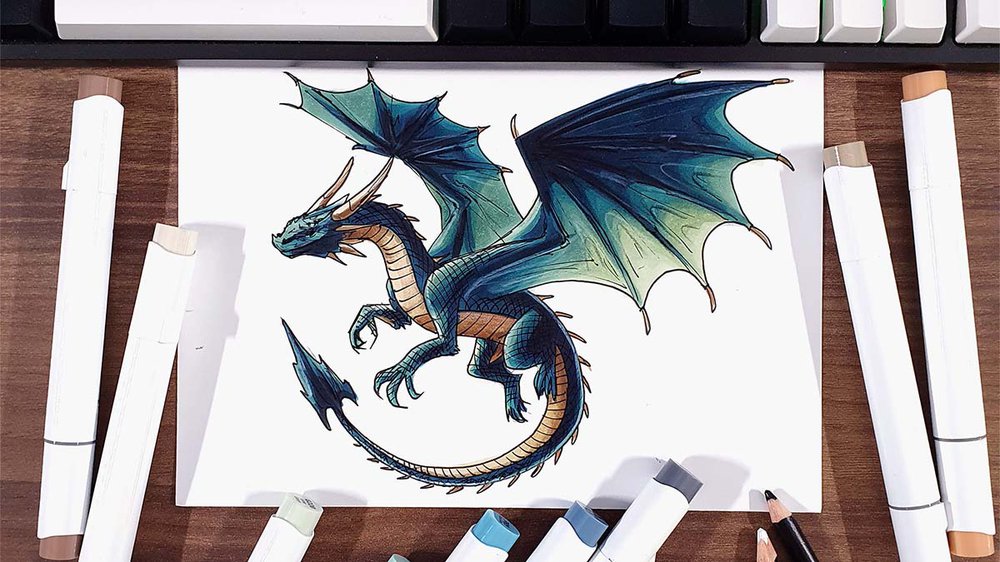
I’ve been wanting to draw a proper dragon for a long time, and I’m really proud of how this one turned out. It looks detailed and fierce, but don’t worry — I’ve broken everything down into simple and easy-to-follow steps, so you can draw your own dragon too, even if you're just starting out.
From the wings to the claws, and from the spine spikes to the tail blade — this easy dragon drawing guide will show you exactly how I made it.
Let’s get started!
Disclaimer: In the name of full transparency, please be aware that this blog post contains affiliate links and any purchases made through such links will result in a small commission for me (at no extra cost for you).
Drawing Supplies I Used To Draw This Dragon
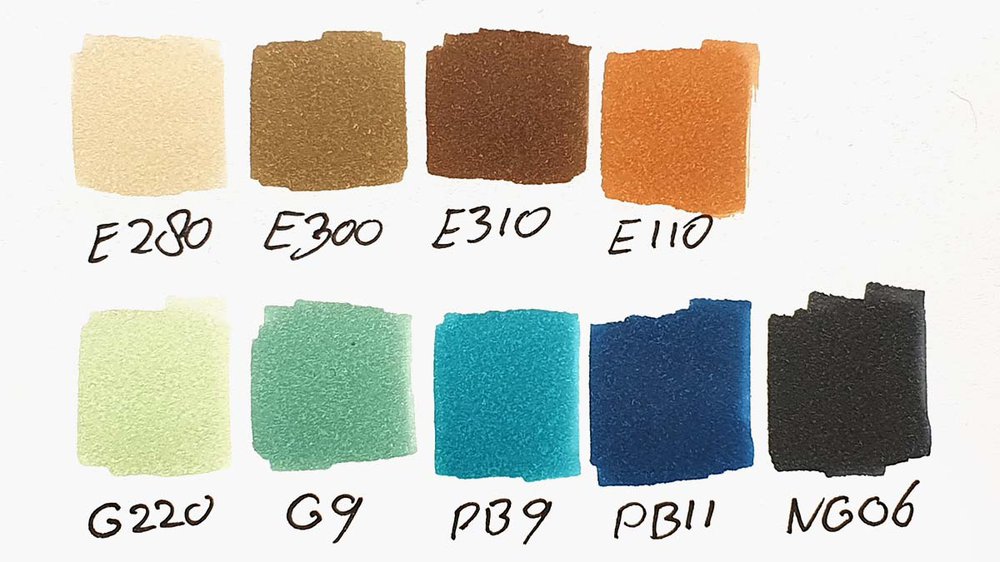
To make this drawing, I used Ohuhu Honolulu markers in the colors Sand White (E280), Clay (E300), Dark Suntan (E110), Dark Brown (E310), Lime Green (G220), Meadow Green (G9), Cloud Blue (PB9), Marine Blue (PB11), and Neutral Grey 6 (NG06).
I also used some Derwent Chromaflow colored pencils to add details. I used the White 2400 and Black 2300.
And I used an HB pencil and an eraser.
I made this drawing on Canson Illustration Manga Paper.

My go-to alcohol markers for blending, rich color payoff, and amazing value. The brush tips feel super natural to draw with — a must-have for smooth gradients and realistic shading!
- Brush + chisel tips
- Great for beginners & advanced artists
- Budget-friendly alternative to Copics
How Do You Draw A Dragon Step By Step?
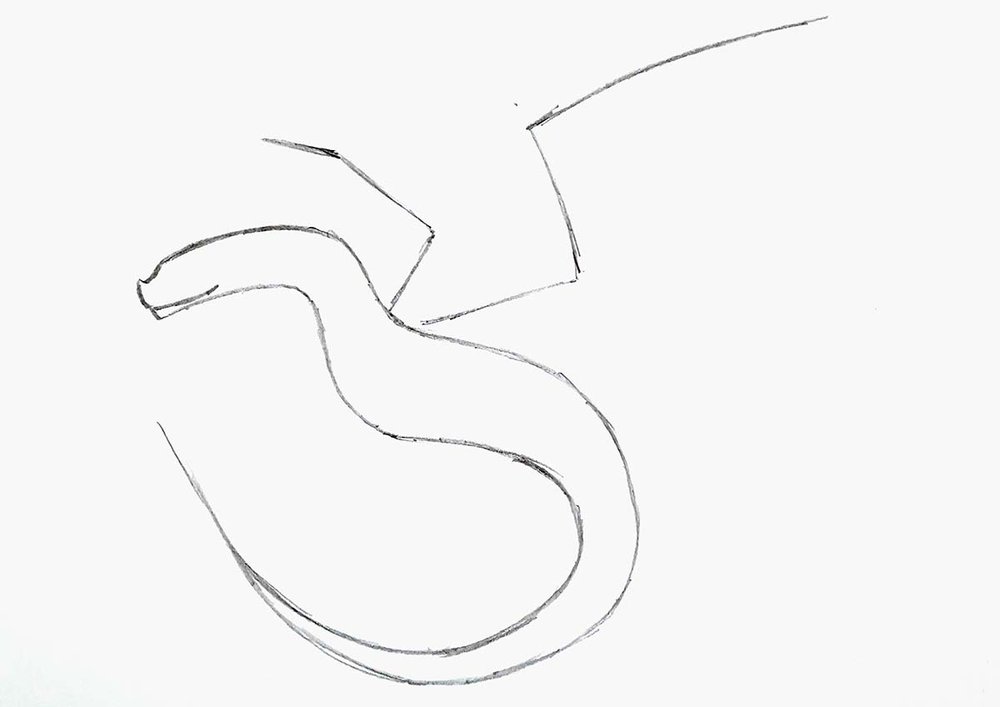
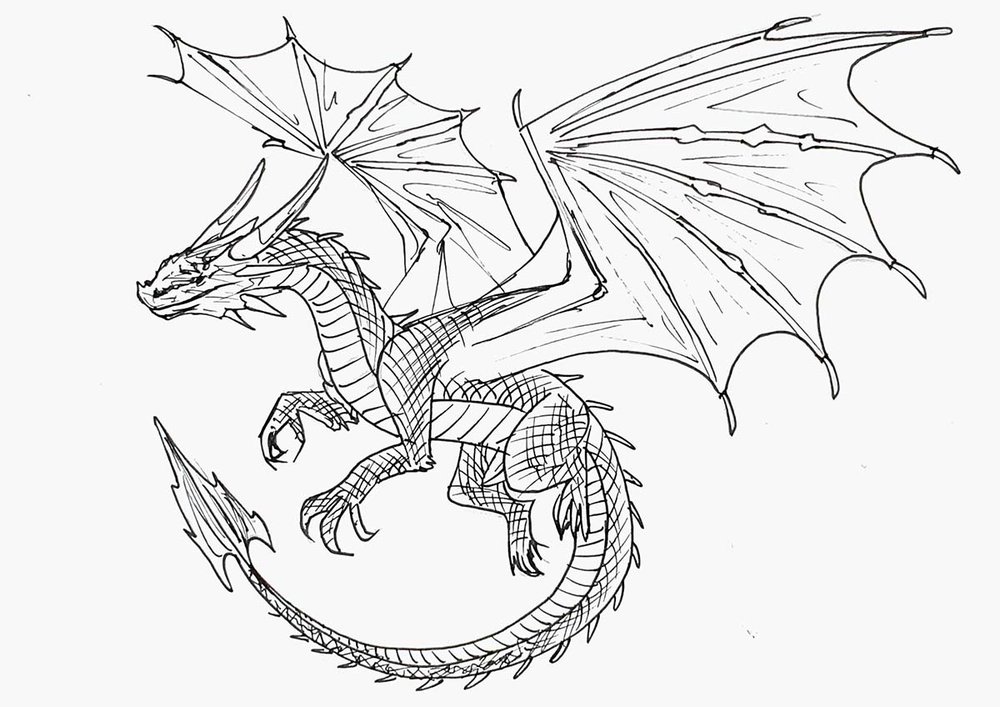
Step 1: Sketch The Basic Shape Of The Dragon
When drawing dragons, I like to draw the spine first.
As the dragon is flying, its tail curves back up and points towards its head. I drew the spinal line closer to the bottom left corner of the paper to leave enough room for the wings..
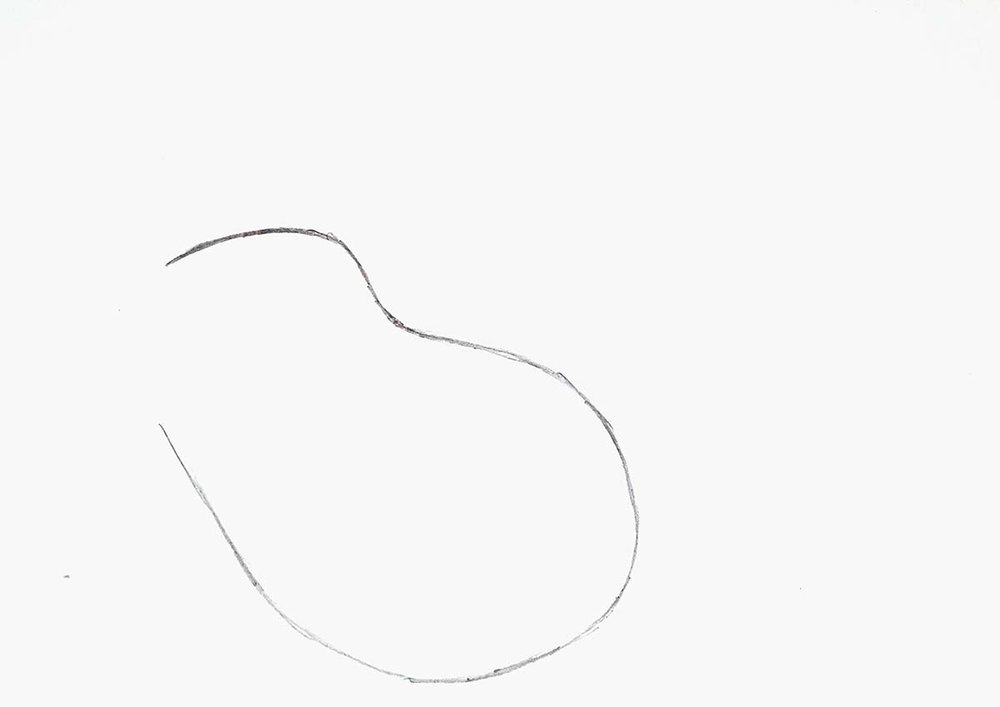
Next, I added the bone structure for the edges of the wings, which are just three zig-zaggy lines for each wing.
Then, I sketched the underside of the dragon, kinda mirroring the spinal line while leaving more room at its chest and eventually merging into a point at the end of its tail.

To finish the outline off, I added its nose and mouth line.
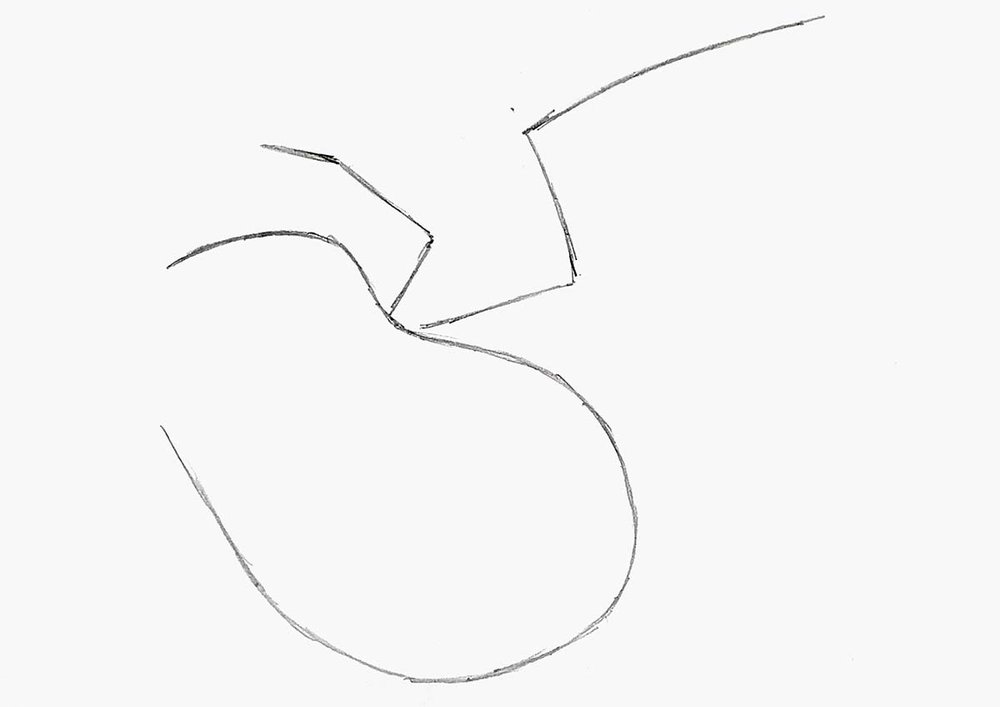
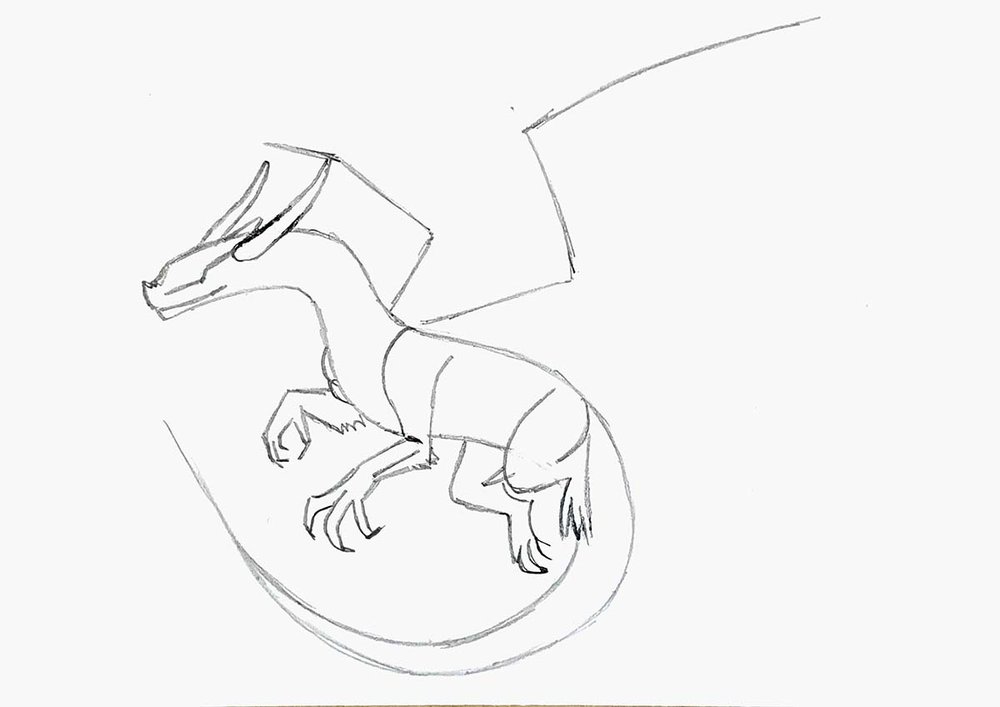
Step 2: Sketch The Legs & Claws Of The Dragon
Next, I sketched its legs and claws, starting with the front legs.
I first sketched the upper part. Behind its body, you can't see much of the leg; you can only see two small overlapping curved lines.
The other leg you can see well, and consists of one curvy line and a hockey stick-shaped line.
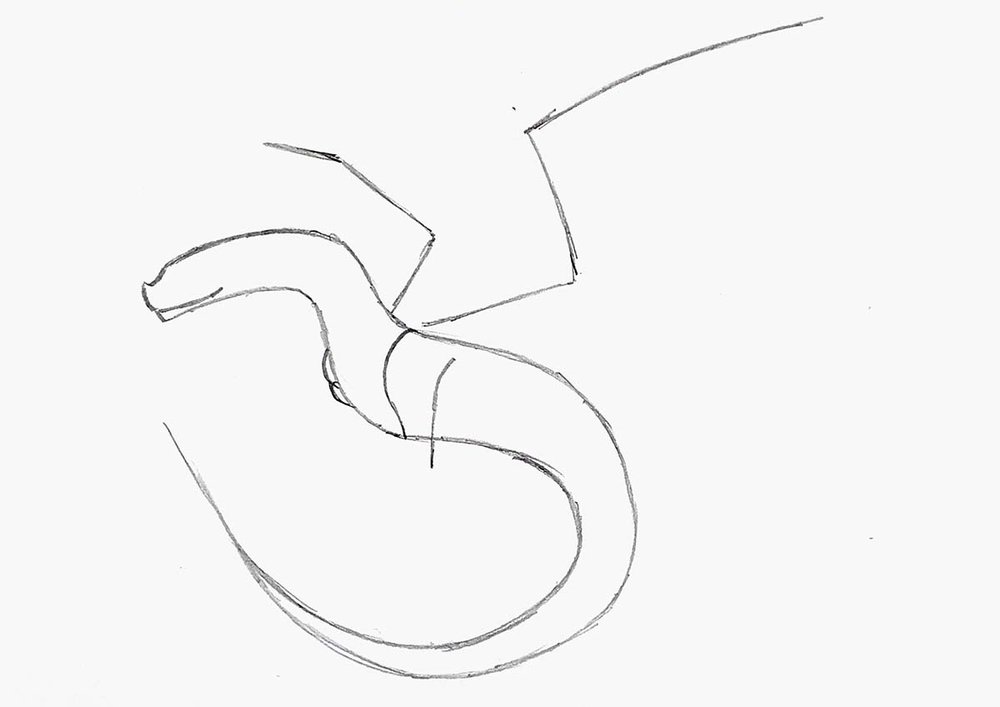
Then, I added the lower arms with spikes on the dragon's elbows.
Lastly, I added the claws. I first sketched the pad and then added the toes and claws.
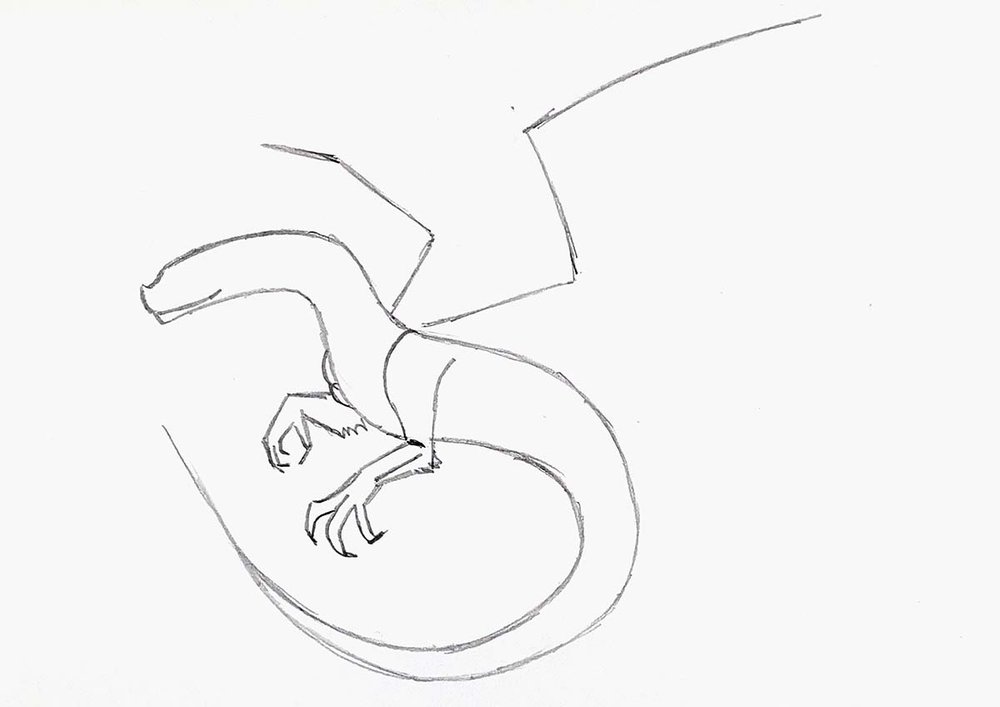
Next, I repeated these steps for its hind legs.

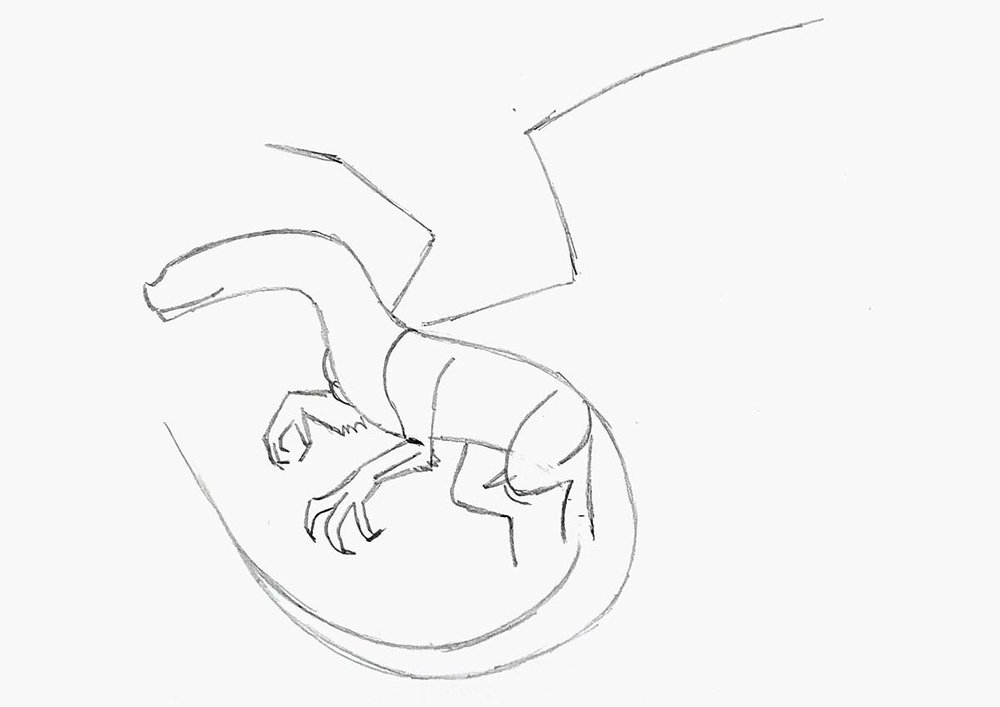
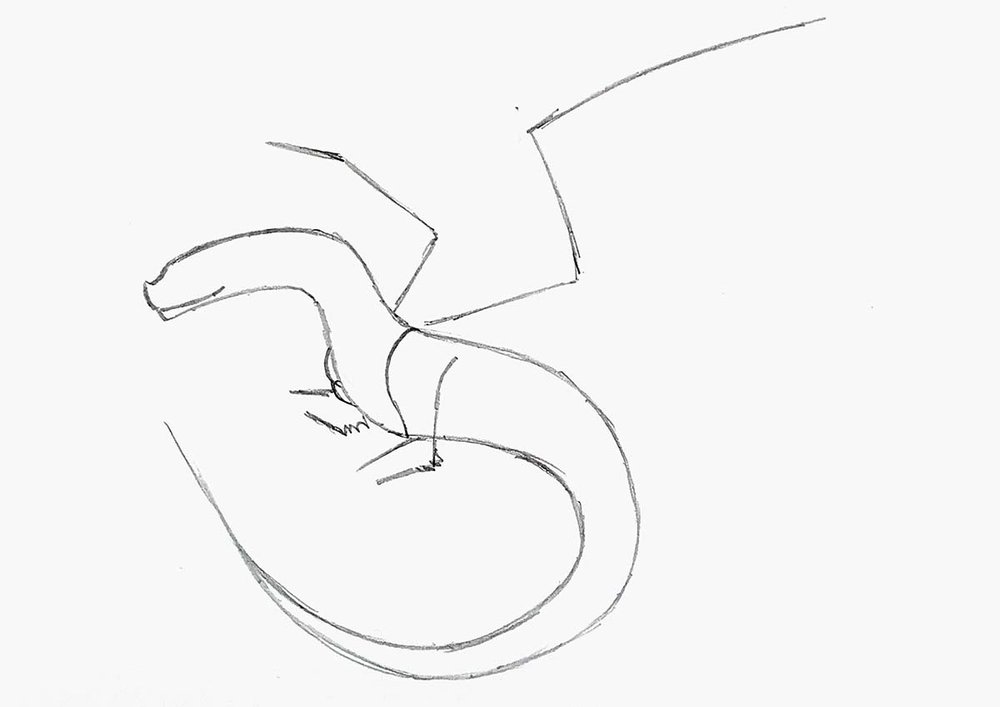
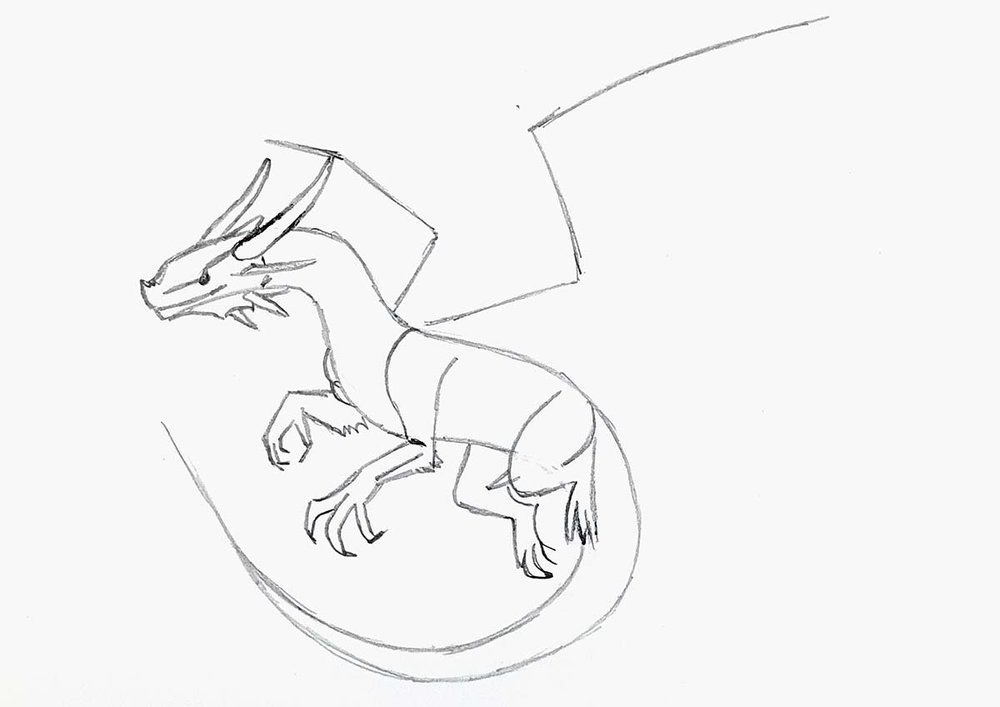
Step 3: Sketch The Head Of The Dragon
After that, I focused my attention on its head.
I first added a lightning bolt-like shape and marked the position of its eye.
Then, I added 2 big horns and a small one in between them.
And to finish the dragon's head off, I added more horns and things on the bottom and back of its head.
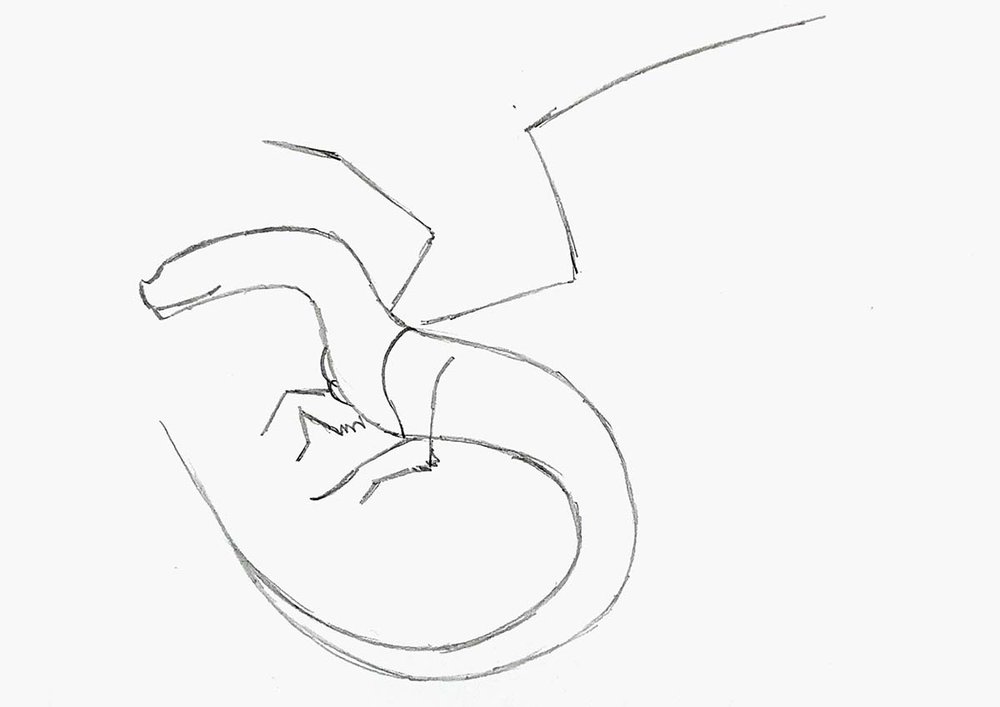
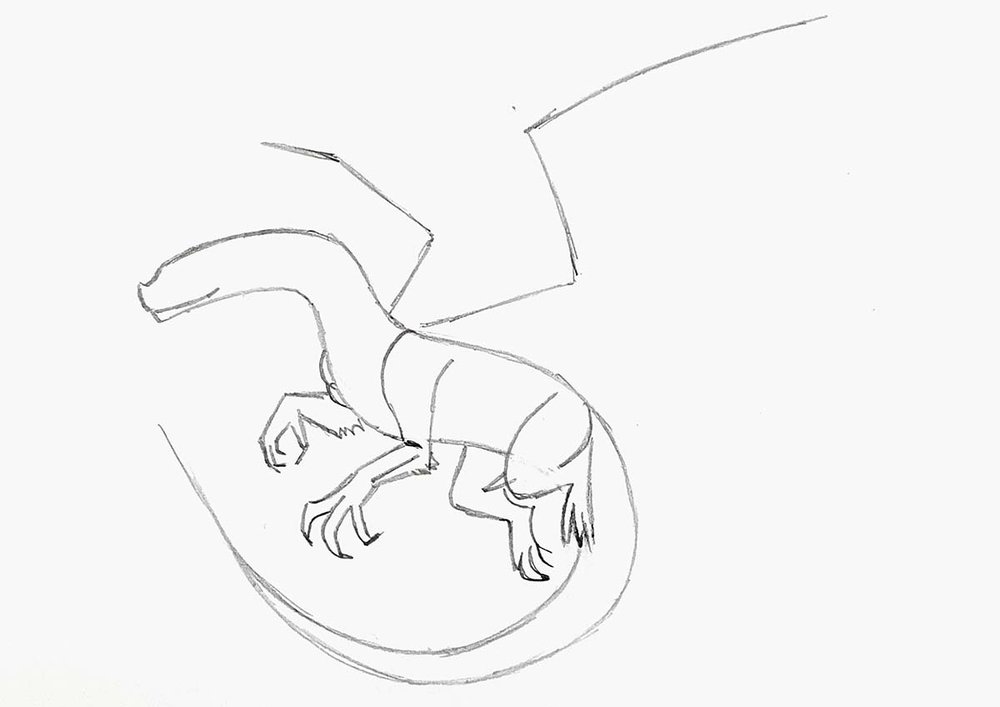
Step 4: Sketch The Tail Of The Dragon
Next, I started working on the tail.
I first sketched a dividing line along the side of the dragon to separate the upper body (dorsal side) from the underside (ventral side).
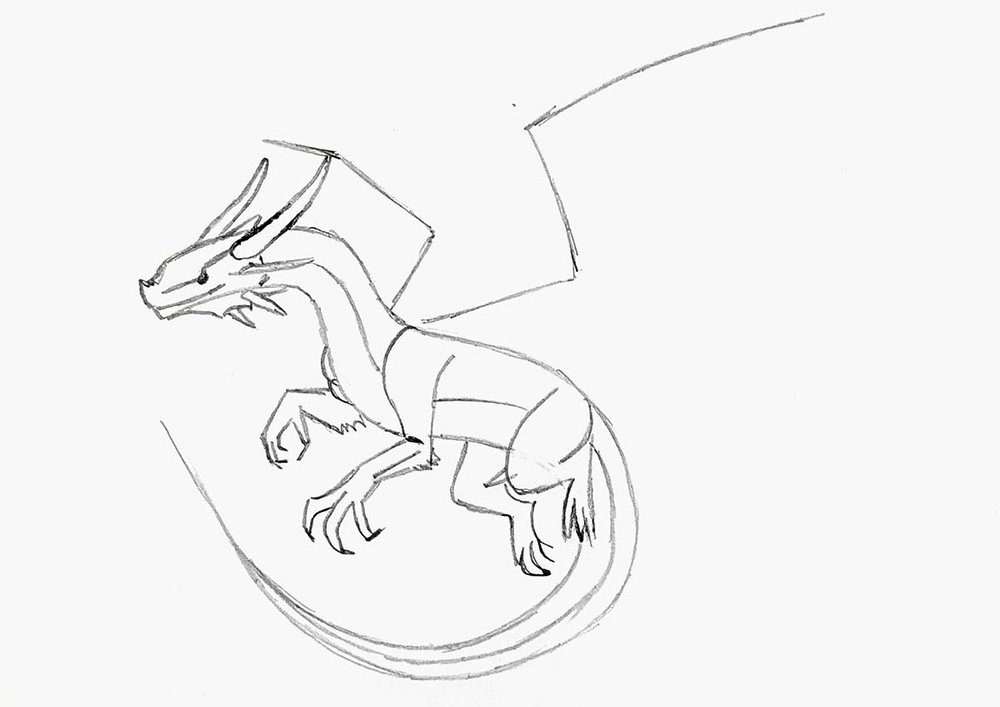
Then, I sketched the segments of the underside of its body, kinda like the belly of a snake.
I also sketched the sharp, pointy tail blade.
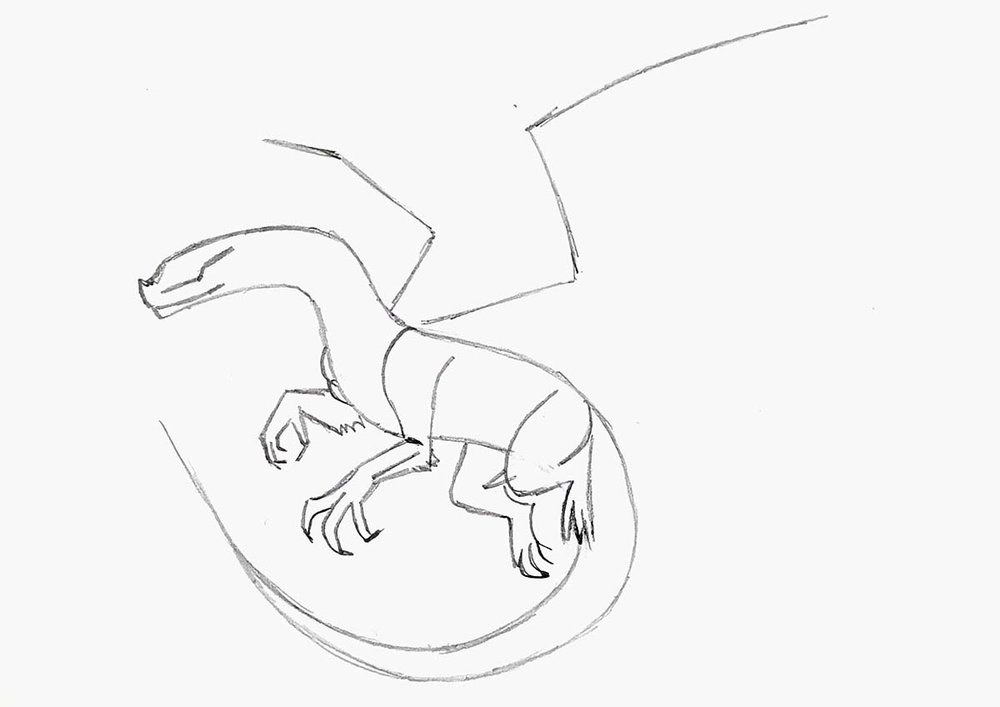
Step 5: Sketch The Wings Of The Dragon
After that, I sketched the wings of the dragon, starting by adding the wing bones.
On the wing on the left, I added 6 wing bones, all diverging from one point.
And on the wing on the right, I added 5 more lines, as I already sketched one.
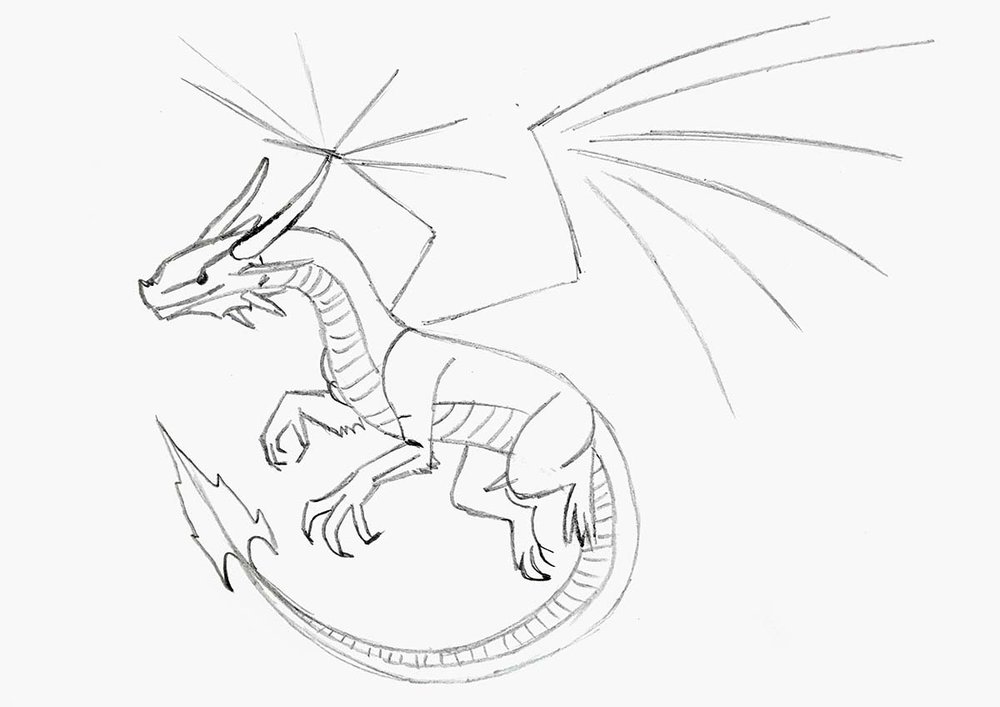
Then, I sketched the outline of the wing membrane.
And to finish the wings off, I added spikes on the ends of each wing bone.
I also sketched the wing arms and added a small bit of membrane to the left of the wing on the left.
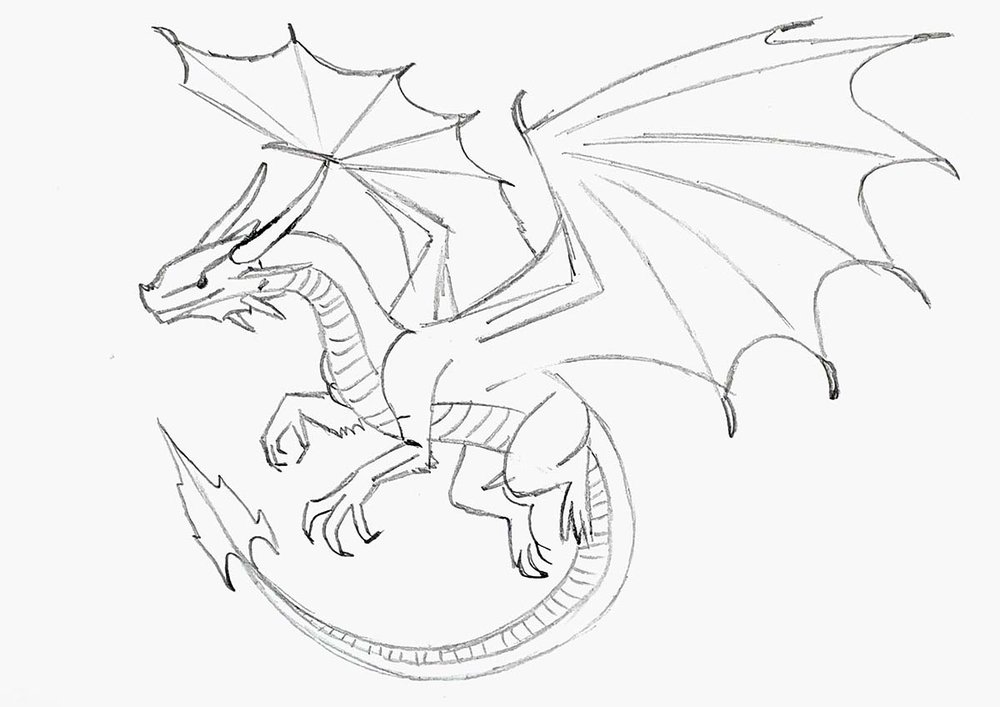
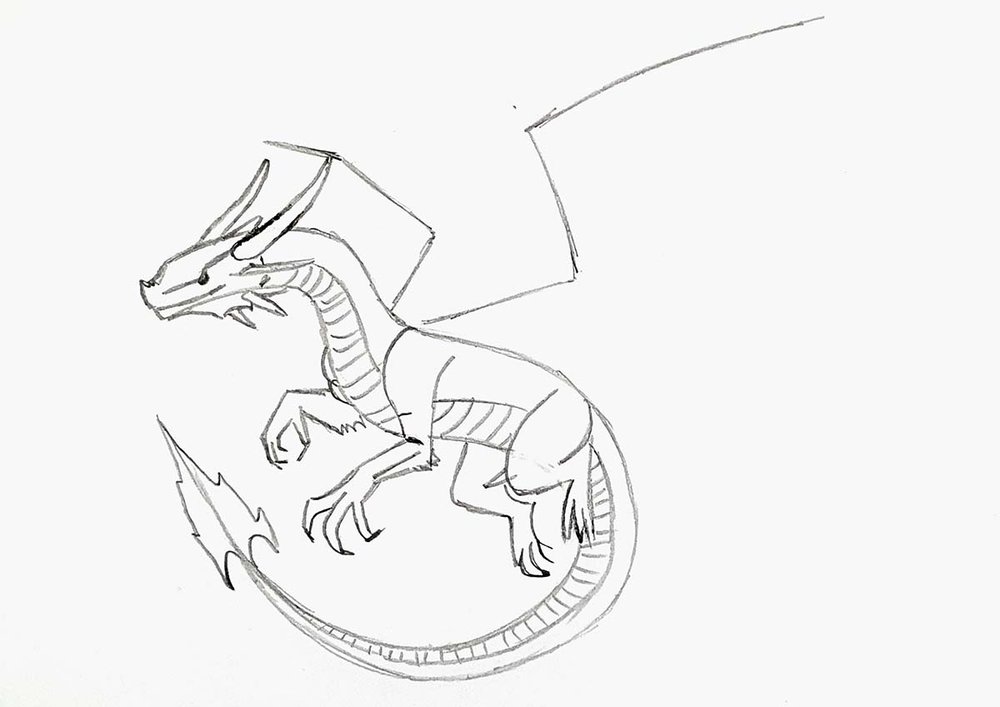
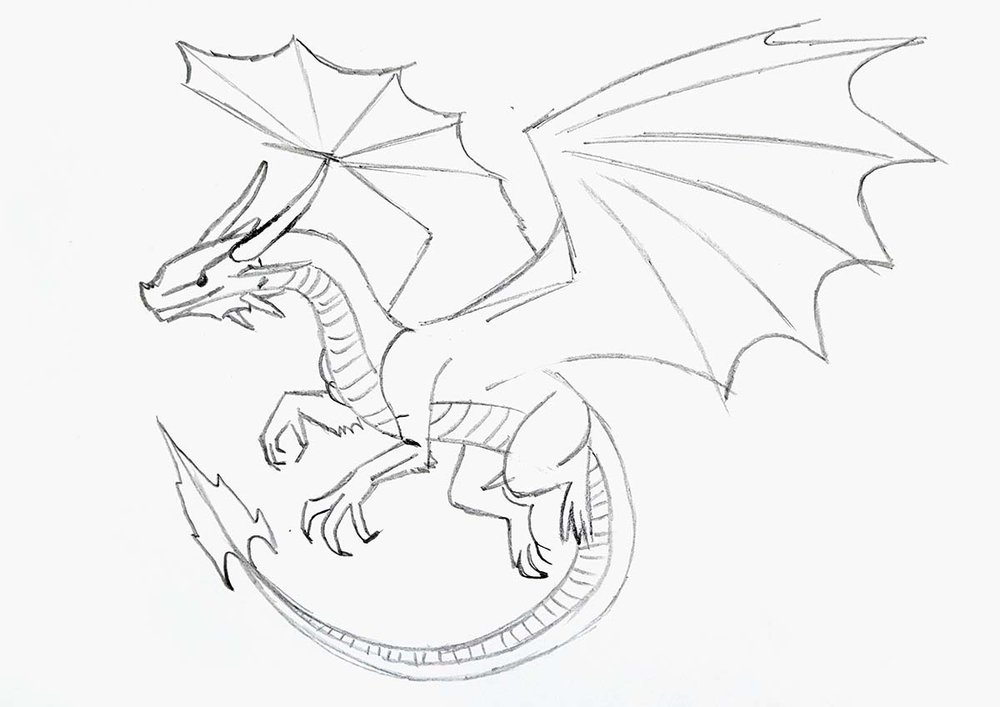
Step 6: Add Spinal Spikes To The Dragon's Back & Tail
To finish the sketch, I added the spinal spikes.
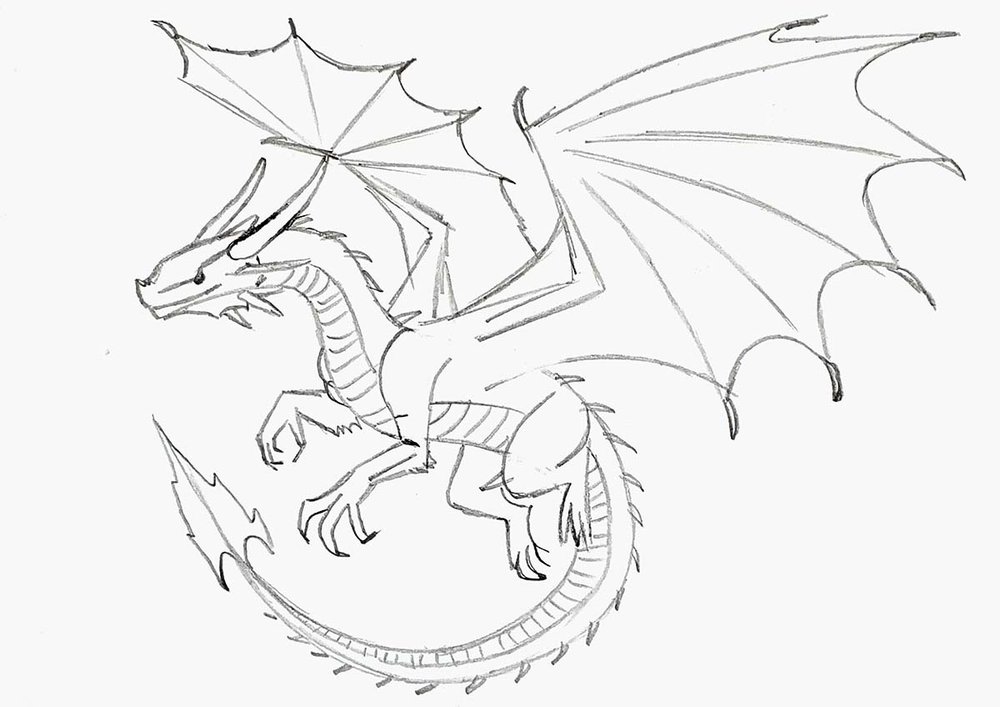
Step 7: Outline The Dragon Sketch With A Fineliner
To prepare the dragon drawing for coloring, I like to outline the sketch with a black fineliner.
I might have gone a little too far with the scale pattern, but it turned out well in the end.
Step 8: Color The Dragon With Markers
Now it's time for the most fun part: coloring!
I first colored the underside of the body and the horns and spikes with Sand White (E280.
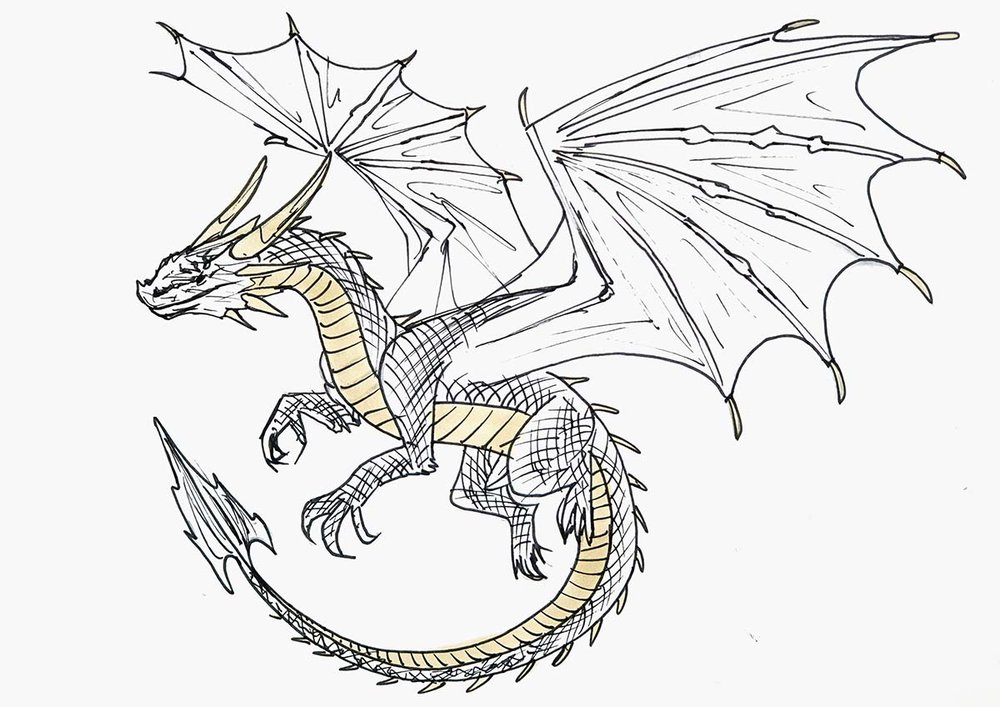
Next, I used Clay (E300) to add shading.
And lastly, I used Dark Brown (E310) to add some darker shading and Dark Suntan (E110) to add more orangy-brown to some of the dark parts.
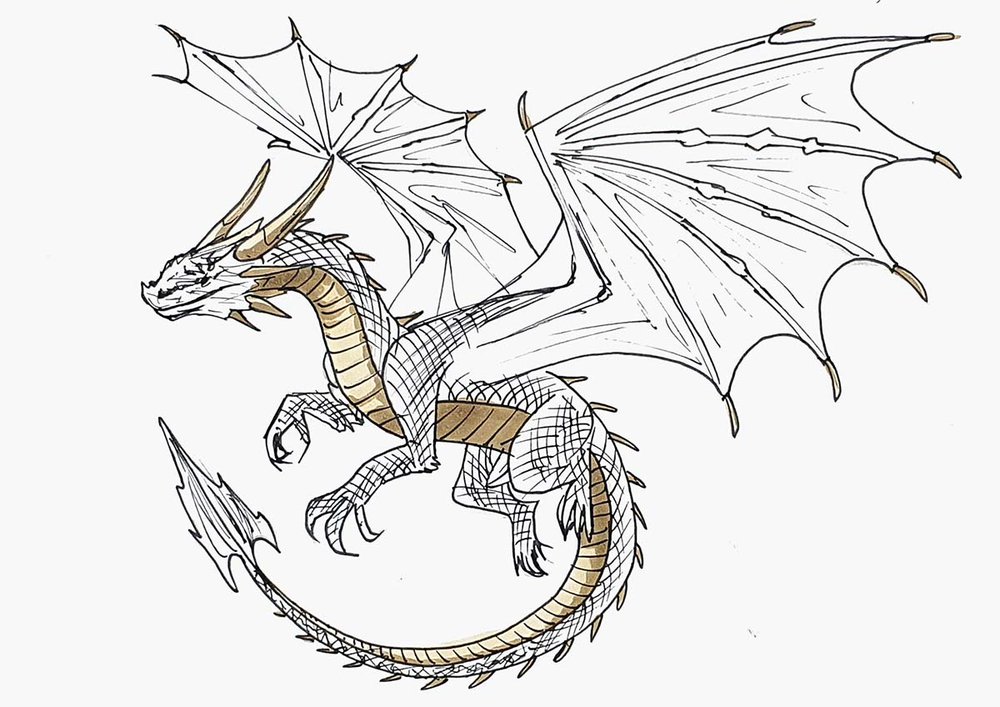
Next, I colored the rest of the dragon's body with Lime Green (G220).
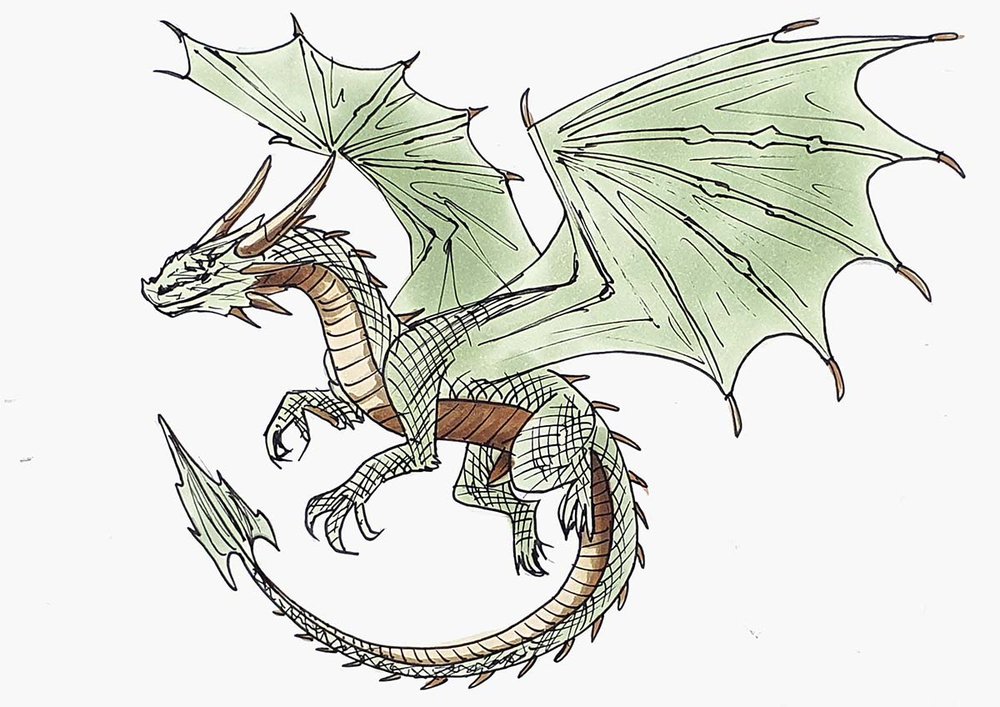
Then, I used Meadow Green (G9) to darken most of it while leaving some edges and a big part of the right wing lighter green.
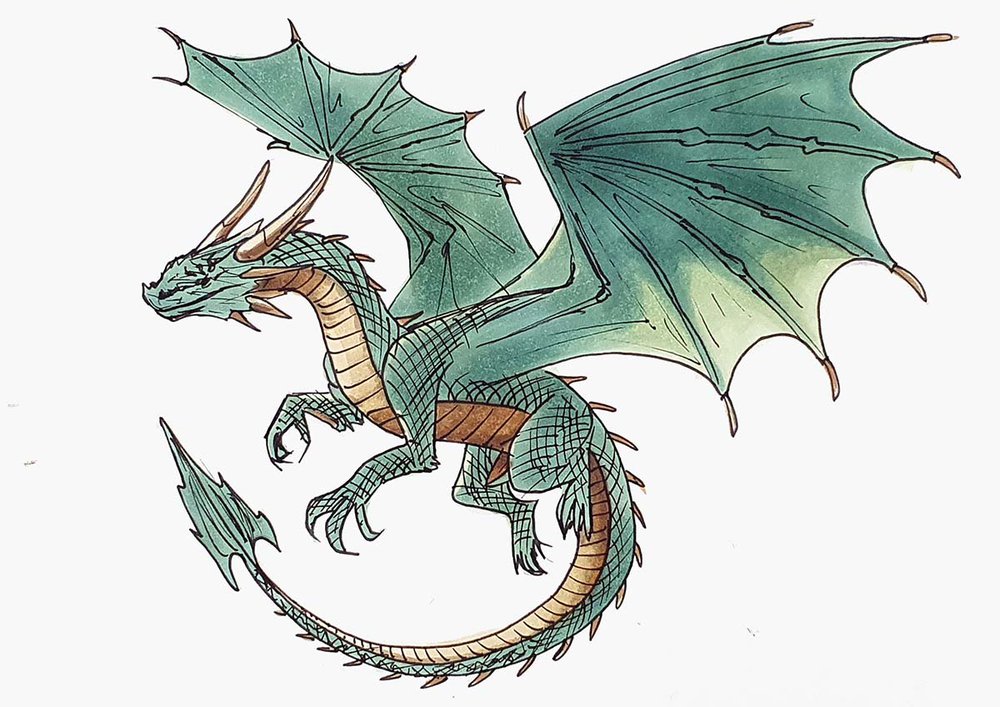
After that, I used Cloud Blue (PB9) to do the same, but leaving more parts of the wings lighter this time.
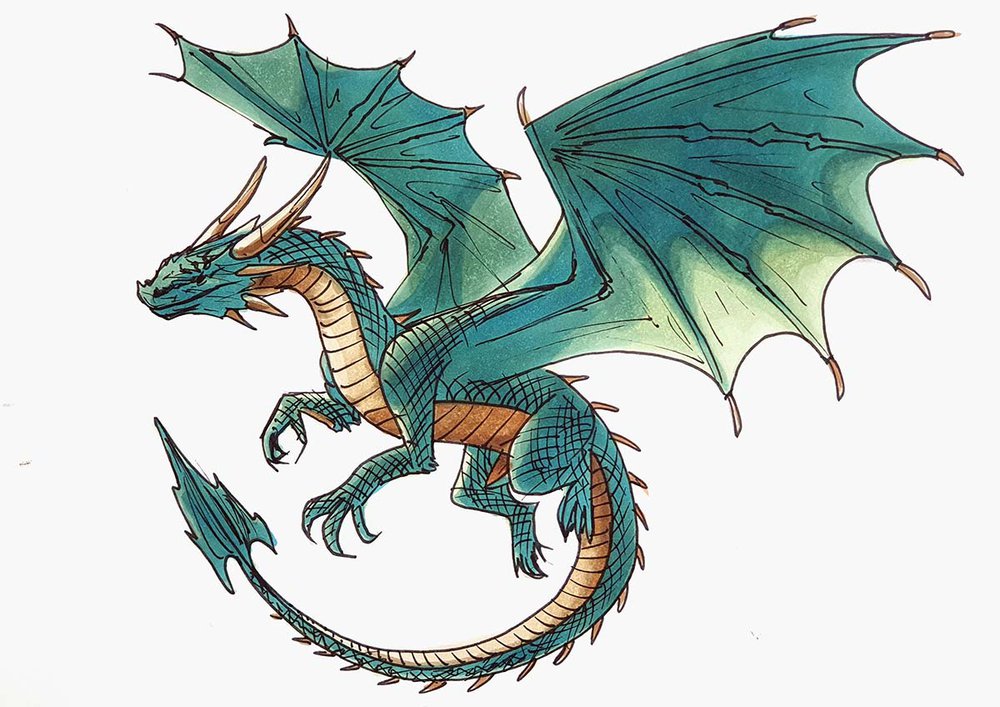
Lastly, I used Marine Blue (PB11) to color the darkest parts. I added some shading on its legs, tail, body, and wings.
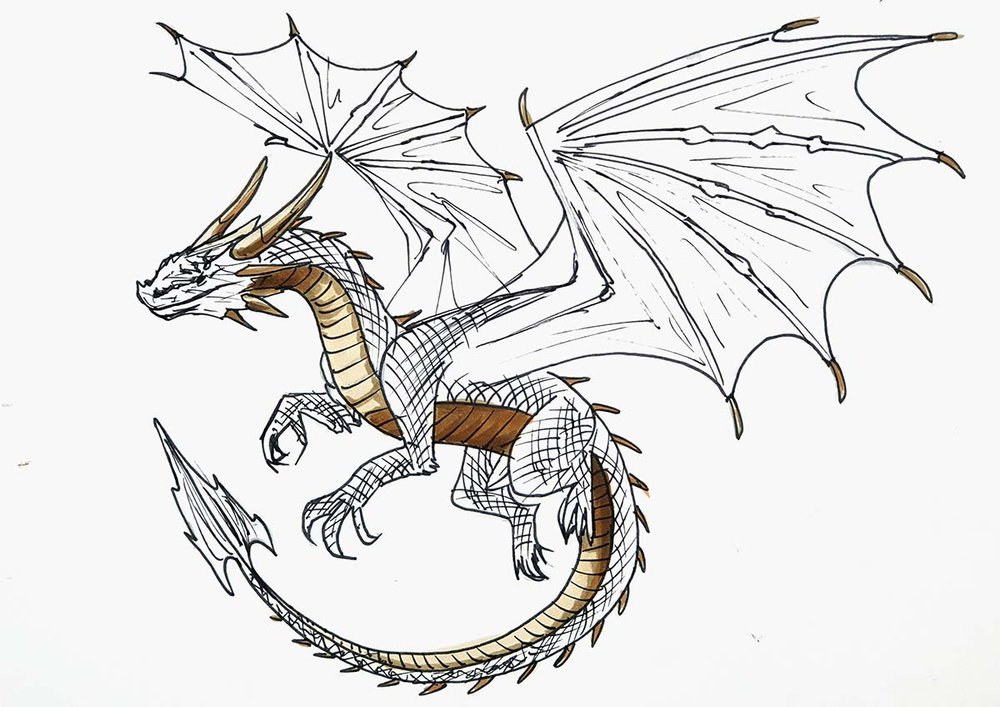
Step 9: Add Details To The Dragon Drawing With Colored Pencils
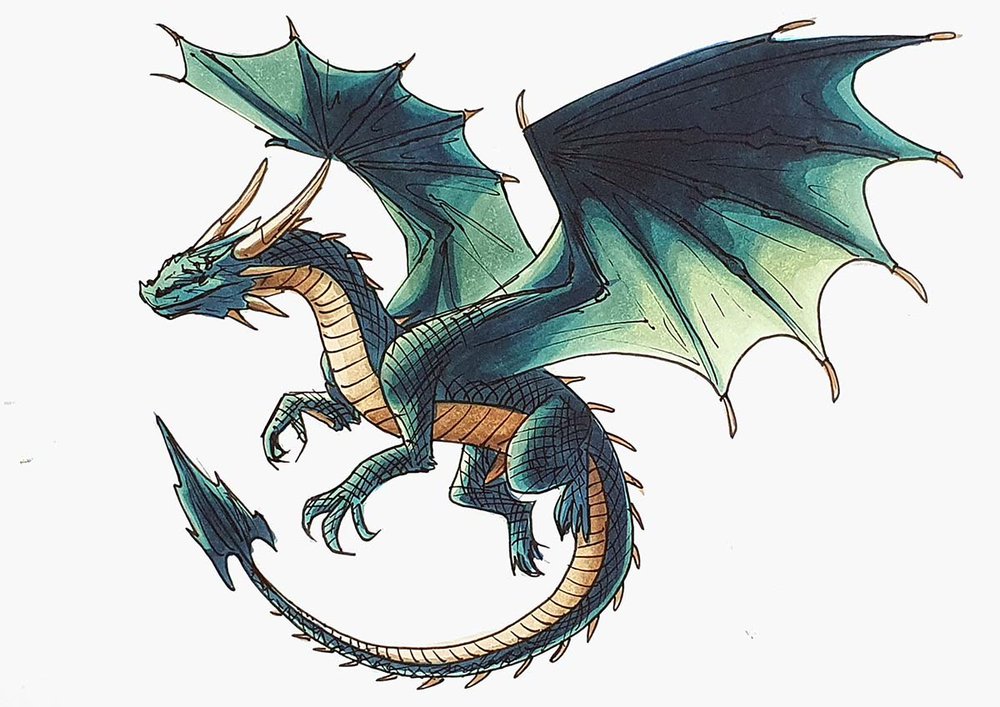
And to finish the dragon drawing off, I added just a few details with a white and a black pencil.
I highlighted the edges of the bone structure in the wings with the white pencil, and I added some rounded V-shaped lines to the wings with both the white and the black pencil.

Then, I looked at the drawing and thought something was missing.
The darkest parts looked too light. So to fix that, I used Neutral Grey 6 (NG06) to add some even darker shading to the top of the back, the tail, and the bones in the wings of the dragon.
Now it looks perfect!
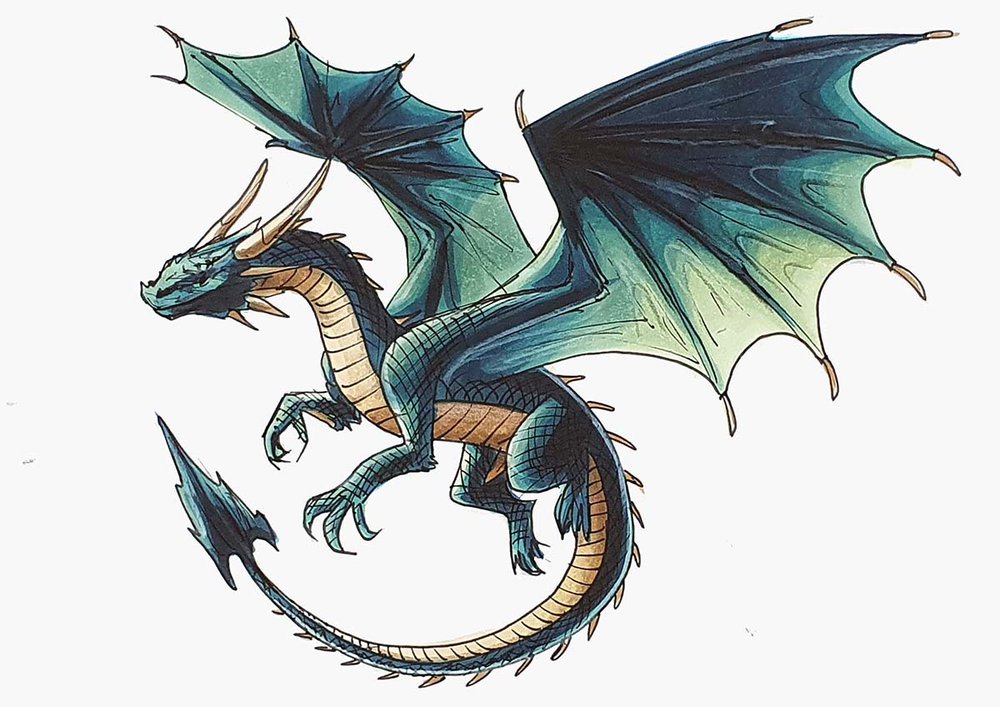
And that's how you draw a simple, yet realistic drawing of a dragon.
I hope you enjoyed this tutorial! I certainly enjoyed making it. The drawing turned out so well that I had to put it on the homepage of my blog.
Thank you!

Tags
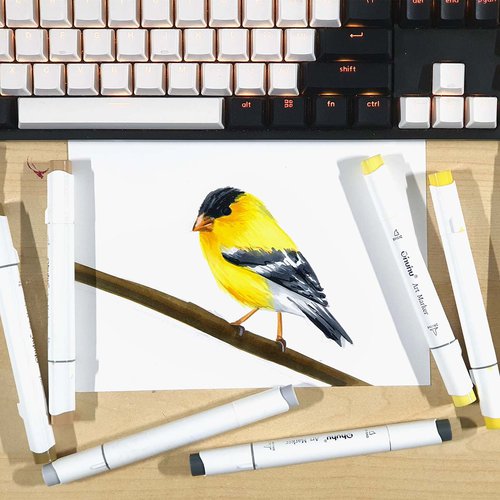
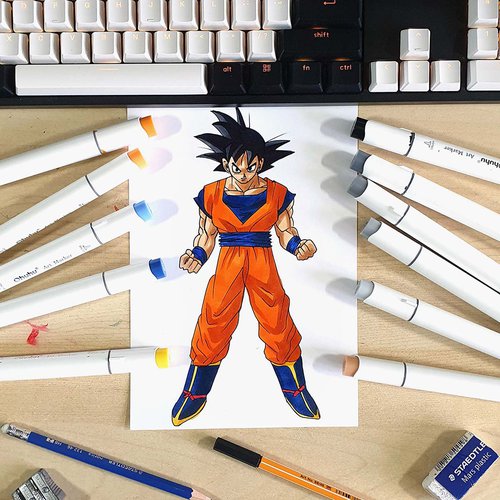
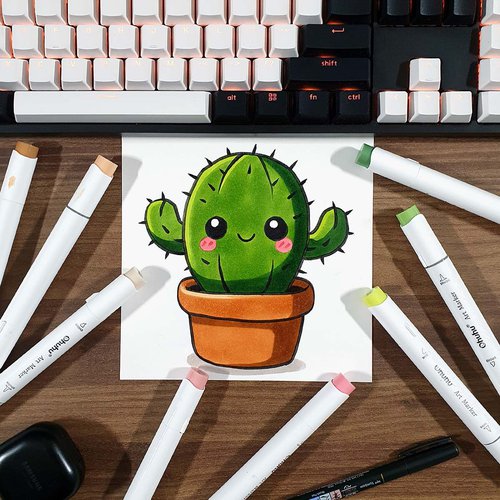
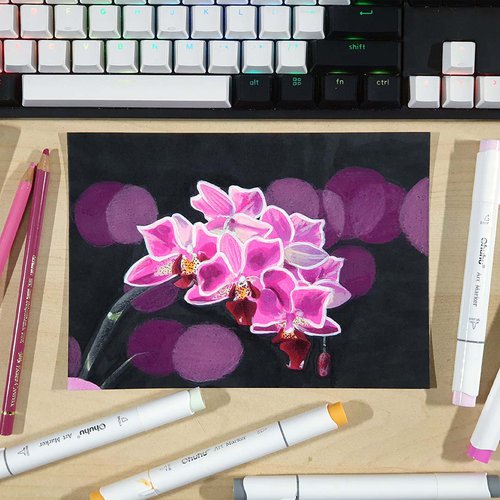
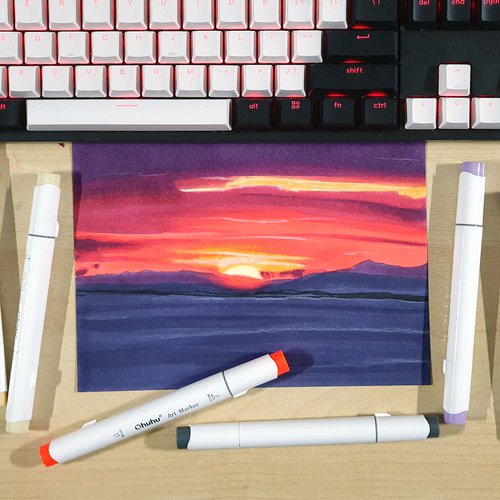
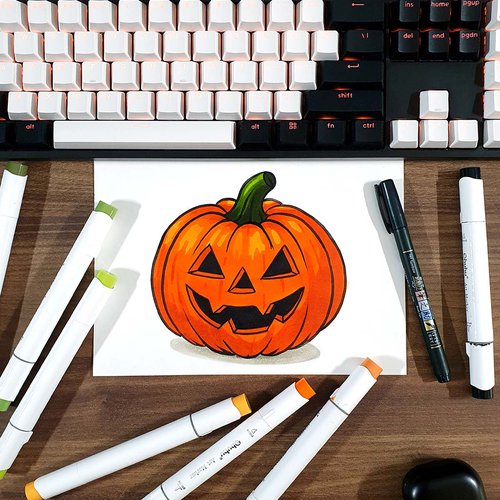
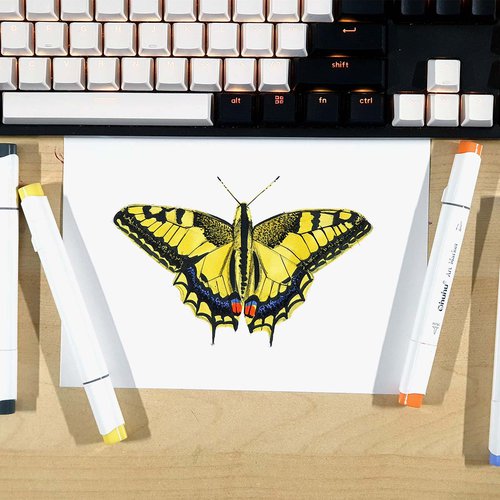
Articles You Might Also Like


I love bringing cars to life with alcohol markers and colored pencils.
Whether you're just starting out or looking to improve your skills, I'm here to help!
Click here to learn more about me.


Be the first to comment!
Comments
There are no comments yet.