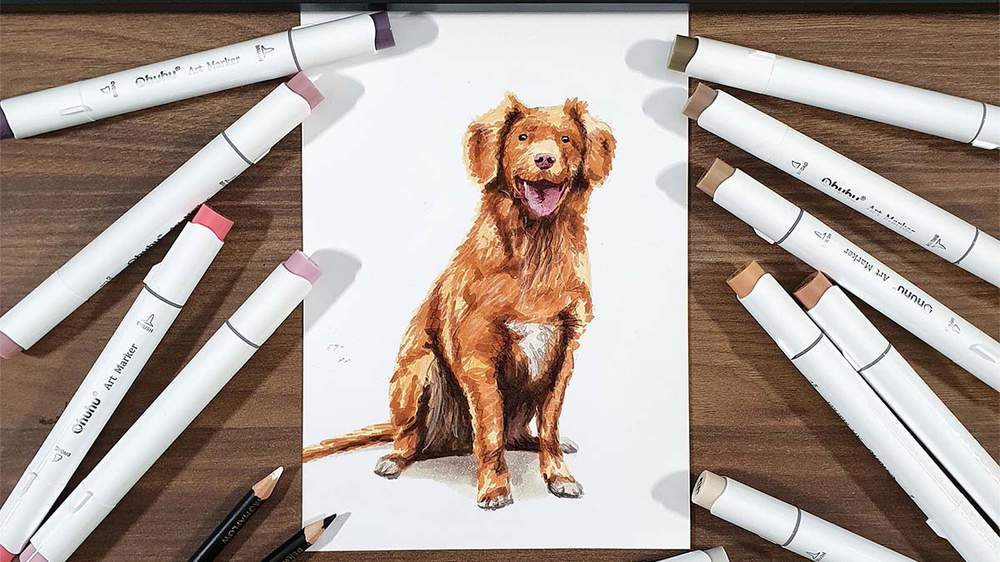
How To Sketch & Color A Realistic Dog From Scratch Step By Step
Dogs are one of the most loved animals in the world—and also one of the trickiest to draw!
With all their fluffy fur, expressive eyes, and unique coloring, it can be hard to know where to start.
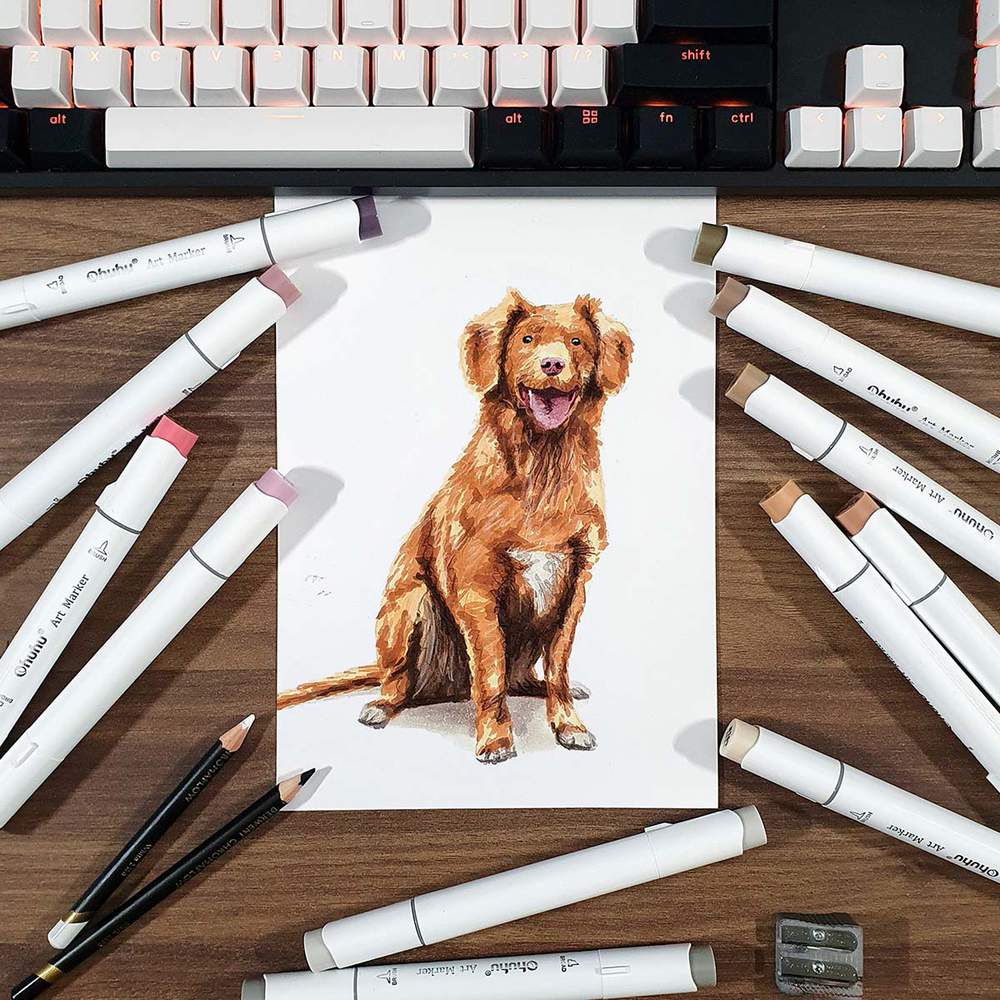
In this tutorial, I’ll show you exactly how I drew this simplified but realistic border collie using markers and 2 colored pencils.
Whether you're a beginner or looking to level up your dog drawing skills, I'll walk you through each step, from sketching the basic shapes to adding fur texture and realistic colors.
Let’s get started!
Disclaimer: In the name of full transparency, please be aware that this blog post contains affiliate links and any purchases made through such links will result in a small commission for me (at no extra cost for you).
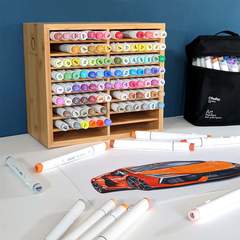
Drawing Supplies I Used To Make This Dog Drawing
To make this drawing I used Ohuhu Honolulu alcohol based markers in the colors Soft Sun (E160), Dark Suntan (E110), Reddish Brass (E120), Caribe Cocoa (E170), Dark Brown (E310), Military Olive (E460), Warm Grey 05 (WG050), Warm Grey 07 (WG070), Warm Grey 09 (WG090), Baby Blossoms (R270), Coral Pink (R1), Colocasia Torino (R282), and Dark Purple Grey (R350).

I also used the black and white Derwent Chromaflow colored pencils.
And I made this drawing on A4-sized Canson Illustration Manga paper.
How Do You Draw A Dog With Realistic Proportions & Coloring?
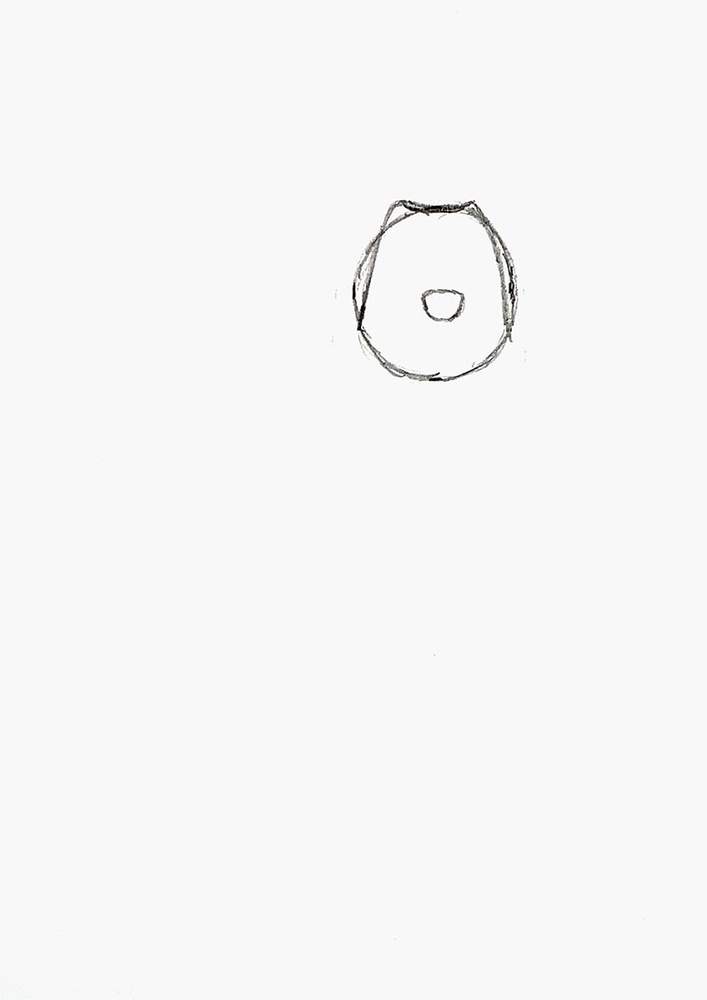
Step 1: Sketch A Circle For The Dog's Head
To sketch this border collie dog, I started by marking out where its head will be with a circle.
I placed the circle towards the top right of the center of the paper.

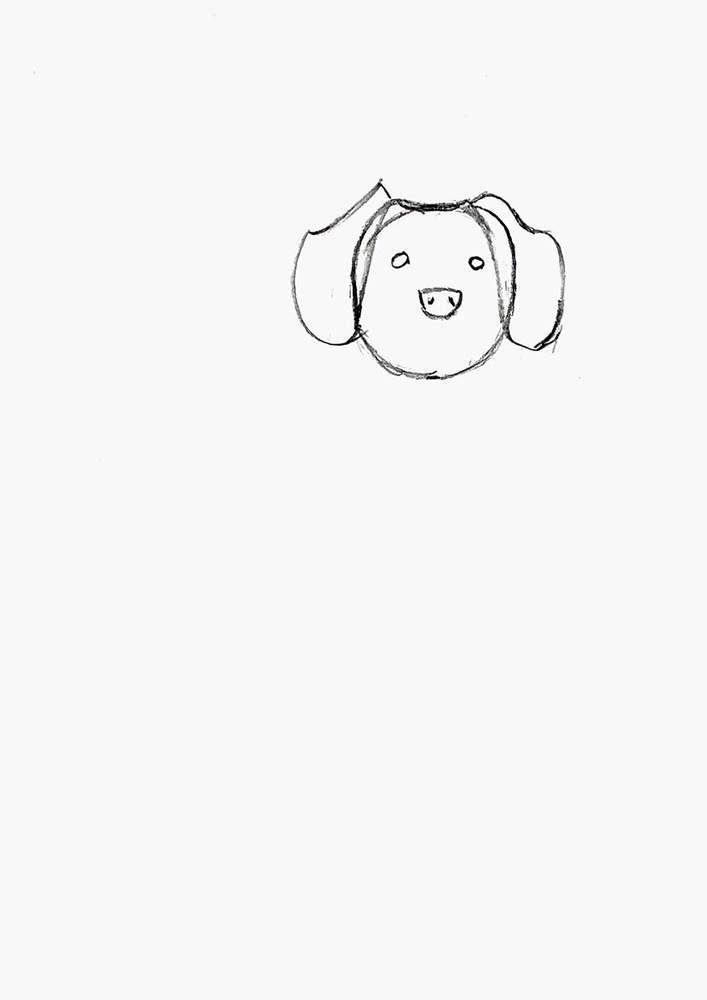
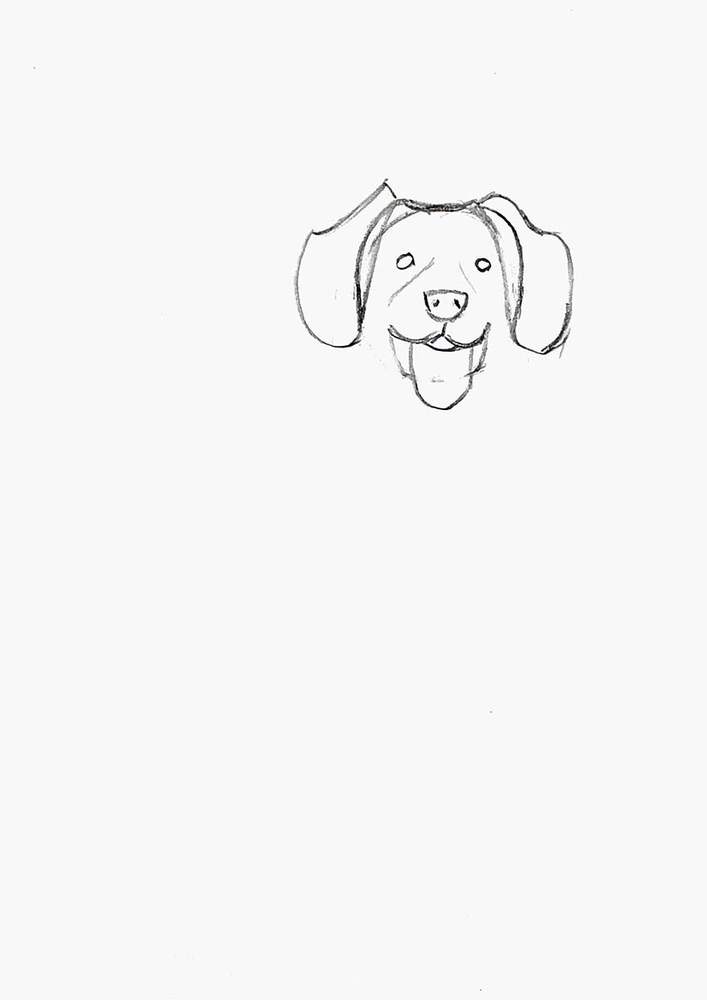
Step 2: Sketch The Dog's Nose, Ears, Eyes, And Mouth
Next, I added its nose just below the center and sketched where the ears overlap its head.
After that, I sketched its ears, added two eyes in the upper half of the circle, and added the nostrils.
The dog does look a lot like a pig right now, but trust me, it will turn out looking like a dog.
Then, I sketched its 3-shaped mouth and added two diagonal lines between the eyes and the nose.
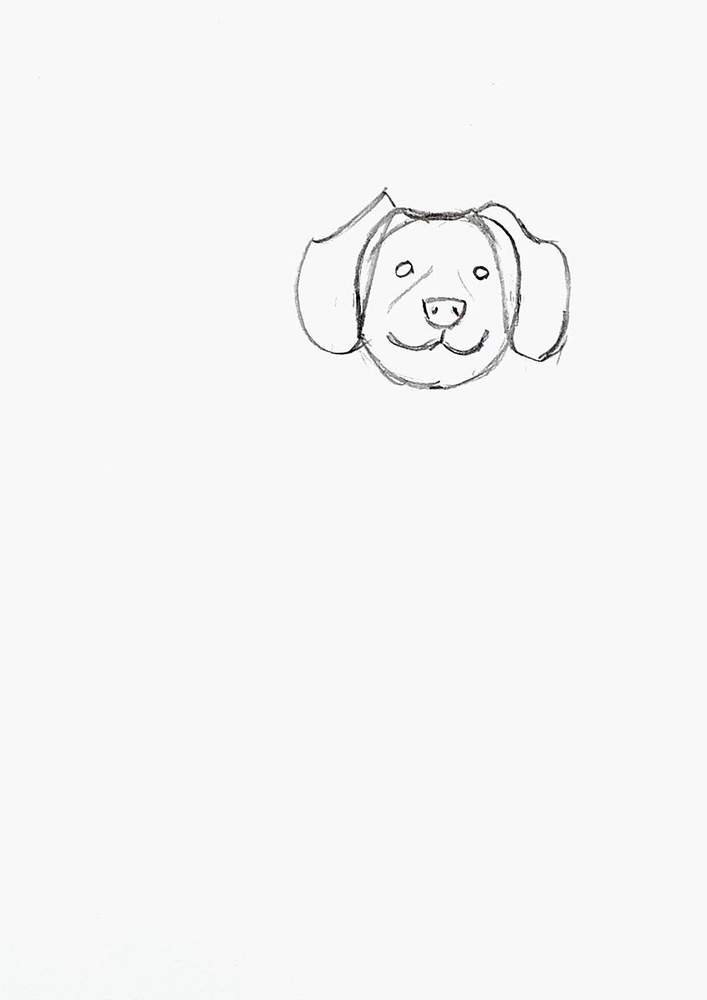
Lastly, I erased the bottom half of the circle and added its tongue and mouth.
Now, it starts to look like a dog.
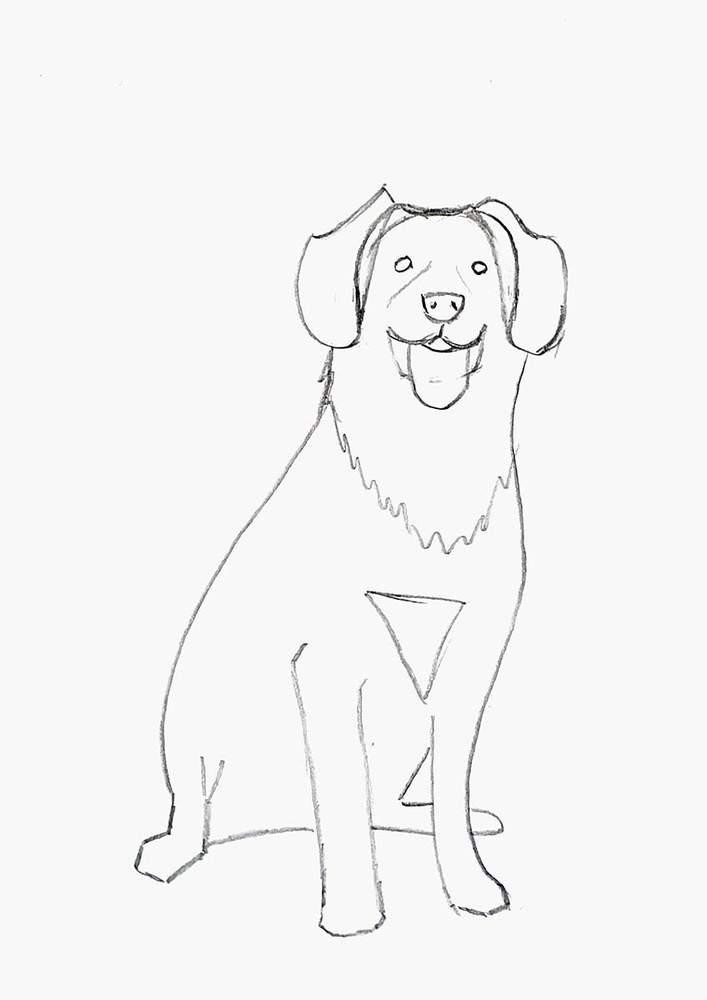
Step 3: Sketch The Dog's Body, Legs, And Tail
Next, I sketched the dog's back on the left side and the chest plus a bit of his front leg on the other side.
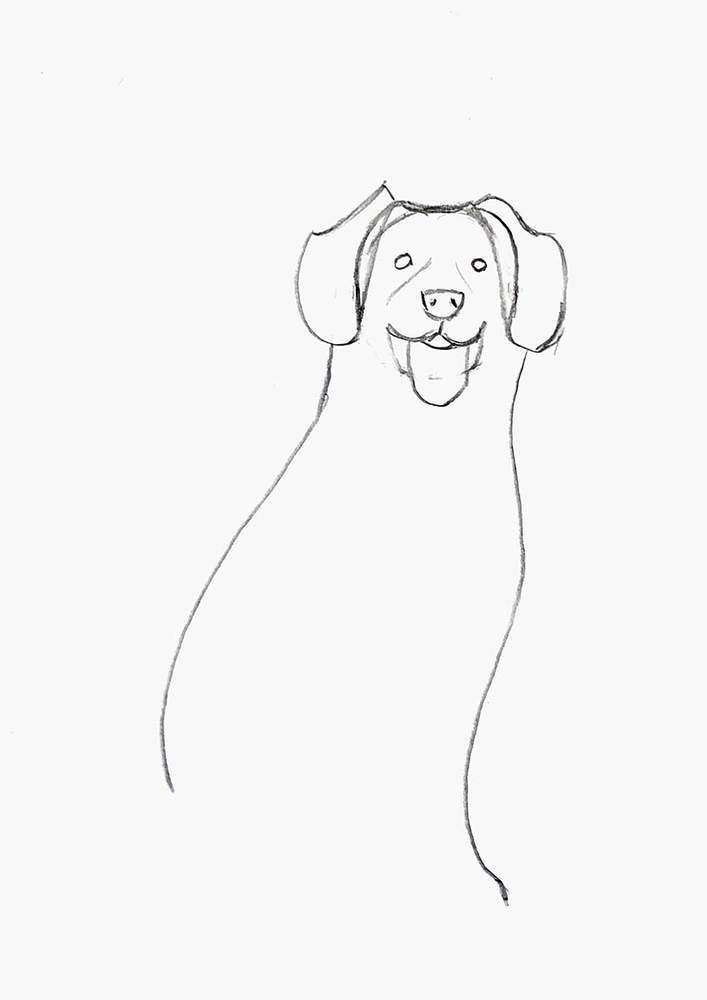
Then, I started sketching his back leg by adding 3 more lines on the left.
I also added 2 lines for its front leg and sketched the paw of the other front leg.
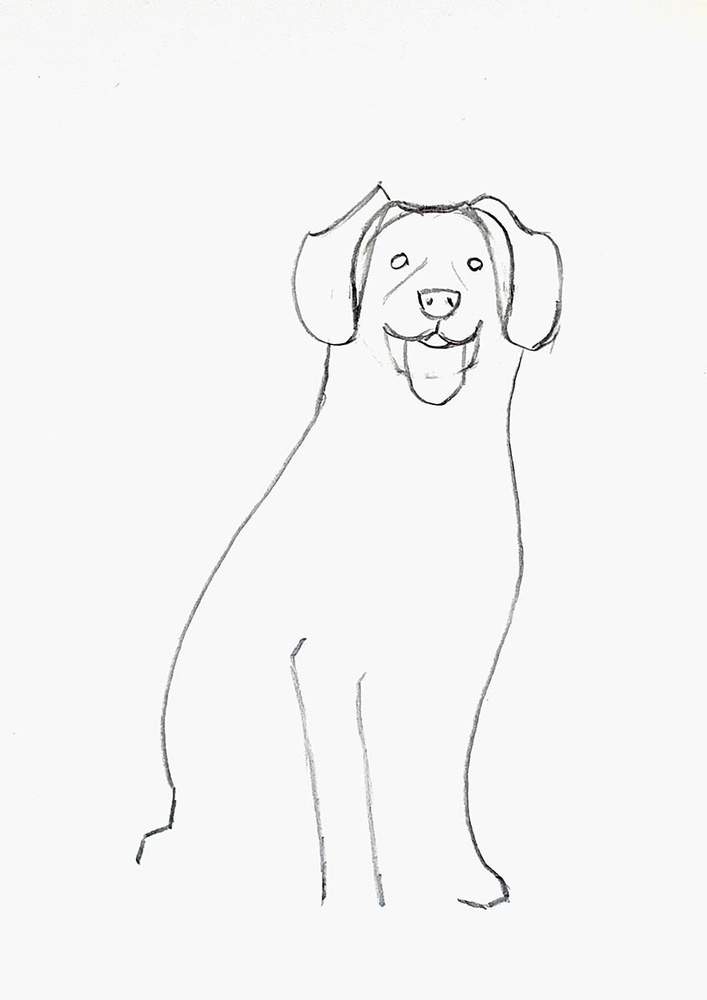
After that, I sketched the remainder of the back leg, the pad of its front leg on the left, and the right edge of its front leg on the right.
I also added the edge between the longer beard fur and the rest of its body.
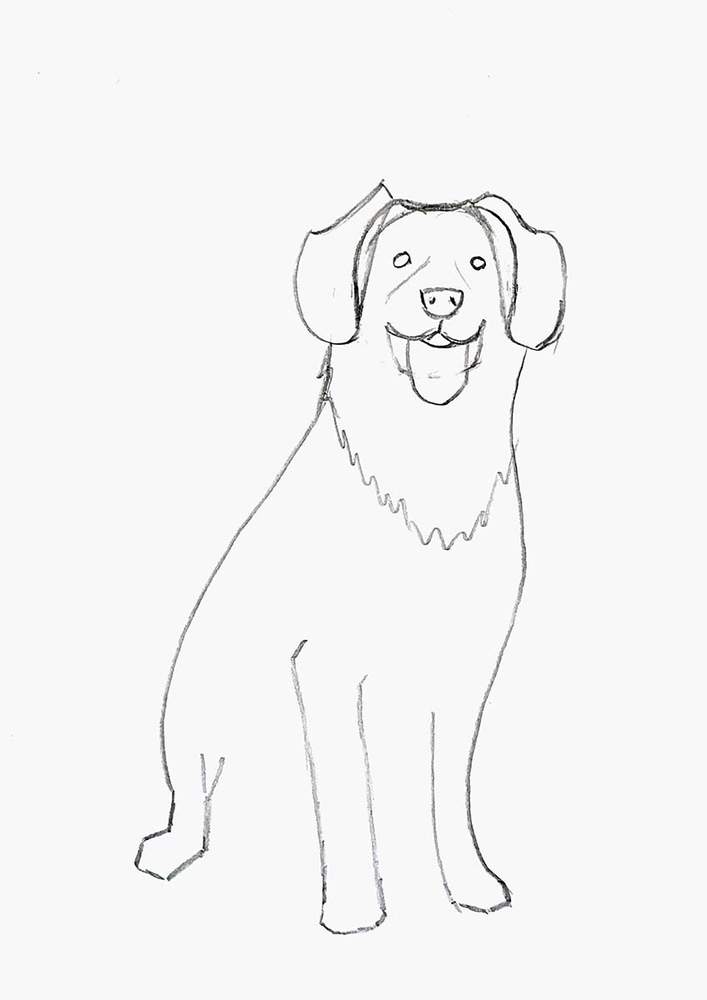
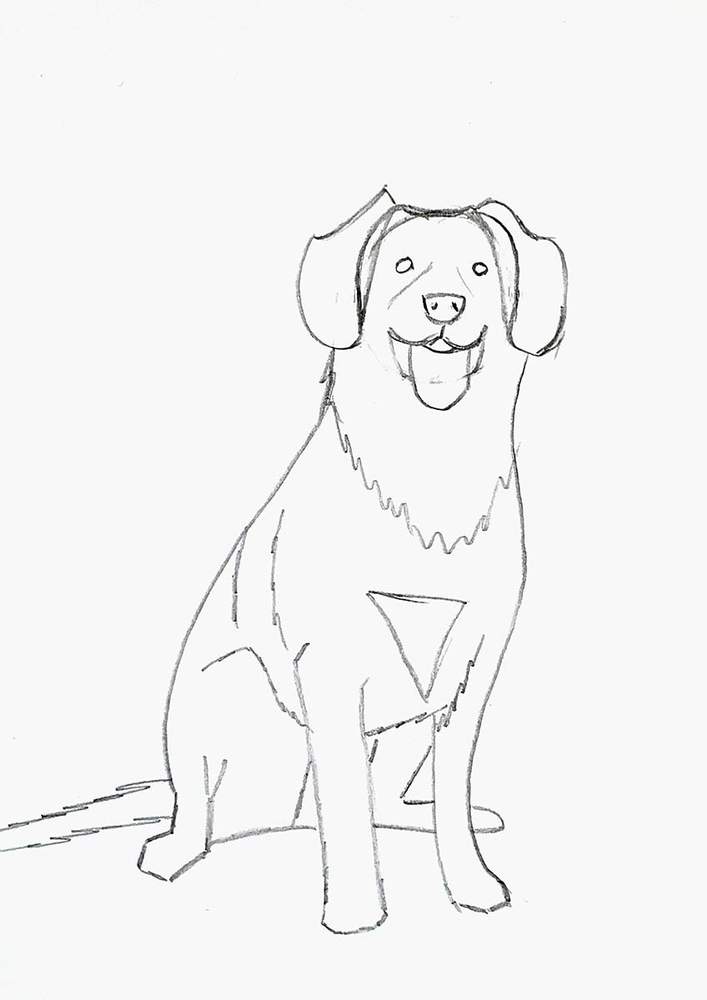
Next, I sketched the other back leg and the bottom of the dog, and I marked out this patch of white fur on its chest.
And to finish the sketch, I added the tail on the left, and some edges where the fur goes in different directions.
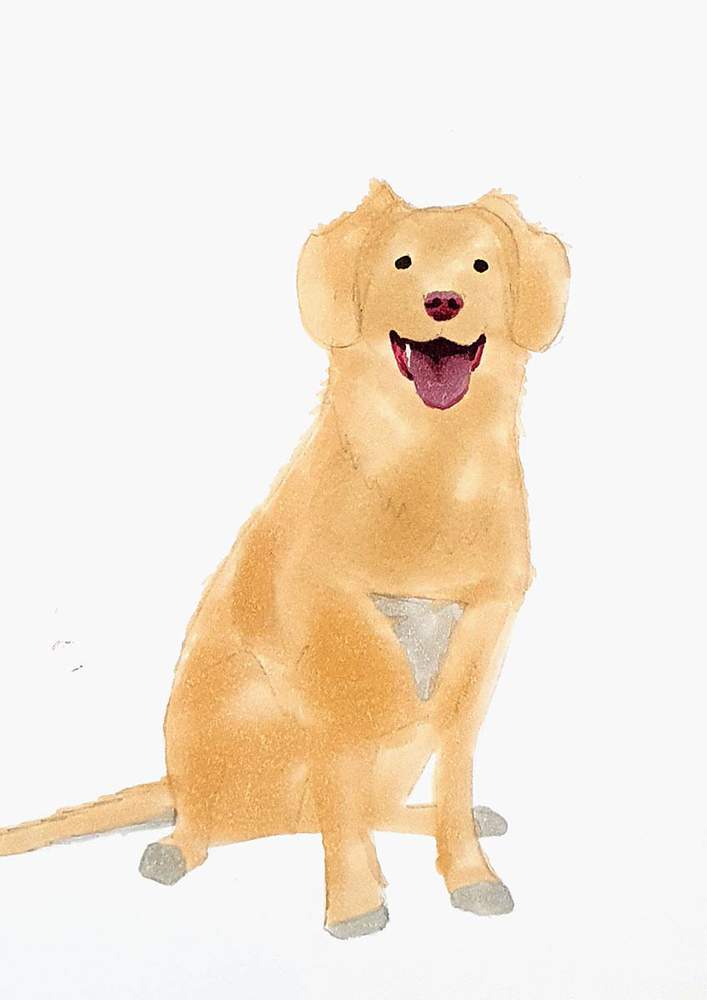
Step 4: Color The Mouth, Nose, And Eyes Of The Dog
Next, I colored the dog using my favorite markers: Ohuhu Honolulu markers.
Before coloring each part, I first lightened the sketch with an eraser so that it doesn't show through the ink of the markers.
I first colored the eyes with Military Olive (E460), the nose and tongue with Baby Blossoms (R270), and the teeth you can see on the left of its tongue with Warm Grey 05 (WG050).
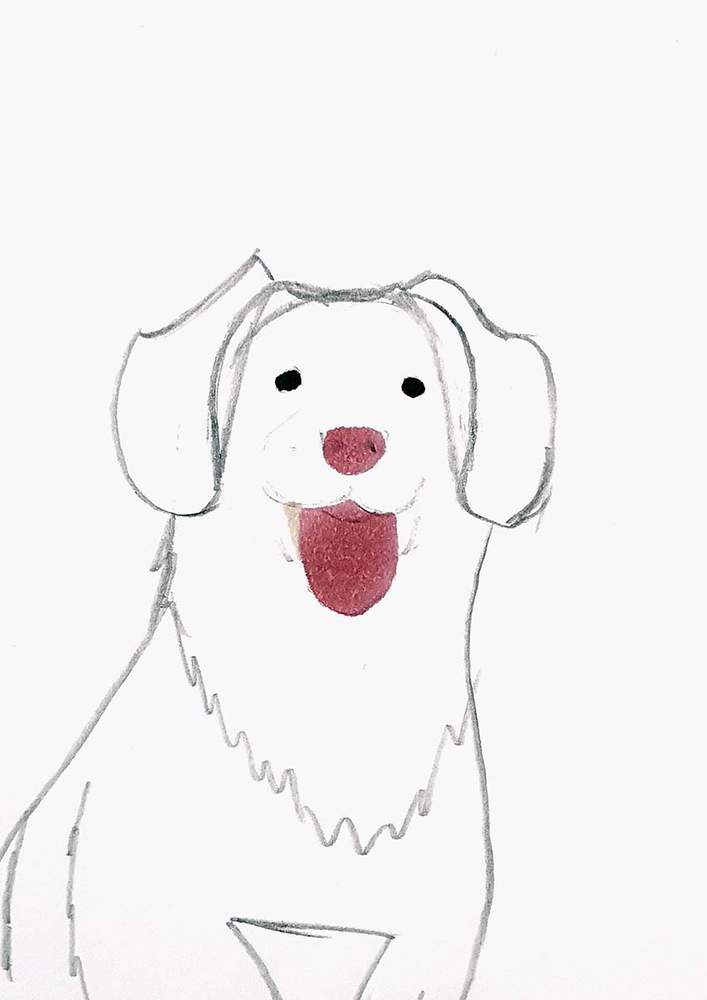
Then, I used Coral Pink (R1) to color the dog's gums, the tip of its tongue, and the tip of its nose.

After that, I used Colocasia Torino (R282) to add more shading to the gums, tongue, and nose.

Lastly, I used Dark Purple Grey (R350) to add the darkest shadows on the nose and mouth.

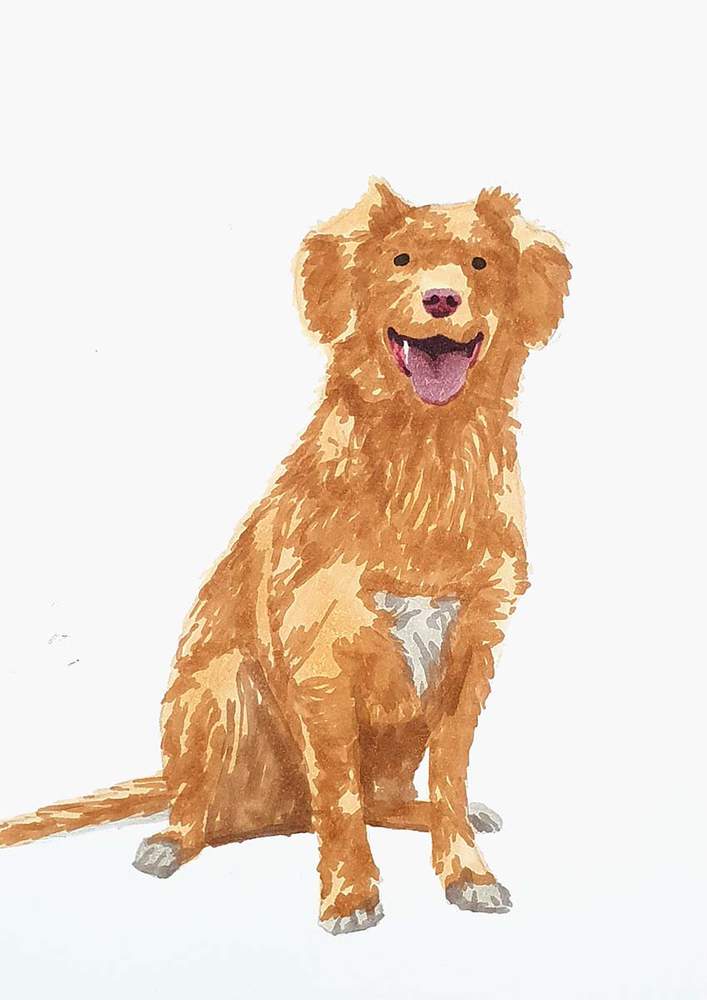
Step 5: Color The Fur Of The Dog
Next up, I colored the dog's fur.
I started by coloring the tips of its paws and the chest triangle with Warm Grey 05 (WG050).
I colored the rest of its body with Soft Sun (E160).
After that, I used Dark Suntan (E110) to add a furry texture by creating short lines with the short edge of the chisel nib.
For its belly, I used Caribe Cocoa (E170).
And I used Warm Grey 07 (WG070) to add shading to the white fur parts.
Then, I used Reddish Brass (E120) to add more shading to the fur.
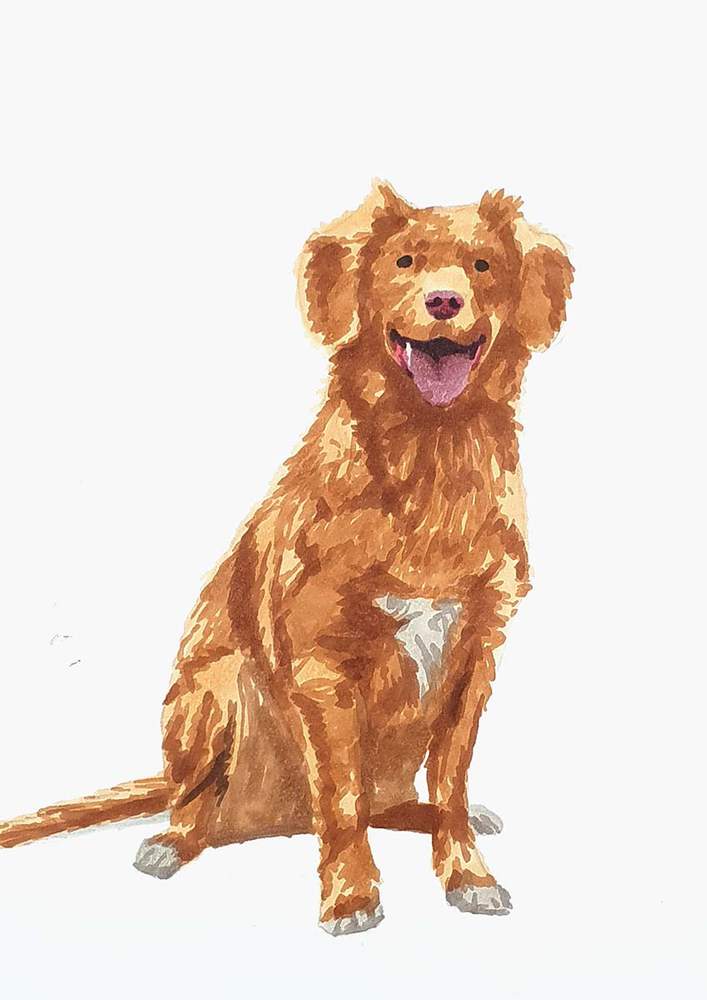
And then, Dark Brown (E310) to add more shading, but in fewer places this time to not make the dog look too dark.

Lastly, I used Military Olive (E460) to add the darkest shading to its belly, and Warm Grey 09 (WG090) for the paws.

Step 6: Add A Few Details With Some Colored Pencils
To make the dog's fur look a little bit more textured, I used the black and white Derwent Chromaflow colored pencils.

I used the black pencil to add short fur-like streaks in the darker areas.
And I used the white pencil to add a fur texture to the lighter areas. I also used this pencil to add the highlights in the eyes and on the nose.
And to completely finish the drawing, I added a shadow with Warm Grey 05 (WG050) and Warm Grey 07 (WG070) in the center, and I colored the weird light spots on its chest below the white fur triangle with Dark Brown (E310).
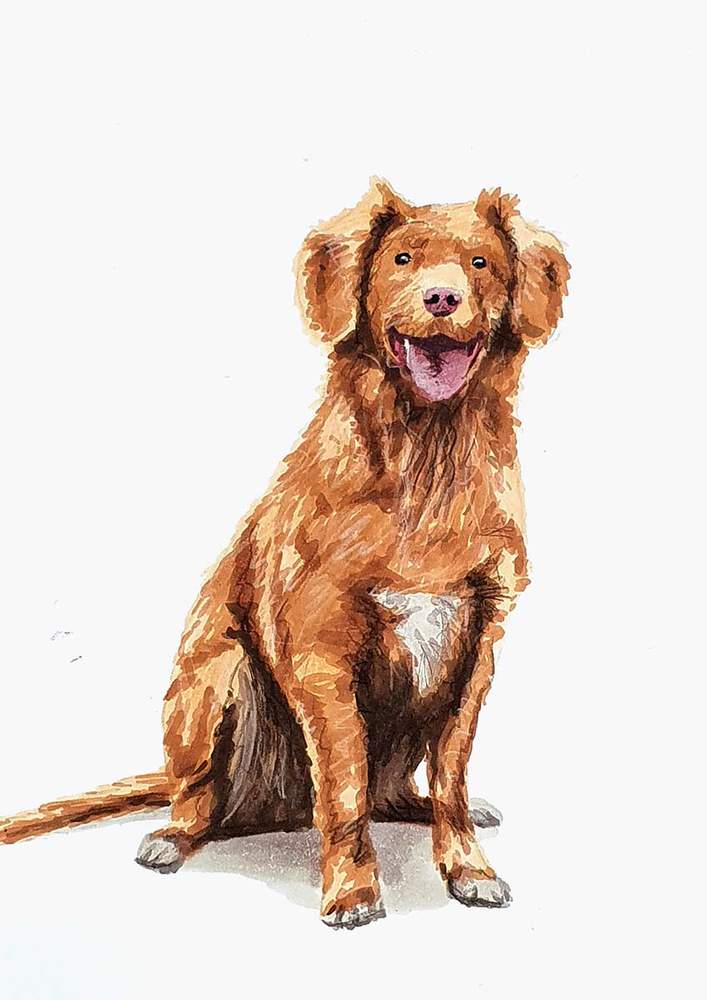
And that's how I sketched and colored this simplified, but still realistic, dog step by step with markers.
I hope you liked this drawing tutorial and learned something!
Thank you for following along!
Tags
Articles You Might Also Like


I love bringing cars to life with alcohol markers and colored pencils.
Whether you're just starting out or looking to improve your skills, I'm here to help!
Click here to learn more about me.


Be the first to comment!
Comments
There are no comments yet.