How To Draw A Daisy - Easy & Realistic Step-By-Step Tutorial
Looking to draw a simple and realistic daisy?
In this flower drawing tutorial, I'll show you how to draw a daisy step-by-step.
Let's get started!
Disclaimer: In the name of full transparency, please be aware that this blog post contains affiliate links and any purchases made through such links will result in a small commission for me (at no extra cost for you).
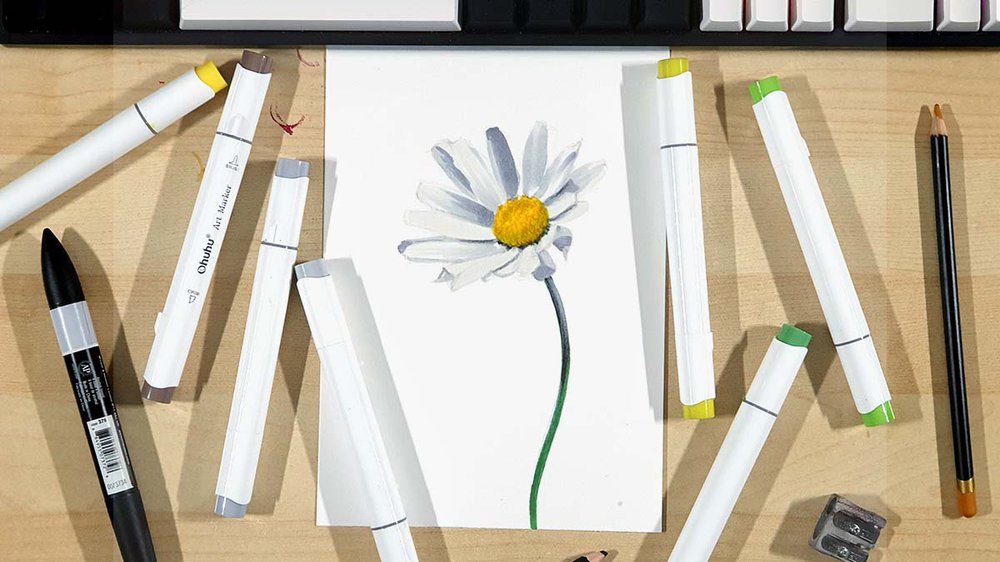
Drawing Supplies I Used To Draw A Daisy
To make this daisy drawing, I used a combination of alcohol markers and colored pencils.
I used the Ohuhu Honolulu markers in the colors G470 Pine Tree Green, E430 Pecan, CG030 Neutral Grey 03, BG060 Deep Cool Grey, Y070 Acid Yellow, and G080 Limeade.
I also used the lightest grey marker I own which is the Winsor & Newton Promarker IG0, but this one is optional.
If you're on a tighter budget, these Caliart markers seem like a good and cheap alternative.
I used the Derwent Chromaflow pencils to add some details. To do that, I used 2400 White, 2300 Black, and 0300 Gold Sun.
And I made this drawing on my favorite marker paper: Canson Illustration Manga. I cut one sheet of paper in half to make it A5-size.
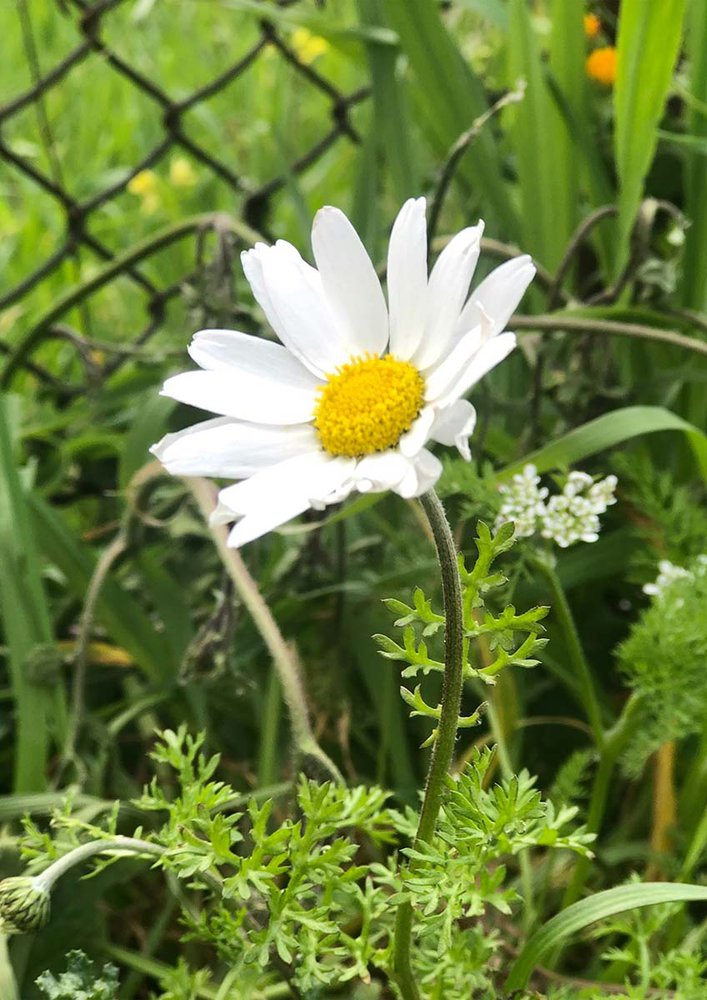
The Reference Photo I Used
To make this daisy drawing, I used a reference photo I found while browsing Unsplash.
How To Draw A Daisy?
To draw a daisy, you first sketch the basic outline. Then, you sketch the petals and the stem. Next, you color the daisy with markers, building the colors up from light to dark. And to finish it off, you add a few details with colored pencils.
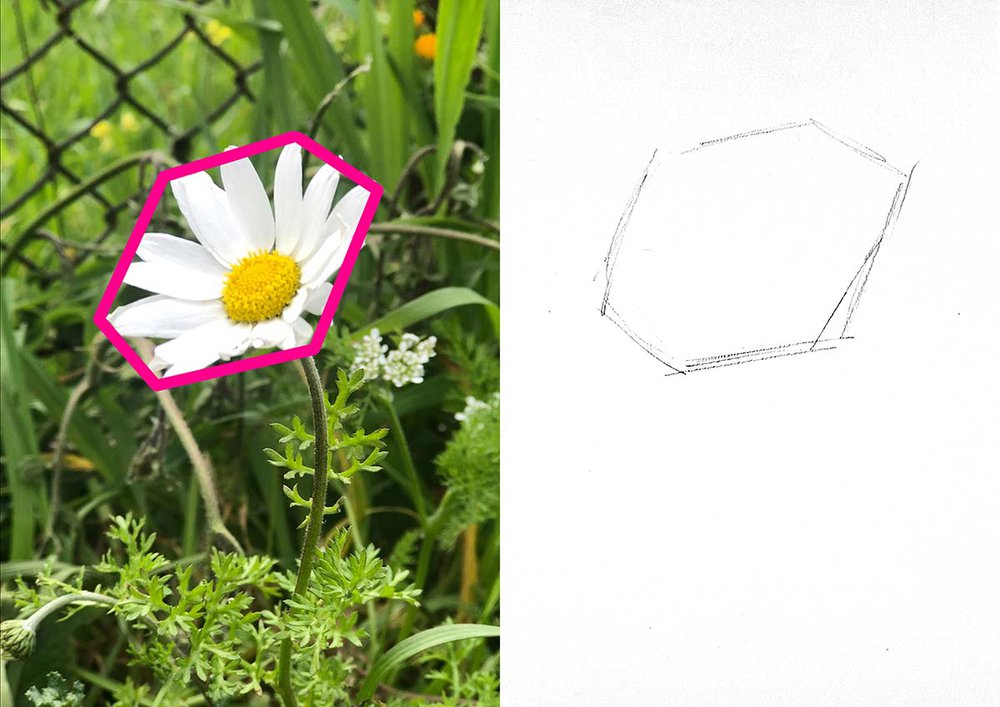
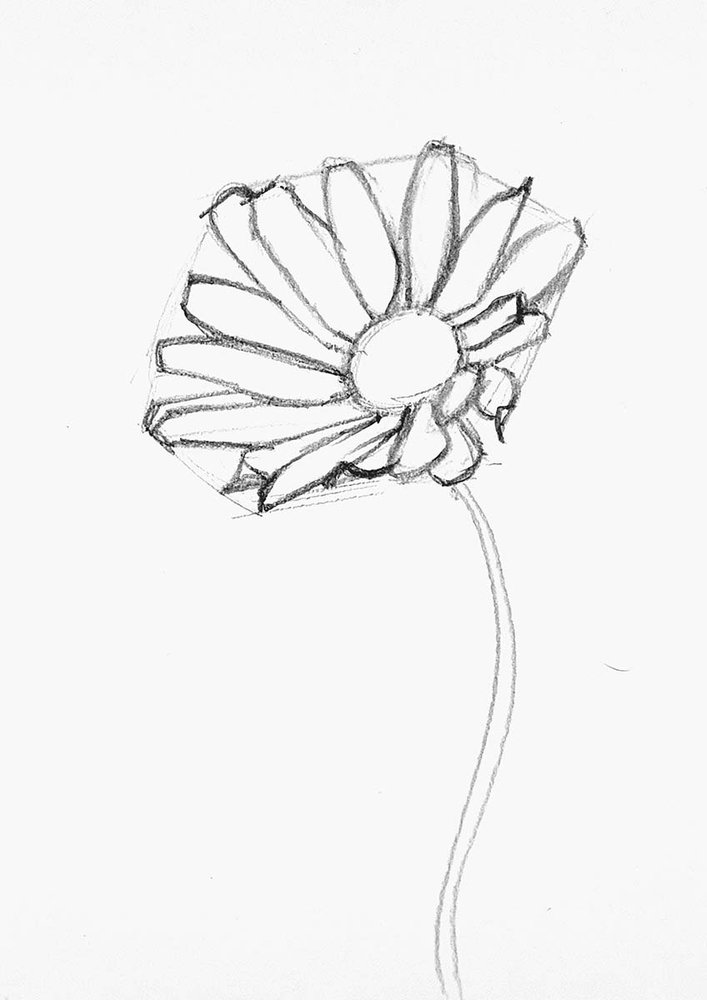
Step 1: Sketch The Outline Of The Daisy
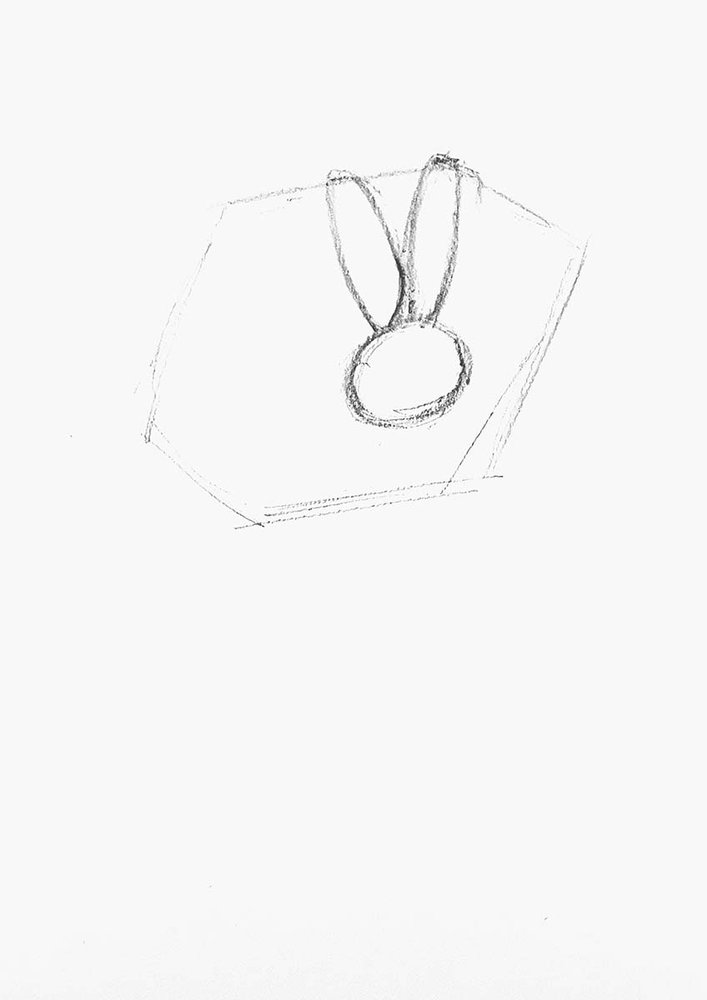
To start off, I first sketched this slanted hexagonal shape where the whole flower fits inside.
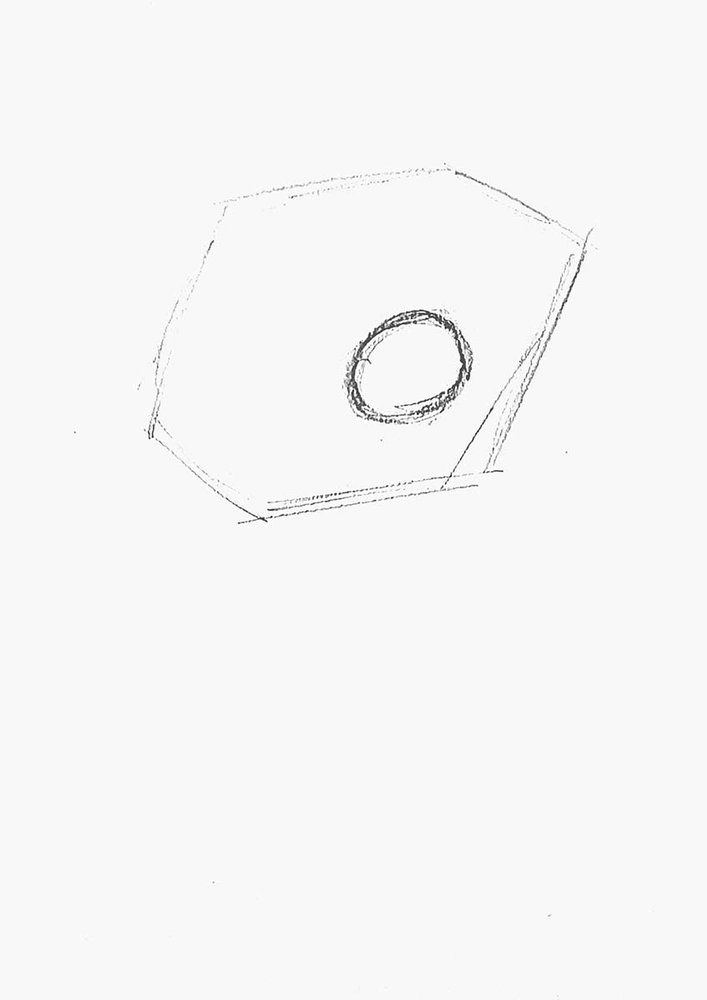
Next, I sketched a circle to mark the center of the daisy.
After that, I sketched the first 2 petals.
I started with the top ones as they looked the easiest and weren't behind any of the other petals.
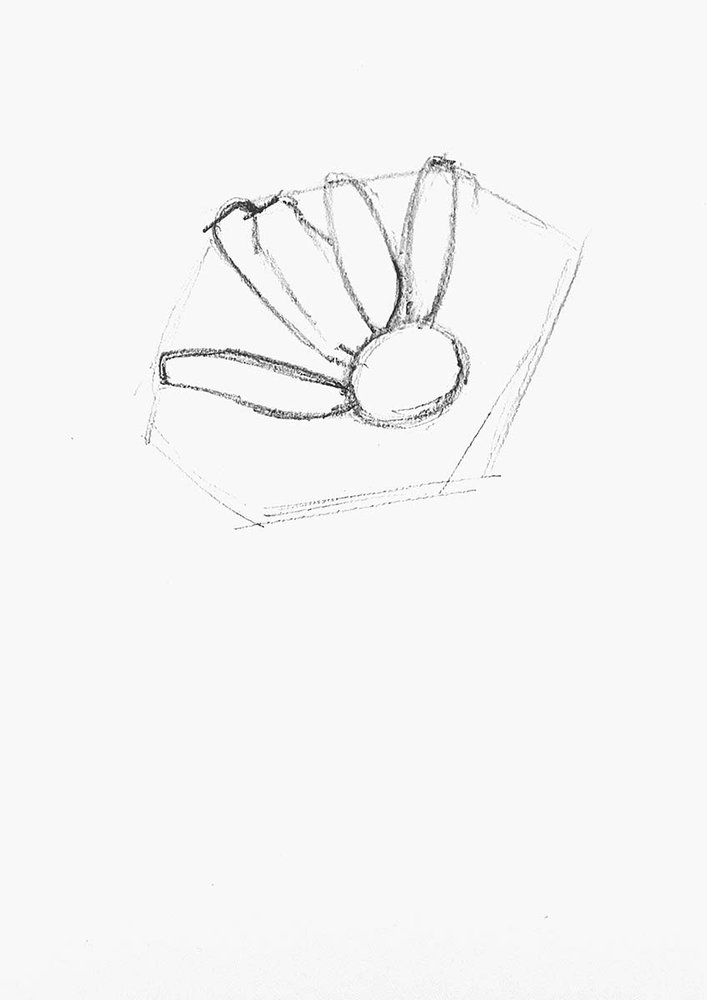
I looked at the reference and tried to replicate the shape of the petals as best as I could.
As long as you get the overall shape somewhat similar it will turn out well.
And if you make a mistake, you can just erase it and try again like I did with these 2 petals.
After that, I started to add more and more petals, again by closely looking at the reference and then replicating the shapes on my paper.
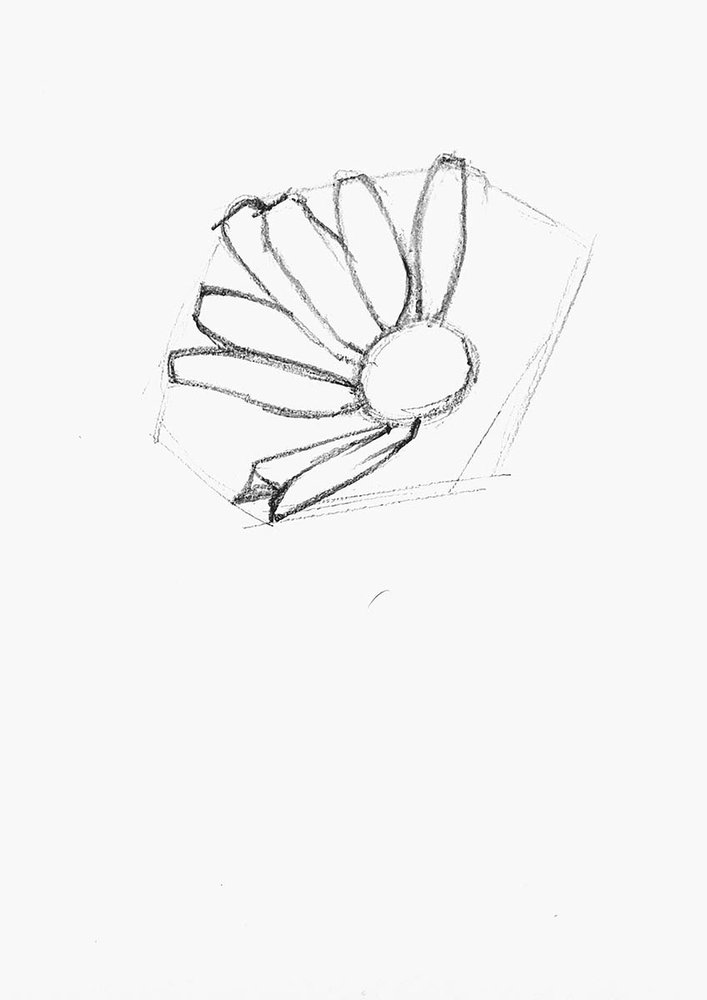
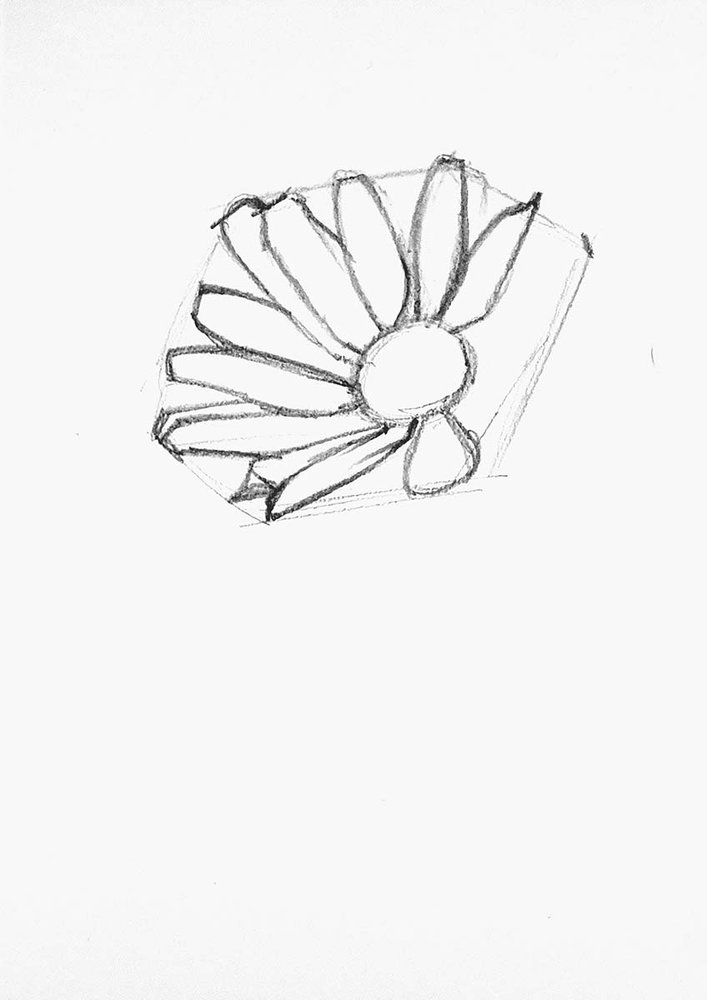
The petals on the bottom right are a bit cramped, making them a little bit more difficult. The best way I found to sketch those is to just start somewhere and then see if it looks good. If not erase it and do it again and if it looks good continue with the next petals.
It doesn't need to be perfect. It just needs to look like a daisy, not necessarily a copy of the daisy in the reference. A daisy can look a million ways. The reference is just a guide for the characteristics.
Step 2: Color The Daisy With Markers
Let's move on to the coloring.
I really like using alcohol-based markers as they are super easy to use and you can color quite quickly with them.
But before I used them, I first lightened the sketch a lot to prevent it from showing through the ink too much.
After that, I colored the light shadow parts on the petals using CG030 Neutral Grey 03.
I also tried to add some texture to the petals by using the brush nib and creating strokes that fade out towards the tip of the petals.

Next, I colored the center of the daisy with Y070 Acid Yellow and the stem with G470 Pine Tree Green.

Then, I used G060 Deep Cool Grey to add some darker shadows on the petals to create more depth.

Lastly, added a green-ish border to the middle of the flower with G080 Limeade. I colored the bottom right and the top left. I left a small yellow border on the top left.
I also colored the top 3rd or so of the stem with E430 Pecan to make it a bit brownish.
And I colored the white of the petals with the lightest grey marker I had: the Winsor & Newton IG0. This makes them not blend into the white of the paper as much.

Step 3: Add A Few Details With Colored Pencils
To finish the daisy drawing off, I added some details with the White, Black, and Gold Sun Chromaflow pencils.
I used the white to highlight the top quarter of the stem.
I used the black pencil to add some dark shadows below the yellow bit in the center. I used short vertical lines to do this to make it slightly textured.
And I used the Gold Sun pencil to add texture to the yellow center. To do this I used short curved lines. I placed more lines closer together on the greenish bits and less on the bright yellow parts.

And That's How You Draw A Daisy
I hope you enjoyed this tutorial and were able to follow along!
If so, let me know how it went and what parts you found difficult.
Thank you and I'll see you in the next one!

Tags
Articles You Might Also Like


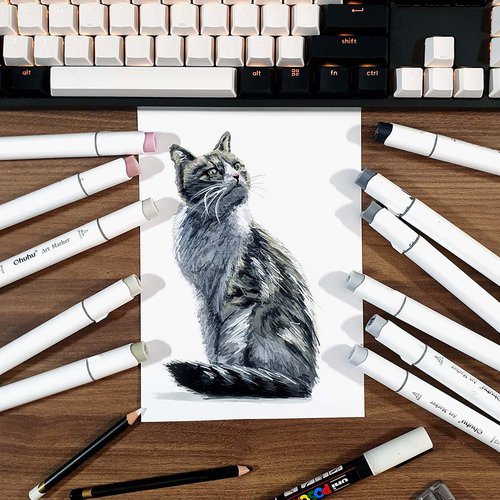

I love bringing cars to life with alcohol markers and colored pencils.
Whether you're just starting out or looking to improve your skills, I'm here to help!
Click here to learn more about me.


Be the first to comment!
Comments
There are no comments yet.