How to Draw a Christmas Tree | Step-by-Step Xmas Tree Drawing Guide
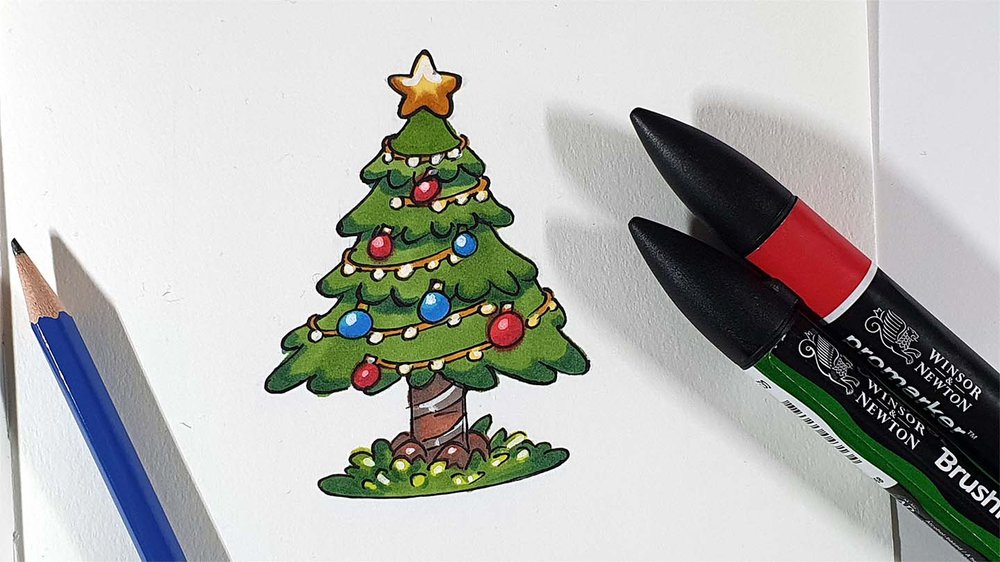
Welcome to a festive journey where your creativity will shine as bright as the holiday lights! In this step-by-step drawing tutorial, I'll show you how I made this drawing of a simple Christmas tree.
With simple techniques and a sprinkle of holiday cheer, you'll learn how to create a tree that radiates the warmth and joy of the season. So gather your art supplies and let's make your sketchbook merry and bright with your very own hand-drawn Christmas tree!
Art Supplies I Used for this Drawing
You can use any drawing supplies for this drawing. I used Ohuhu Honolulu markers (they are really nice to draw things like this). I used the colors Warm Grey 07 (WG070), Warm Grey 09 (WG090), Limeade (G080), Bronze Green (GY42), Deep Olive Green (GY43), Sunflower (Y2), Marigold (YR2), Reddish Brass (E120), Cadmium Red (R160), Geranium (R8), Tahititan Blue (B070), and Process Blue (B080).
I also used a Pigma Micron fineliner and a white Posca PC-3M for highlights.
I made this drawing in a sketchbook I had, but the paper made the ink bleed a loooot. I usually use Canson Illustration Manga paper, which is, in my opinion, the best paper for alcohol marker drawings.
How to Draw a Christmas Tree?
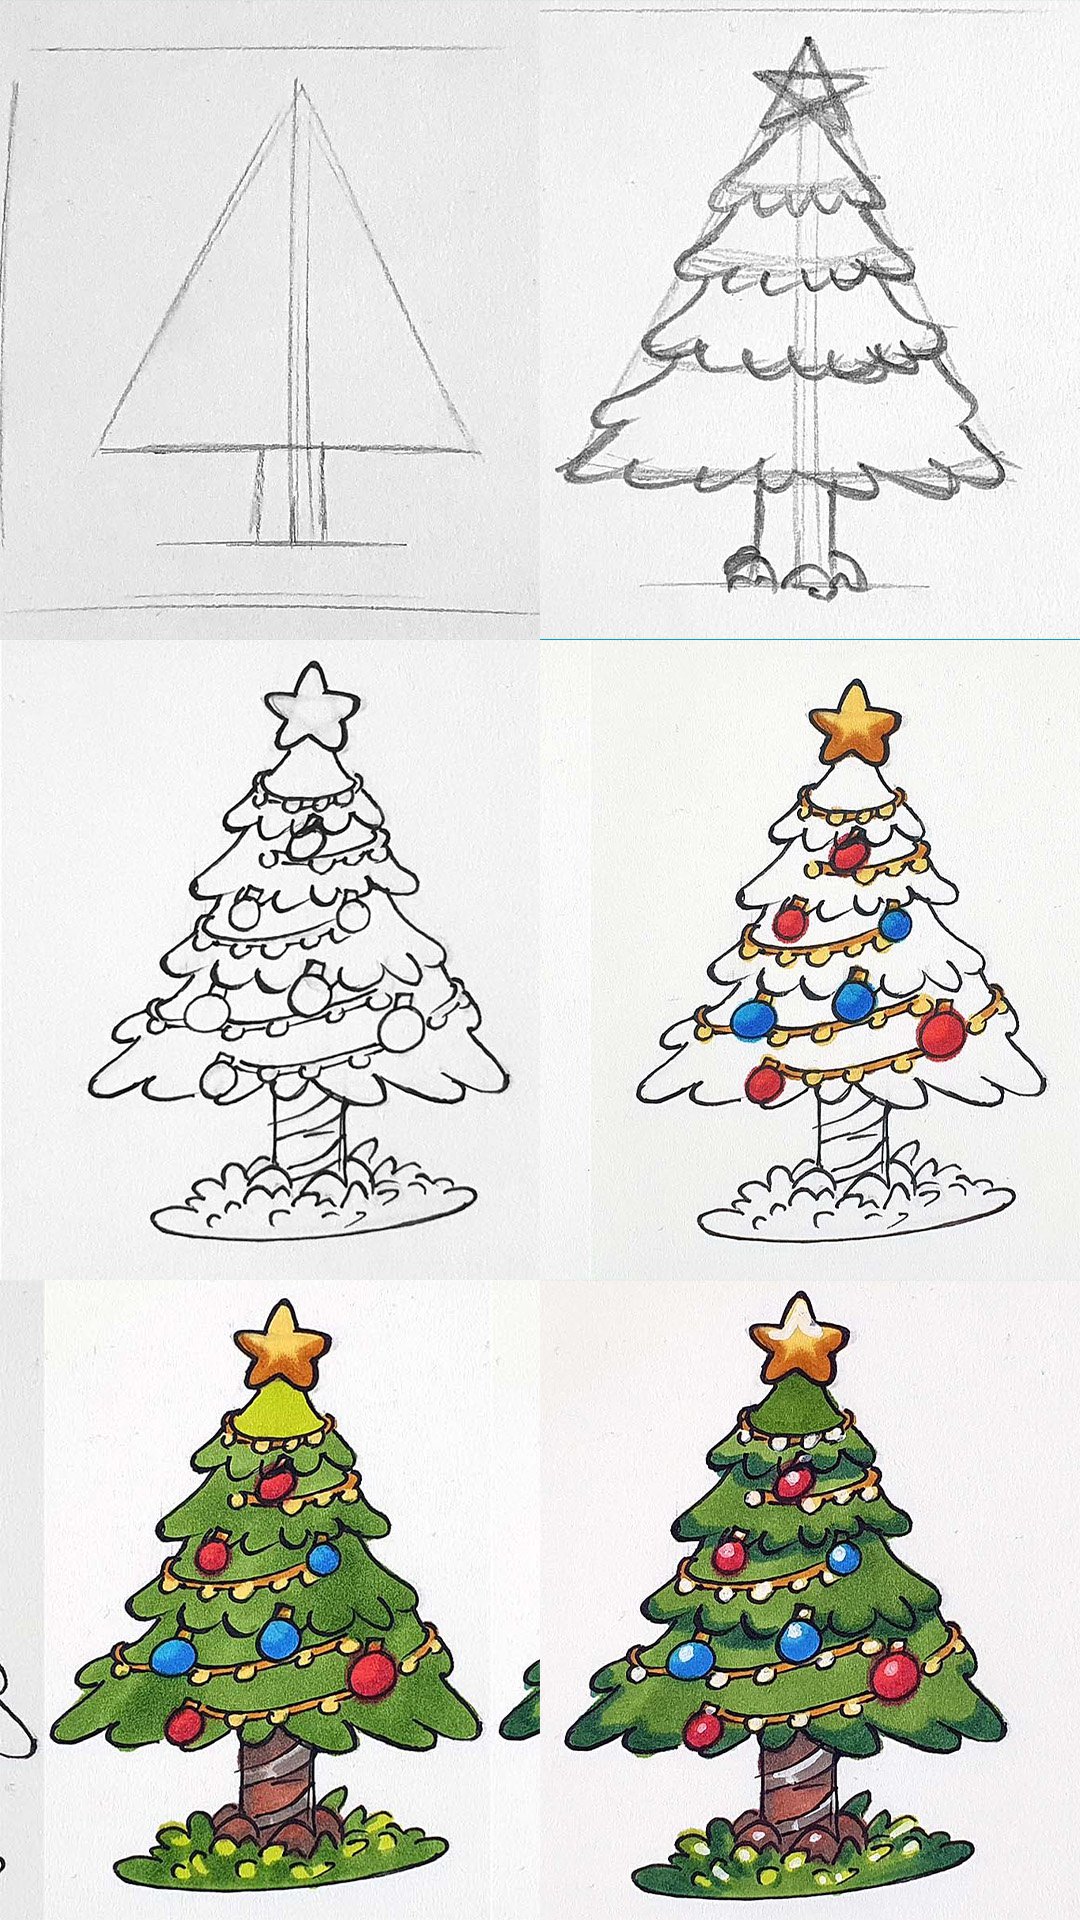
Step 1: Sketch the Basic Shape
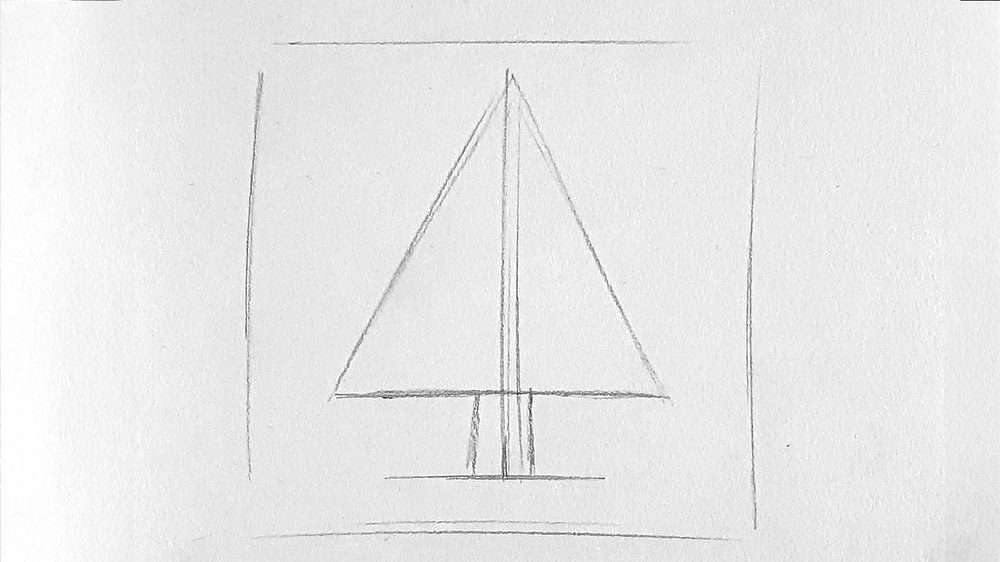
I started off by drawing the basic shape of the Christmas tree: a triangle that a bit taller than it is wide and a base for the trunk.
Step 2: Add Branches and a Trunk
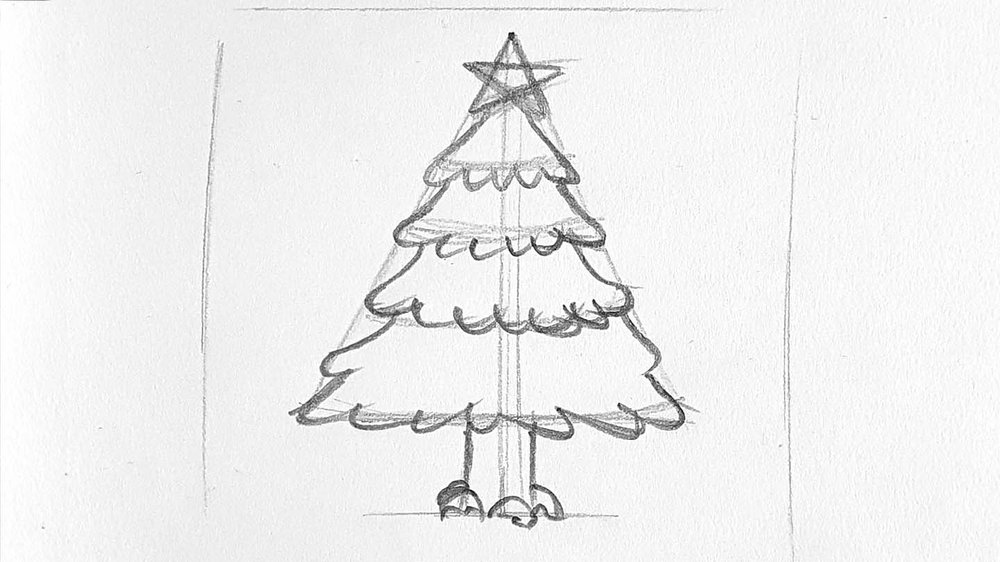
Next, I refined the shape to make it look more like a Xmas tree. I sketched a star on the top and I sketched in each of the branch layers. I used curvy and irregular lines to draw the branches to make them look more organic.
I also refined the tree trunk a bit more and I added some round shapes to the bottom to break the shape up a bit.
Step 3: Sketch the Decorations
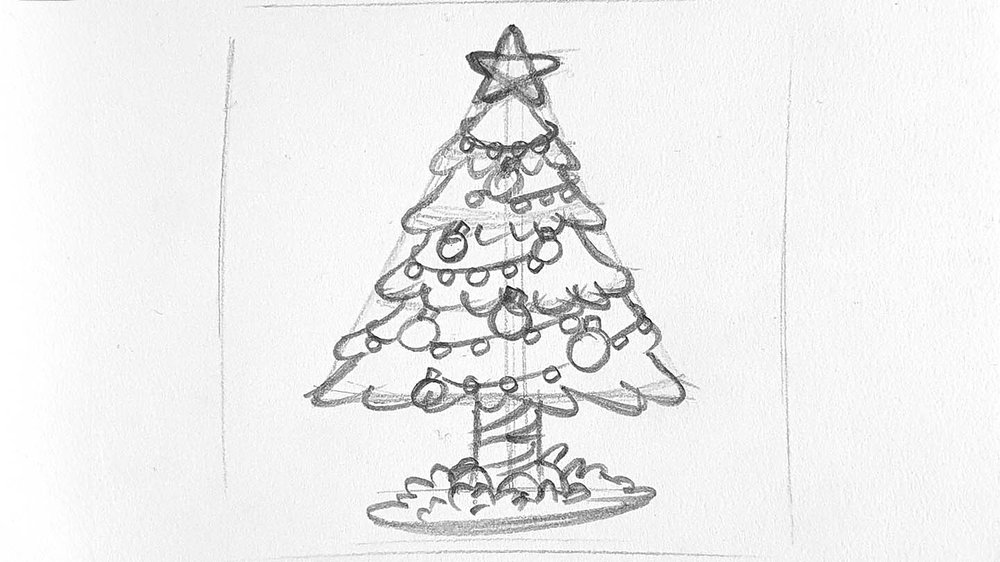
After that, I added all the Christmas decorations: ornaments, lights, and eh that's it.
I started by marking where each ornament would be by sketching circles of slightly different sizes. For each ornament, I drew a tiny square shape on top to indicate the part with which you hang it in the tree.
Then I drew the Christmas lights by sketching a few curved lines wrapping around the tree. After that, I sketched where each light would be by drawing small circles evenly spaced out.
I also added some grassy stuff at the base of the tree to make it look more solid.
Step 4: Outline your Sketch
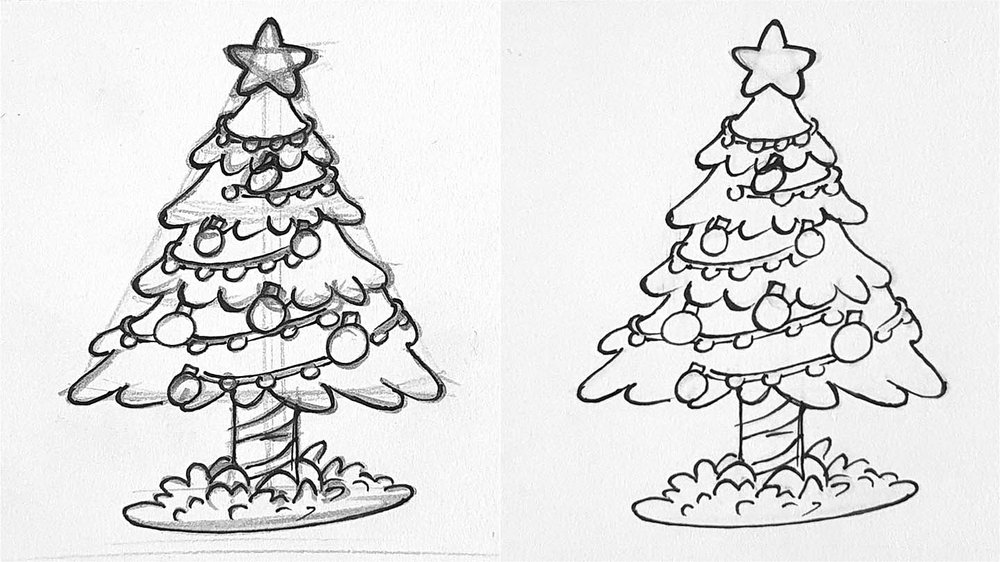
Next up, I outlined the whole sketch with a fineliner and when the ink was dry I erased the sketch lines.
Step 5: Color the Star and the Lights

It's now time to add some color! I started by coloring the star at the top of the tree and the lights. I first used Sunflower (Y2). Then I used Marigold (YR2) to shade the bottom of the star and to color the wire holding the lights.
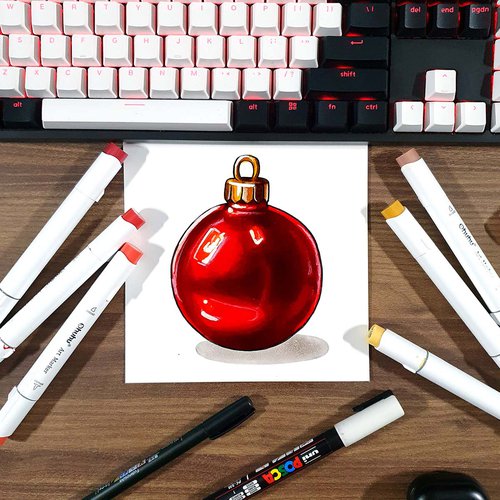
Step 6: Color the Ornaments
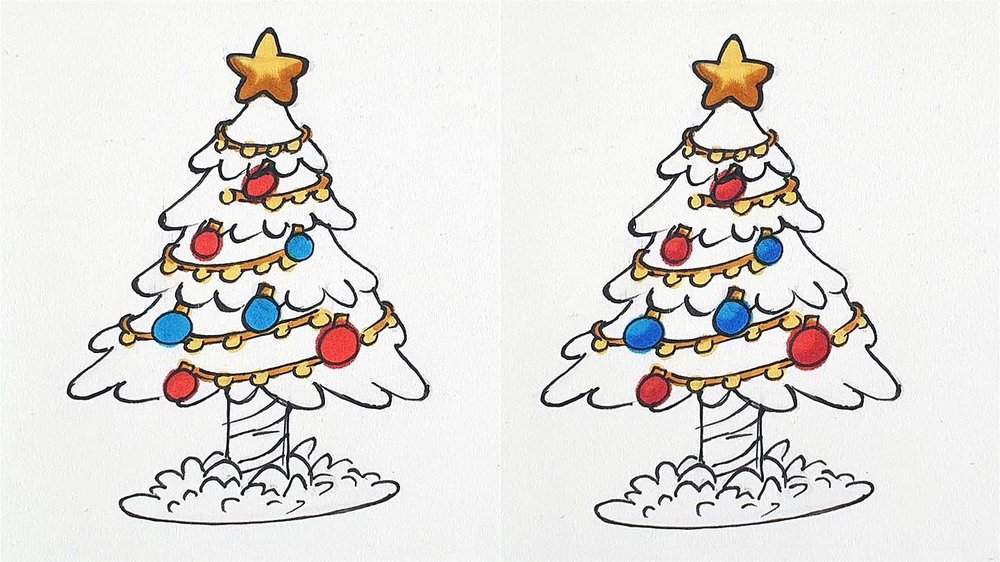
After that, I colored each ornament. I colored 4 of the 7 baubles with Cadmium Red (R160), and I colored the other 3 with Tahititan Blue (B070).
Next, I added some shading to the bottom right side of each bauble. I used Geranium (R8) for the red ones and Process Blue (B080) for the blue ones.
Step 7: Color the Tree Trunk
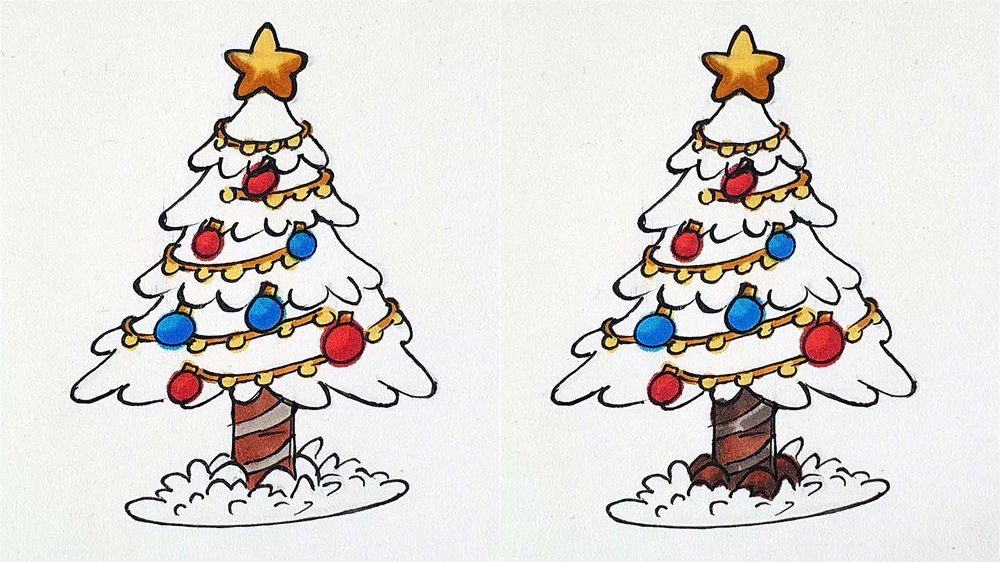
Next, I drew the tree trunk. I colored the tree skirt using Warm Grey 07 (WG070), and I colored the trunk itself with Reddish Brass (E120).
After that, I shaded the trunk with Warm Grey 09 (WG090). I also colored the ball shapes around the trunk with Reddish Brass (E120) and Warm Grey 09 (WG090).
Step 8: Color the Branches
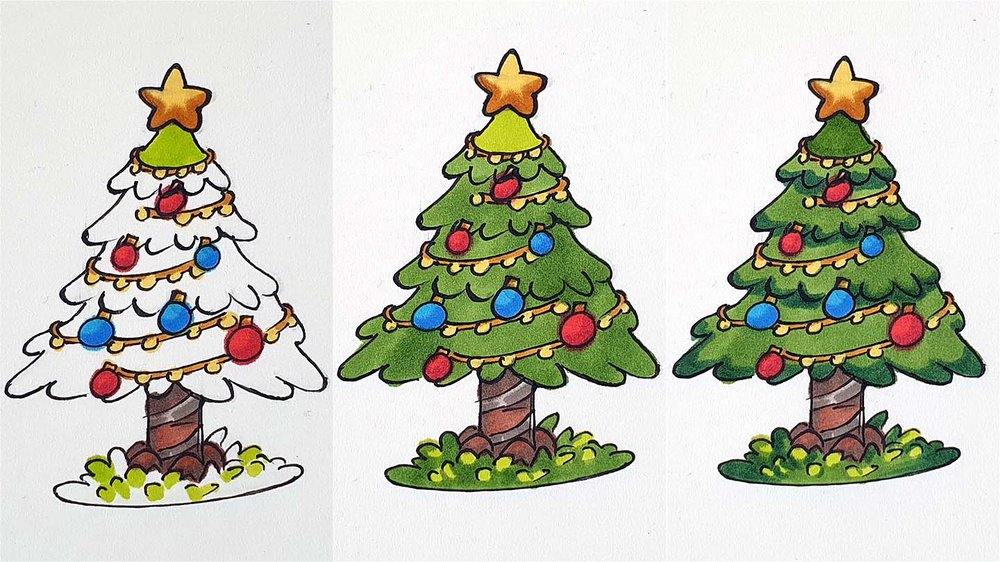
Now it's time for the tree branches. I started by coloring the top of the tree with Limeade (G080) (I later colored this with forest green as it looked too light...), and I also colored some of the grassy bits at the bottom with it.
Then I colored the rest of the tree and the grass with Bronze Green (GY42).
And finally, I shaded the bottom of each branch layer and the bit just below it with Deep Olive Green (GY43). I also added some shading to the grass bits at the bottom.

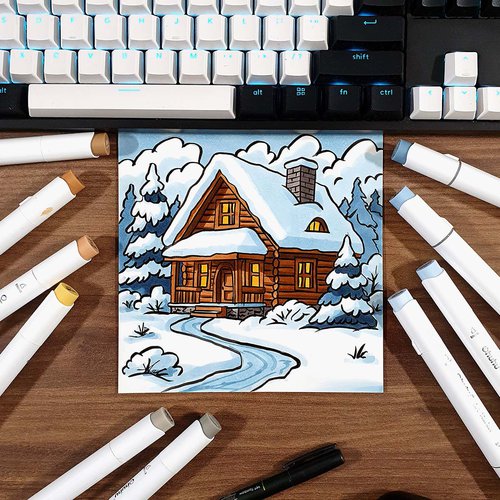
My go-to alcohol markers for blending, rich color payoff, and amazing value. The brush tips feel super natural to draw with — a must-have for smooth gradients and realistic shading!
- Brush + chisel tips
- Great for beginners & advanced artists
- Budget-friendly alternative to Copics
Step 9: Add a Few Highlights
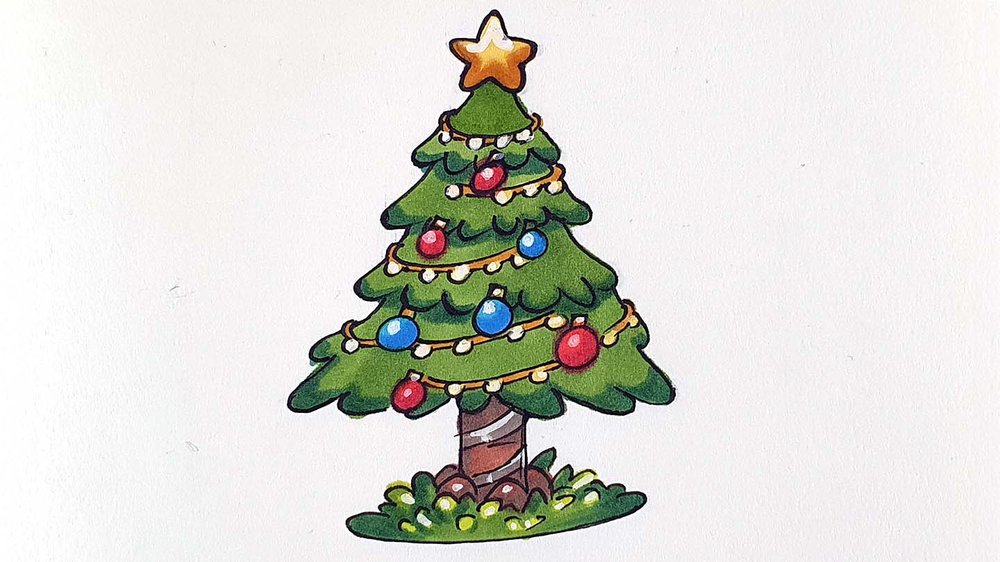
Your Christmas tree drawing is almost done now. Just a few finishing touches to do.
To make the lights look like they emit light I used the white Posca pen to add highlights to each light. I also added highlights to the top left of each Christmas ornament. And to make the grass a bit more dynamic I also added a few highlights in there.
Oh, and I almost forgot. I also added a white highlight to the top side of the star.
And that's it! You've now successfully (hopefully) drawn your very own Christmas tree!
Tags
Articles You Might Also Like


I love bringing cars to life with alcohol markers and colored pencils.
Whether you're just starting out or looking to improve your skills, I'm here to help!
Click here to learn more about me.


Add a comment
Comments
Thanks so much it such a cute Christmas tree 🎄😊
ty so much!