How to Draw a Cartoon Car - Simple Sideview Step by Step
Want to draw a fun, sporty cartoon car?
In this step-by-step guide, you'll learn exactly how to create a simple side-view car drawing that looks dynamic and playful.
Perfect if you’re just starting out or want to add a cartoon-style car to your sketchbook!
Disclaimer: In the name of full transparency, please be aware that this blog post contains affiliate links and any purchases made through such links will result in a small commission for me (at no extra cost for you).
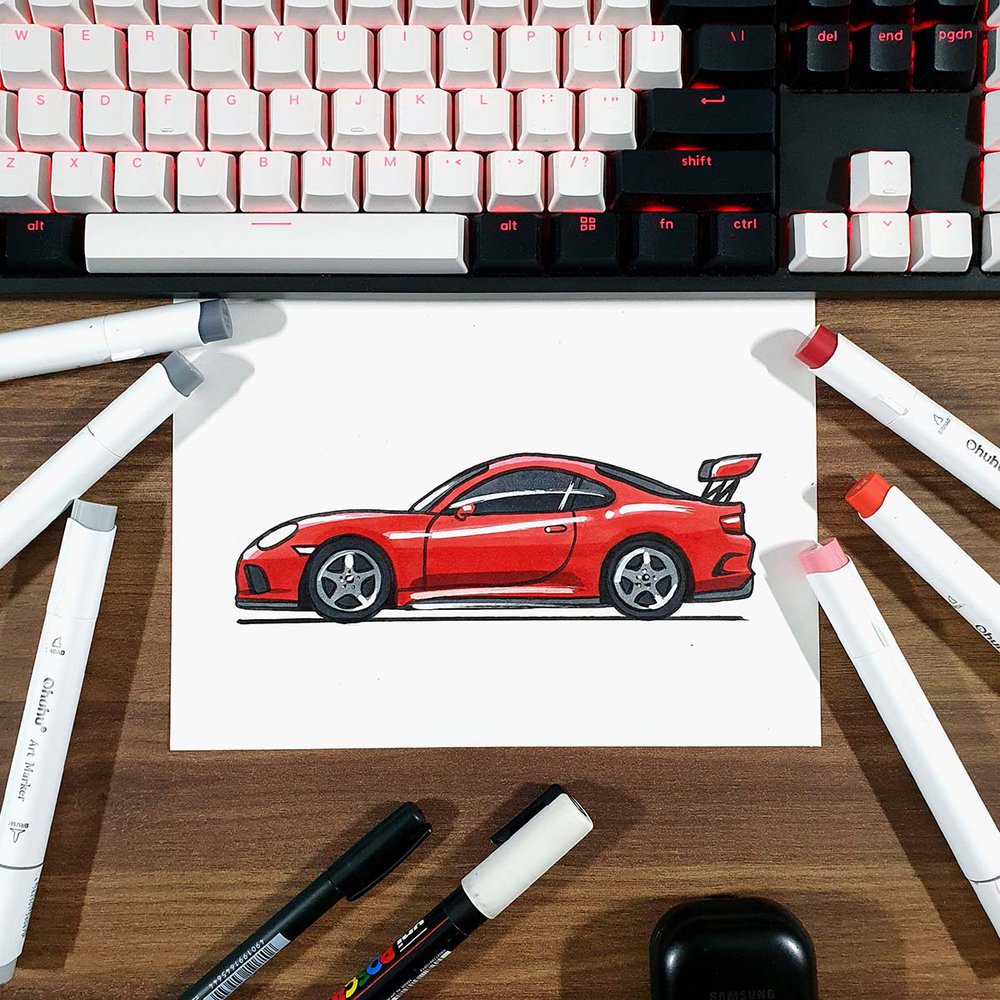
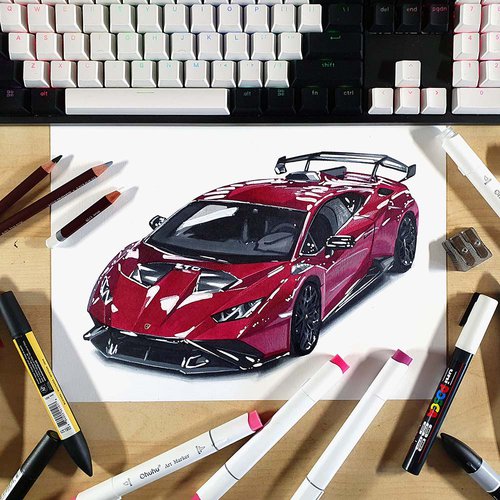
Drawing Supplies Used in this Guide
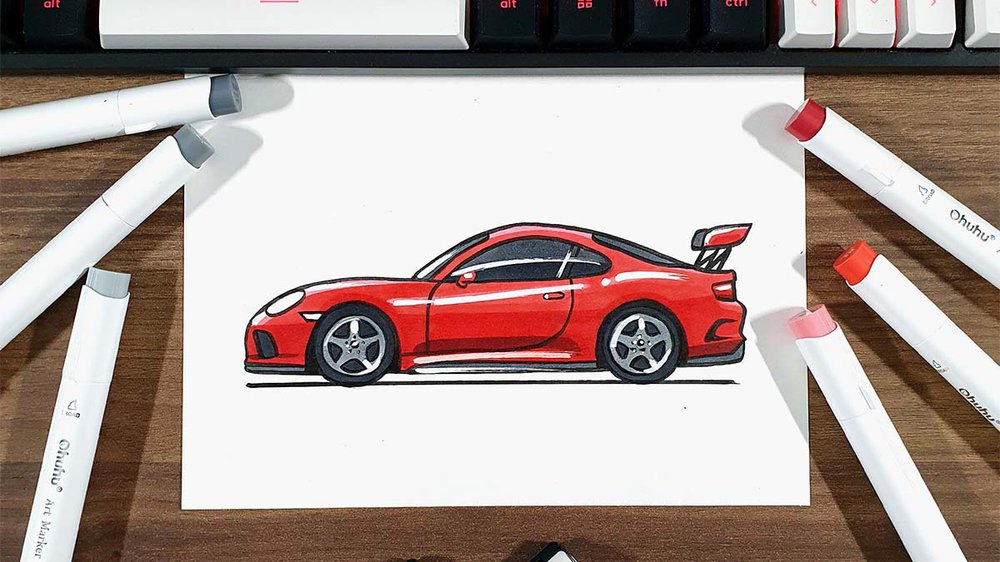
To make this drawing, I used Ohuhu Honolulu markers in the colors Neutral Grey 3 (NG03), Neutral Grey 07 (CG070), Neutral Grey 6 (NG06), Pastel Rose (R9), Zinnober (R150), Vermilion (R2), and Geranium (R8).

I used a Tombow Fudenosuke Brush Pen to outline the sketch.
I used a white Posca PC-3M paint marker to add highlights.
And I made this drawing on Canson Illustration Manga Paper.
How Do You Draw a Cartoon Car?
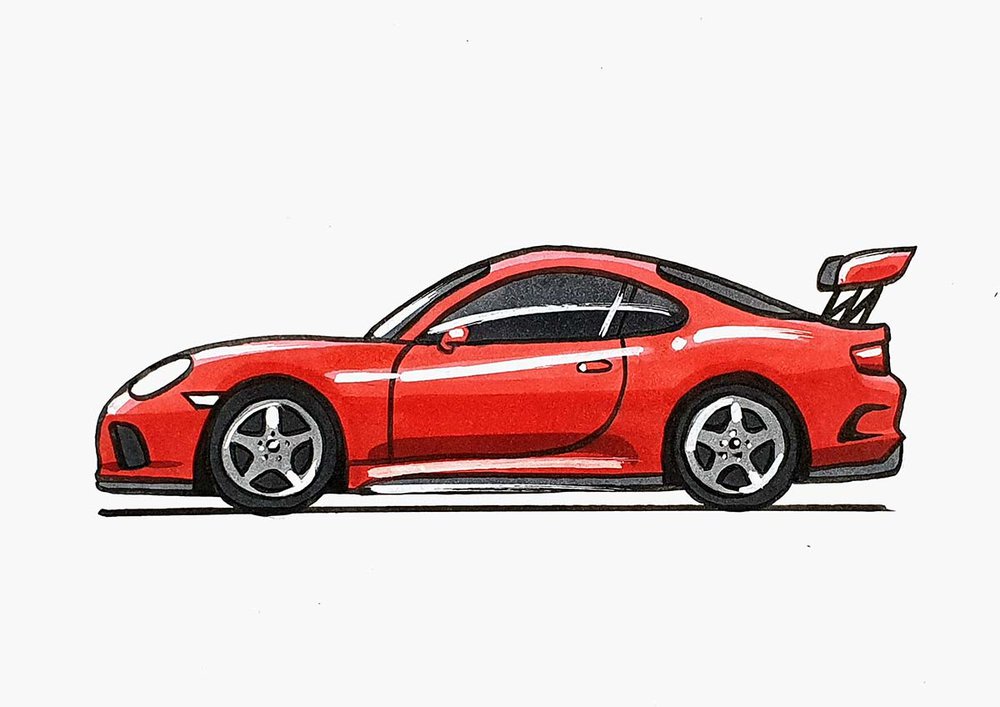
You start by drawing a straight line for the ground and sketching two circles for the wheels. Then, you build the car’s basic shape on top, add the wheel arches, roof, and details like the side skirts and wing. Next, you sketch the rims, windows, door, lights, and vents to bring the design to life. After outlining your sketch with a brush pen, you color it using markers in different reds and greys, and finally, add bright highlights to make it pop.
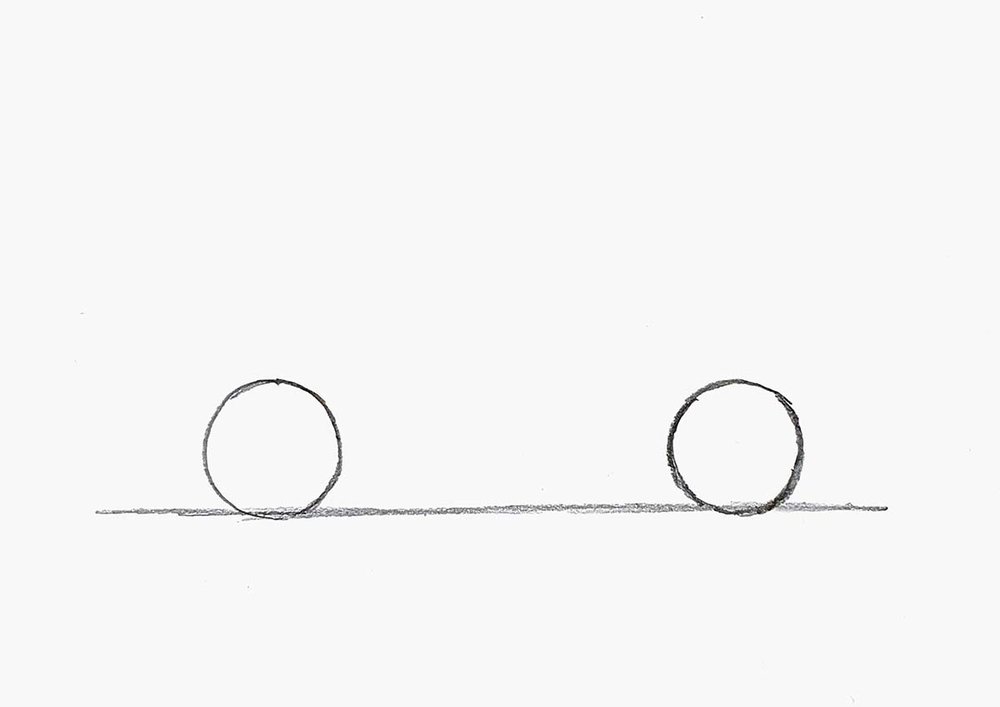
Step 1: Sketch a Straight Line for the Shadow of the Car
To start the cartoon car sketch, I first drew a straight horizontal line.
We will draw the car on top of this line.

Step 2: Sketch 2 Circles for the Wheels
Next, I added 2 circles on top of the line, which are going to be the wheels of the car.
The wheels are about 2.5 times the width of one circle apart and will guide us when sketching the basic shape of the car.
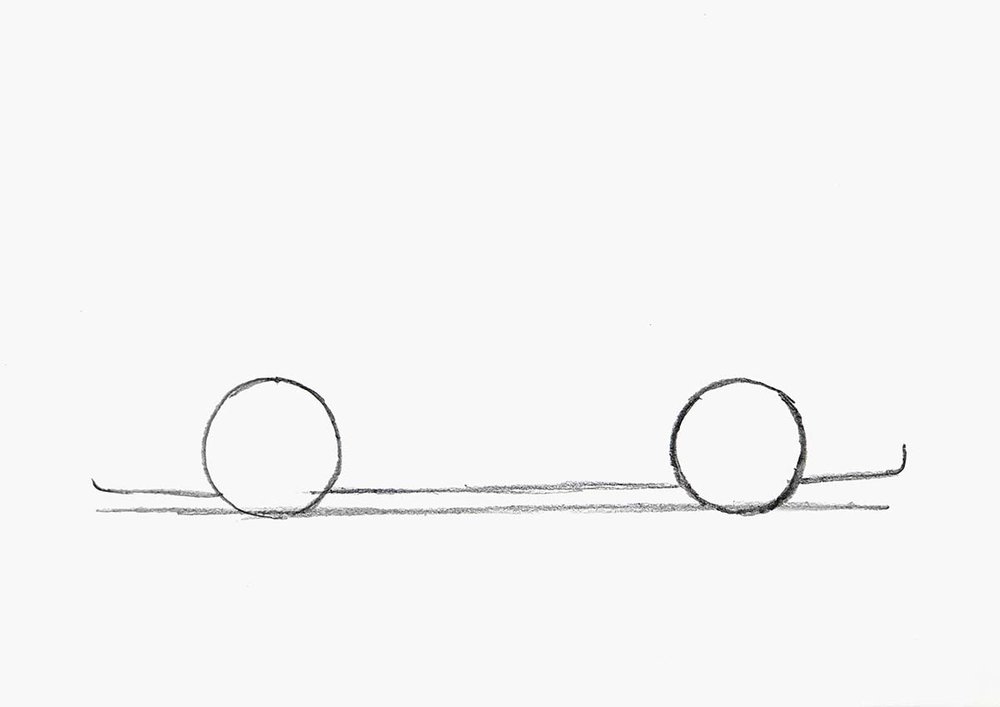
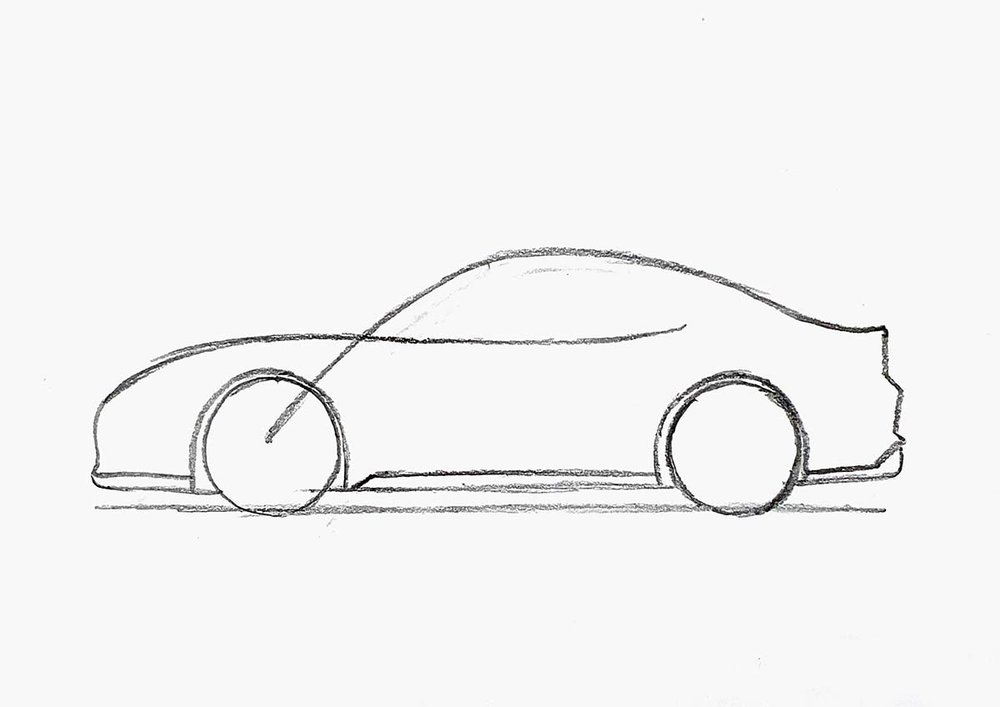
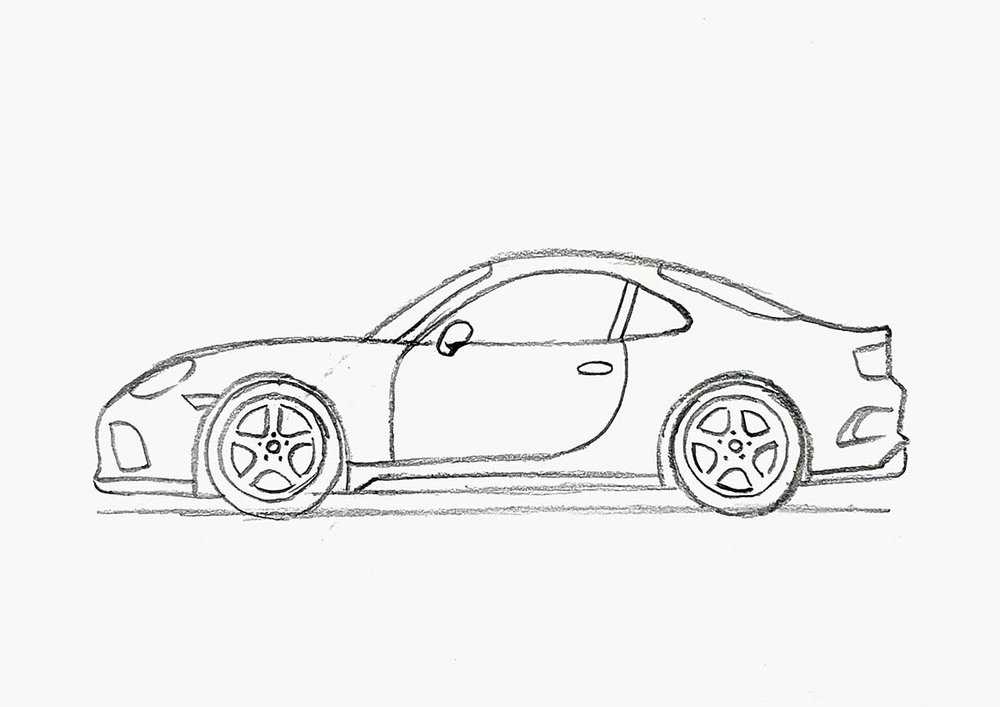
Step 3: Sketch the Basic Outline of the Car
With the wheels in place, I added the bottom edge of the car.
I made the front and the rear parts curve upwards a bit.
Then, I sketched the hood line that continues into the bottom edge of the side windows.
It starts at the front as an S-shape and then curves over the front wheel up to the rear wheel.
I also added the wheel arches around the wheels.

After that, I drew the roof of the car, and I used the front wheel as a guide for that.
I started the line in the center of the front wheel, going diagonally up to the right, then curving down towards the end of the rear wheel, and then curving up a little again towards the rear.
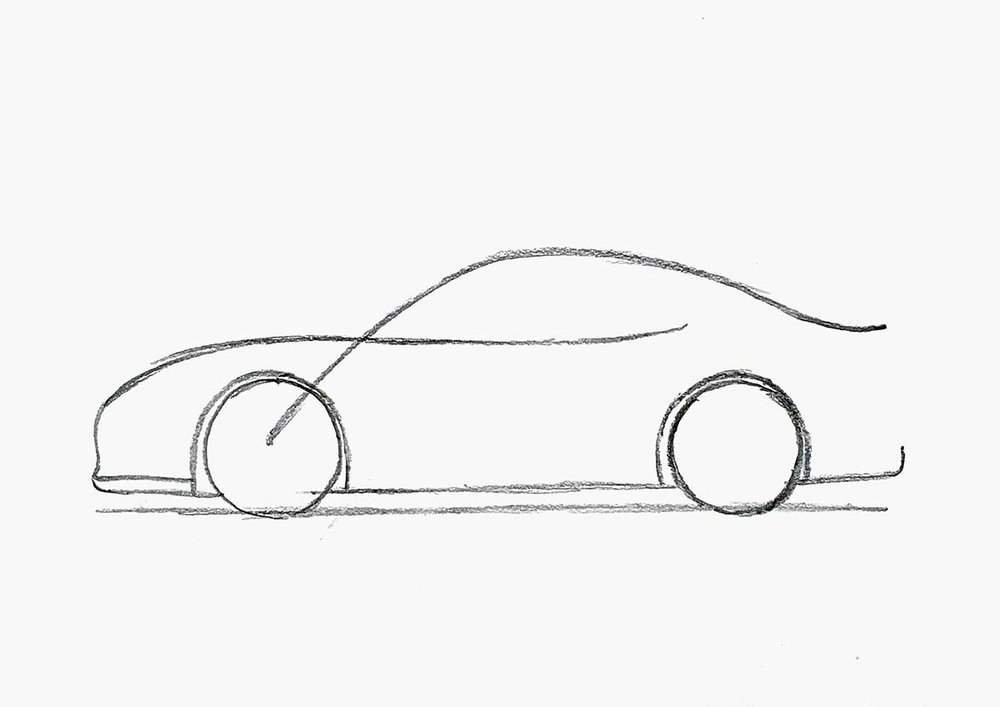
To finish the outline, I added side skirts (the lower side panels) and a zig-zaggy line at the back of the car.
Step 4: Sketch the Wheel Designs
After that, I spent some time sketching the wheels.
I first added another circle close to the outline of the wheels, which will be the thickness of the tire.
I also added a small circle in the center of both wheels.
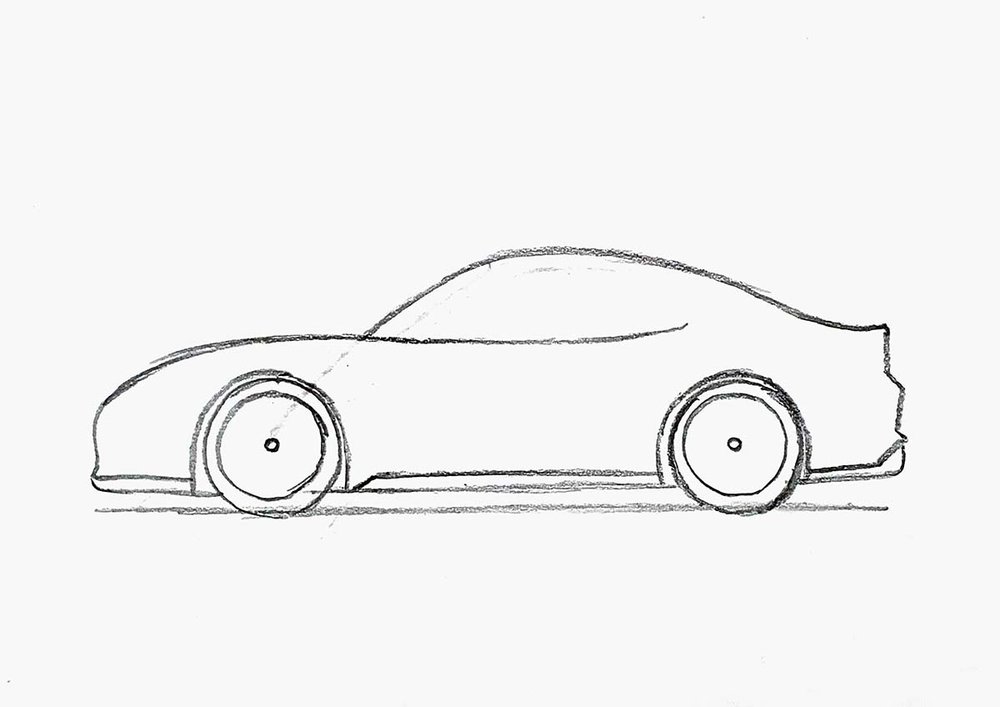
Next, I added these triangles (kinda shaped like pieces of cake) around the center.
I also added 5 dots around the center to indicate the bolts of the wheels.
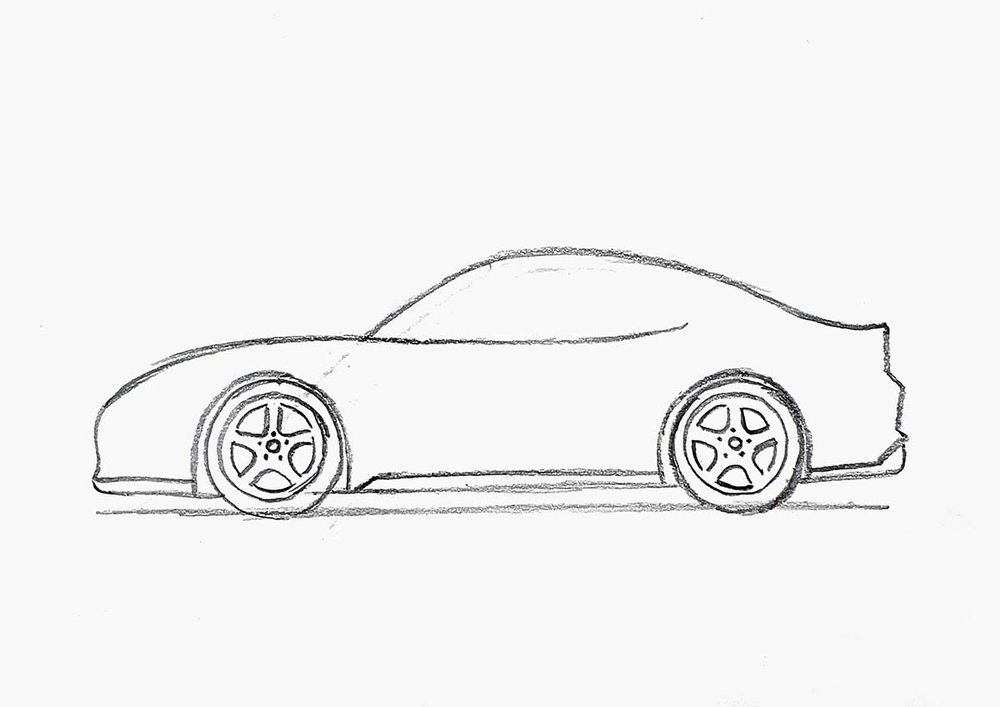
Step 5: Sketch the Windows and the Door
Next, I sketched the front window, the top of the side windows, the rear window, and the door outline.
Then, I added an oval door handle on the right and a circle with a box shape below it for the door mirror.
I also added two parallel lines to separate the front side window from the rear one.
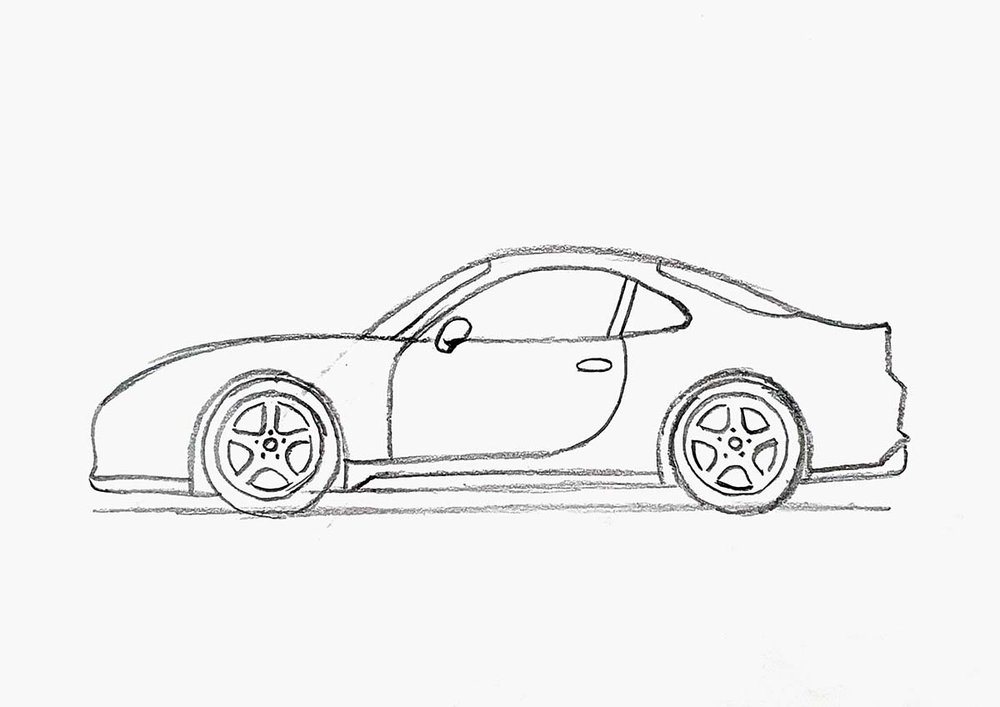
Step 6: Sketch the Lights, the Intake, and the Air Vent
After that, I added the oval-shaped headlight and the square-ish rear light.
I also added an air intake on the front and a little side light between the headlight and the front wheel.
And I added an air vent behind the rear wheel.
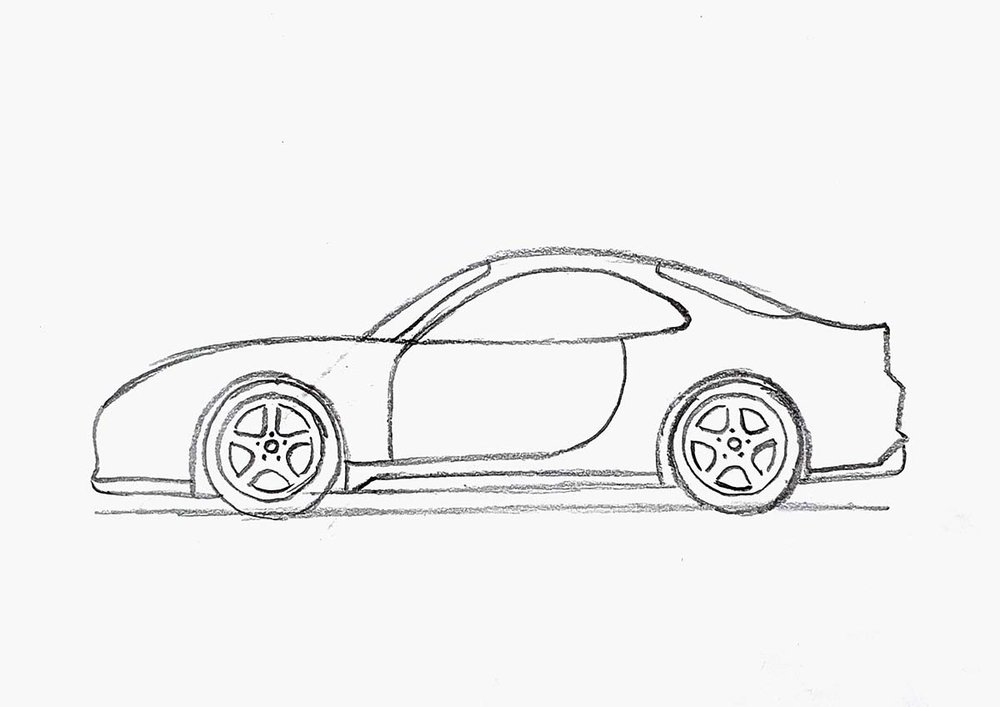
Step 7: Add a Wing to Make it Look Sporty
This step is optional, but I like my cars to look a bit sporty, so I added a big wing on the back.
I first sketched the side of the wing above the rear deck.
It's kind of rectangular but with a pointy bit on the top right.
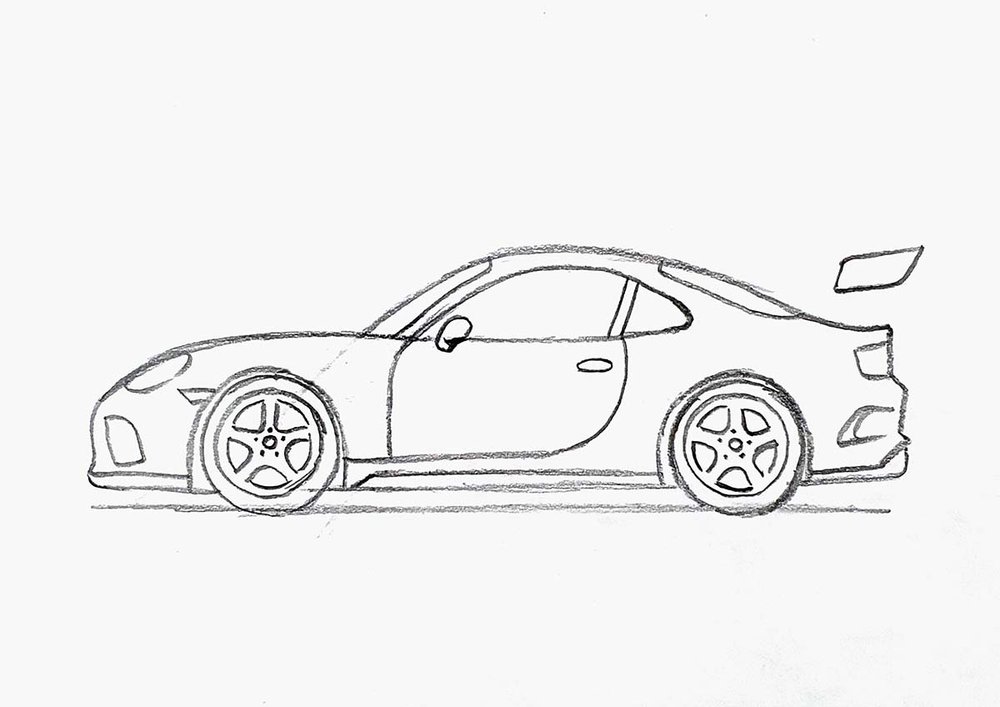
Then, I added the wing mount, which is just an elongated N-shape.
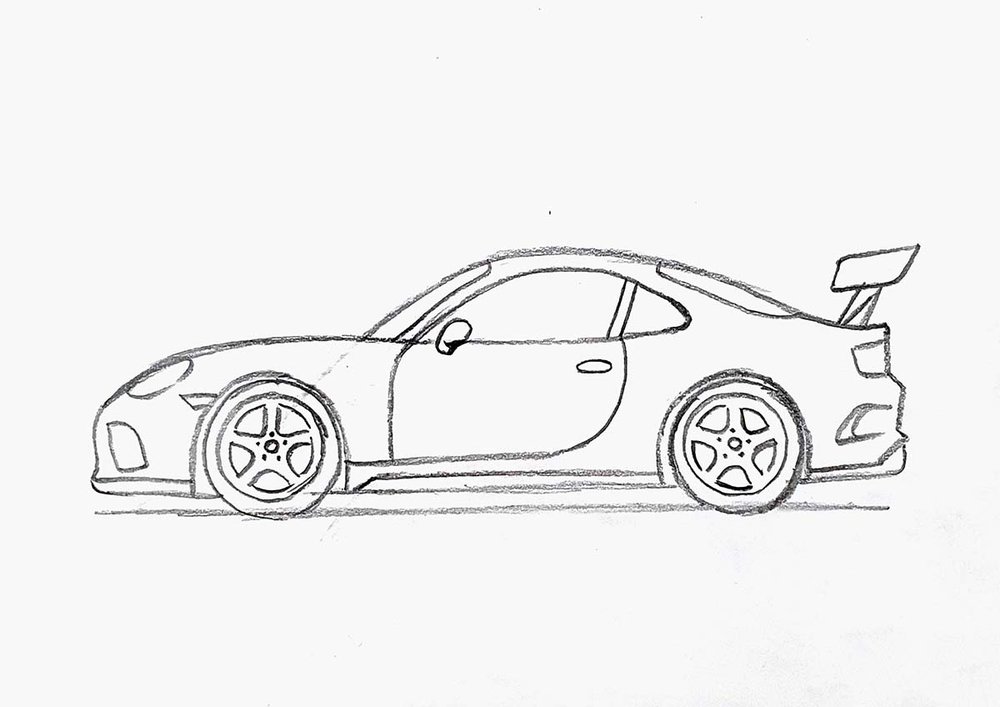
And to give it some depth, I sketched the other side of the wing a little bit offset to the left.
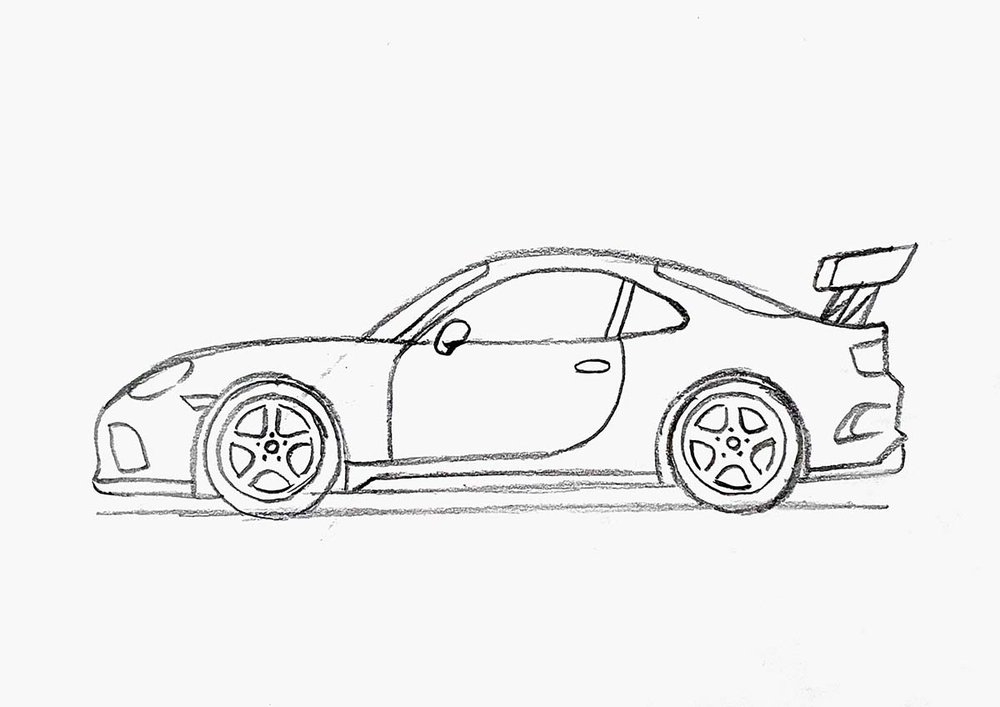
And that's the sketch complete!
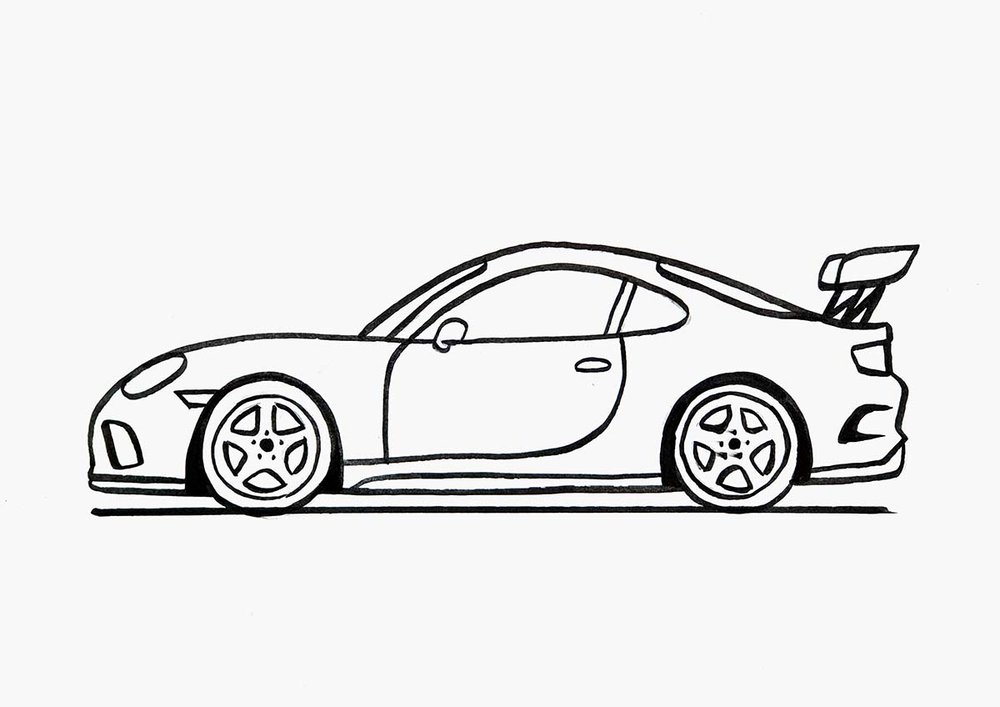
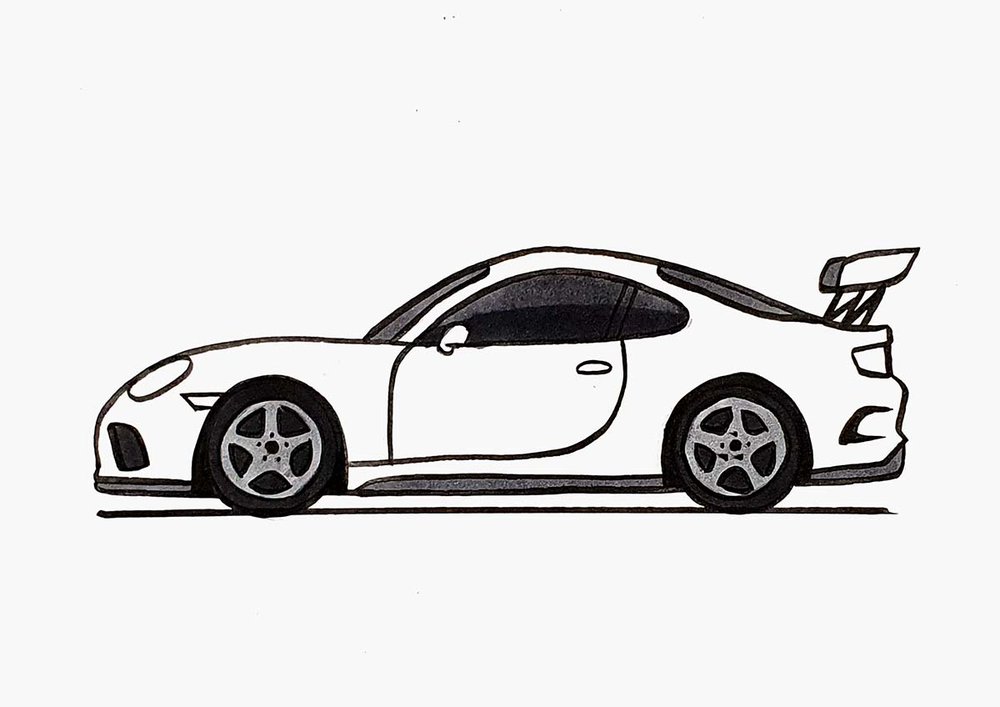
Step 8: Outline the Sketch with a Brush Pen
Next, I outlined the sketch with a black brush pen.
This was a little challenging around the wheels. (They turned out super wonky...)
But for the most part, it looks alright.
I would've used a regular marker instead, but I didn't have one with a solid pointy tip...
Afterwards, I erased the sketch to clean up the outline.
Step 9: Color the Cartoon-Style Car with Markers
With the outline now done, we can start coloring the cartoon car, my favorite part!
To do this, I used Ohuhu Honolulu markers, and I will be referring to the color names of these markers throughout this step.
If you have other markers, you can use those perfectly fine. The names just won't match.
I started by coloring the rims with Neutral Grey 3 (NG03).
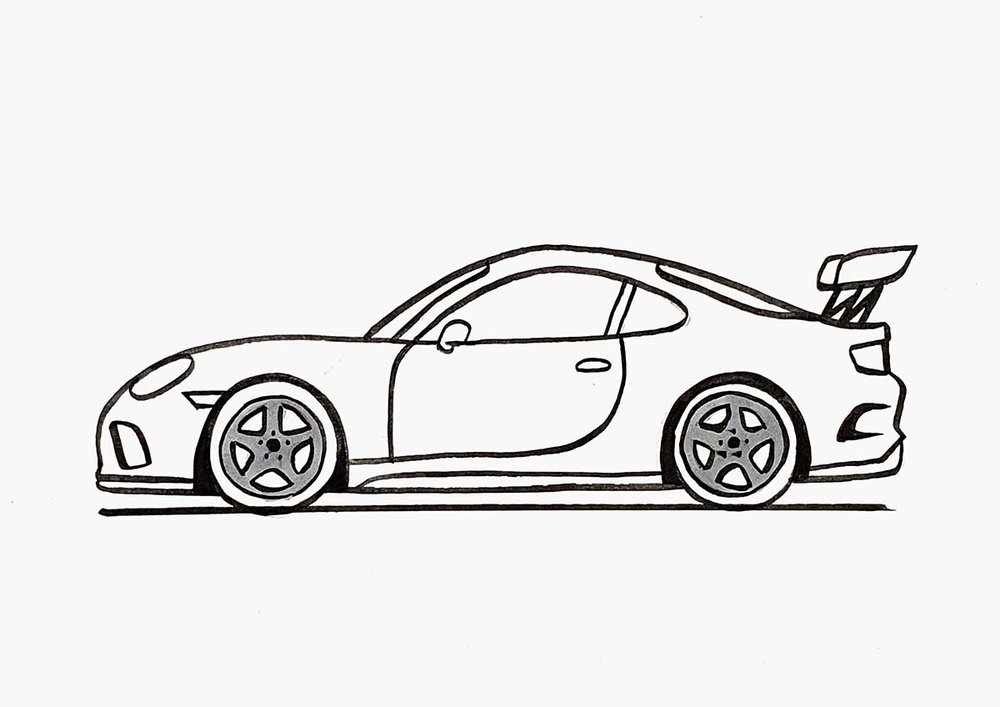
Then, I used Neutral Grey 07 (CG070) to color the tires and the parts between the spokes, as well as the side skirts, the front air intake, the windows, and the wing endplate on the other side of the car.
Next, I added a dark reflection on the side windows and darkened the front intake and the darker grey parts of the wheel with Neutral Grey 6 (NG06).
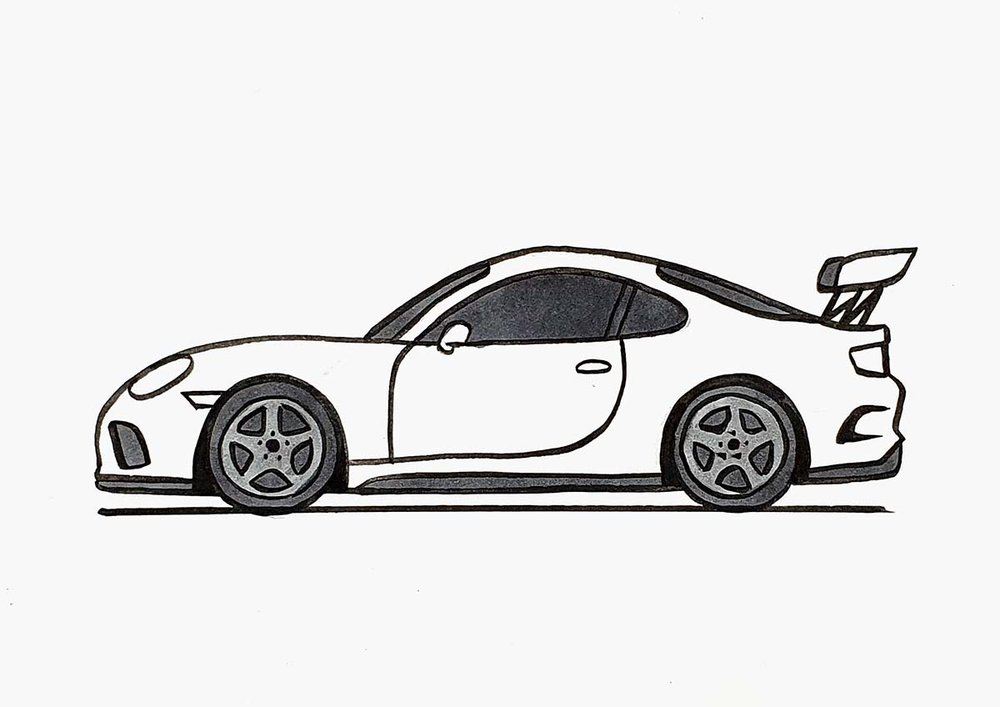
After that, I colored the main body of the car, starting by coloring the lightest parts with Pastel Rose (R9).
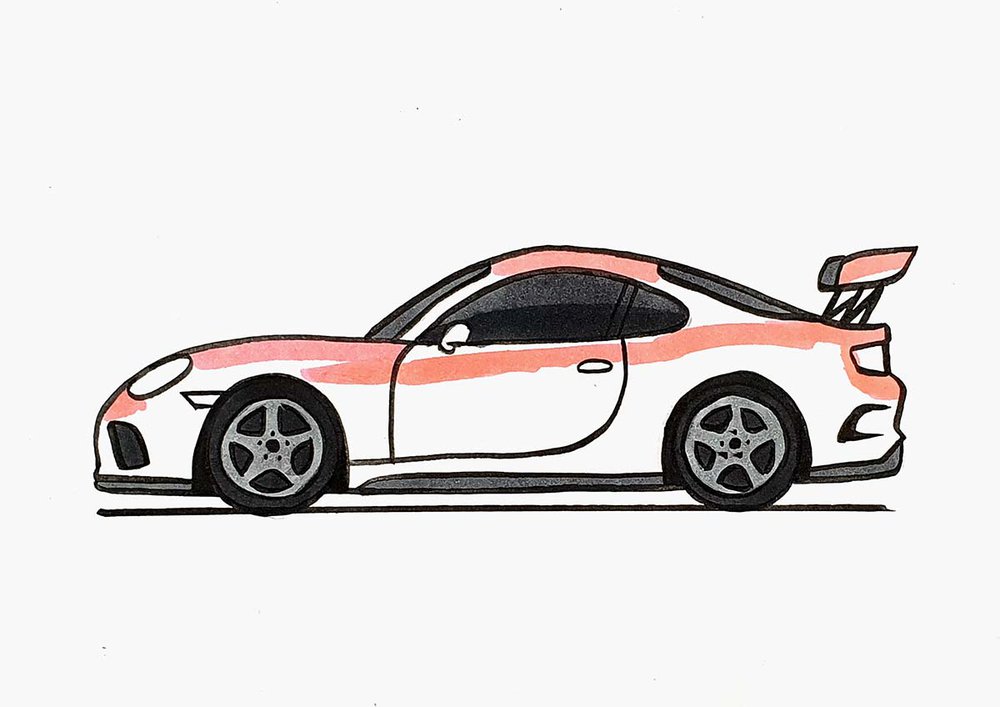
Then, I used Zinnober (R150) to color the rest.
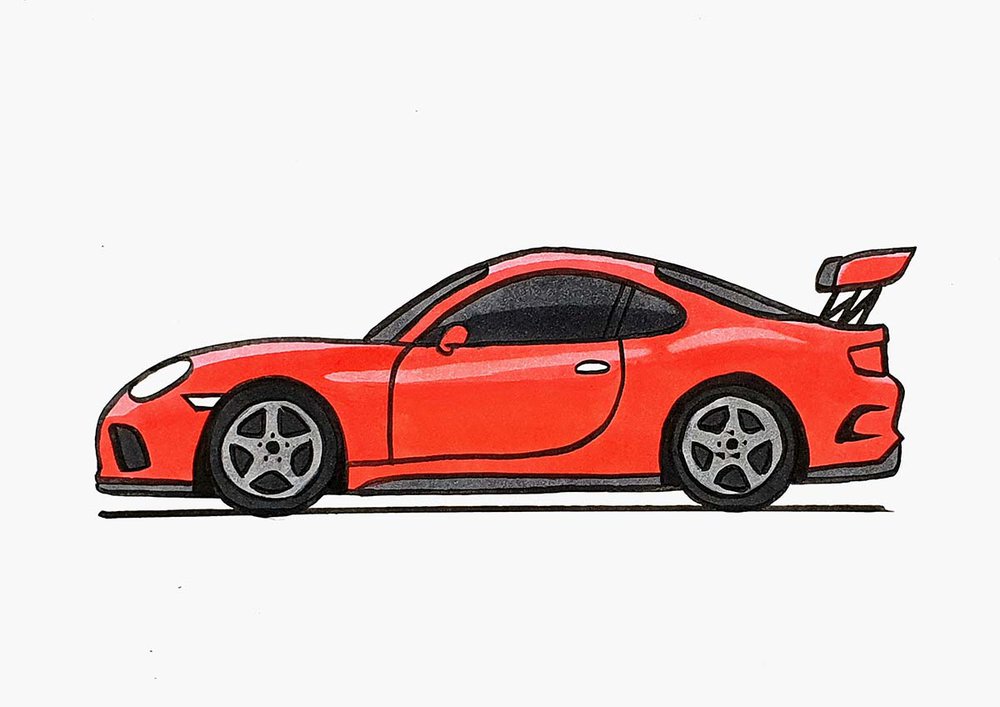
Lastly, I darkened the bottom half of the car and around the wheels with Vermilion (R2), and I used Geranium (R8) to add dark shadows towards the bottom of the car.
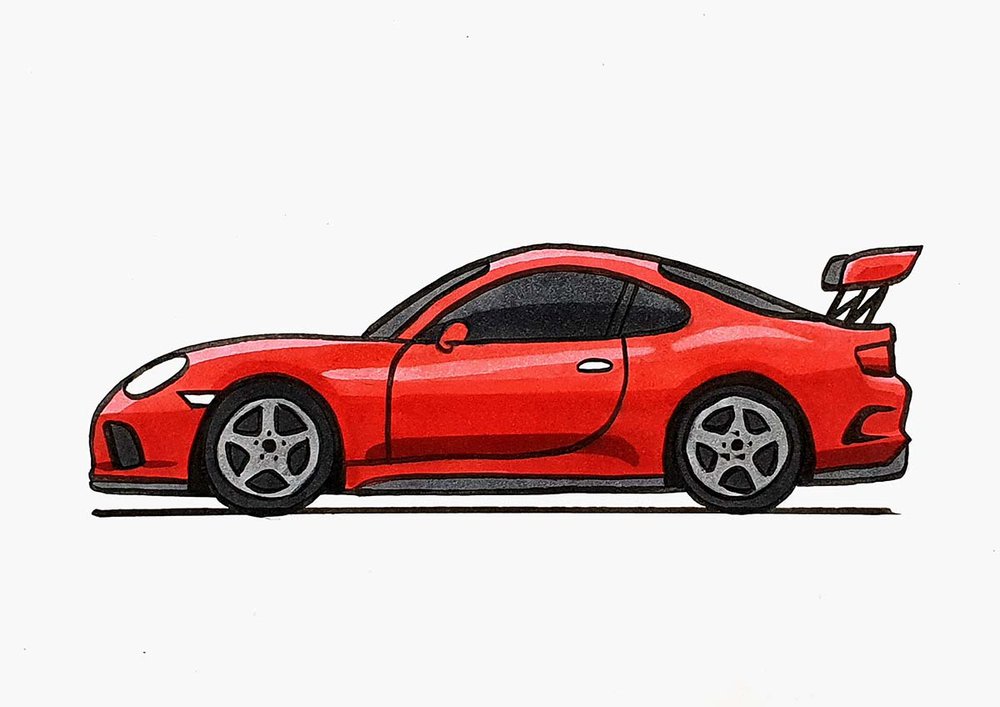
Step 10: Add Final Highlights on the Cartoon-Style Car Drawing
To finish the cartoon car drawing, I added some bright highlights on the lightest areas and on the windows of the car with a white Posca paint marker.
Finished Cartoon Car Drawing
And that's how you draw a simple sporty cartoon-style car!
Now you know exactly how to draw a cartoon-style car from scratch!
Once you finish, feel free to play around with different colors, add decals, or experiment with wild wings and sporty details.
Have fun, and keep practicing!
Tags
Articles You Might Also Like
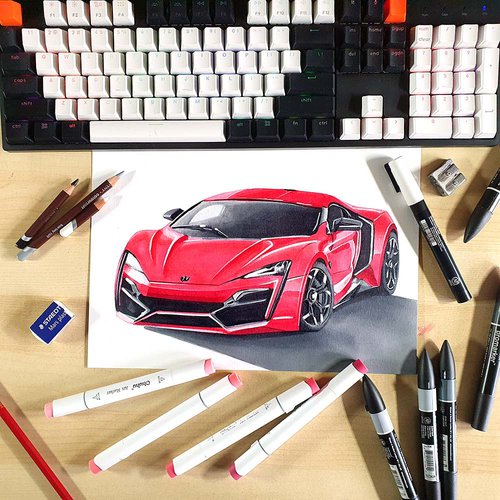

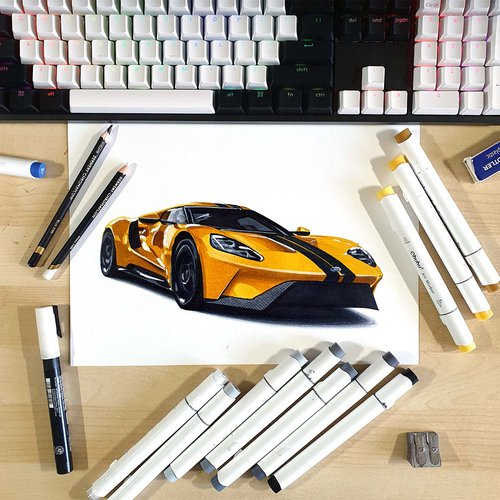
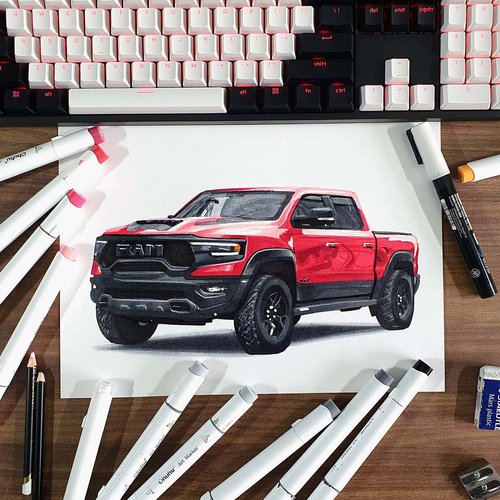
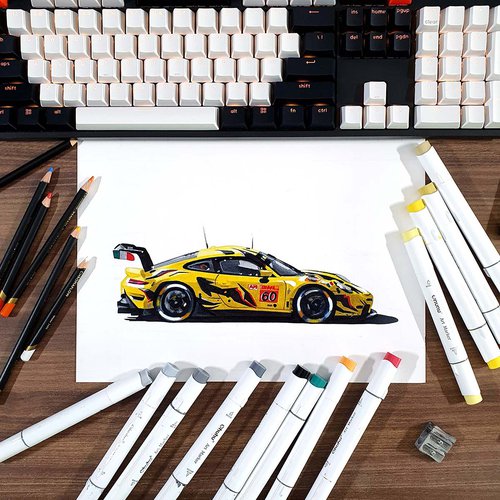
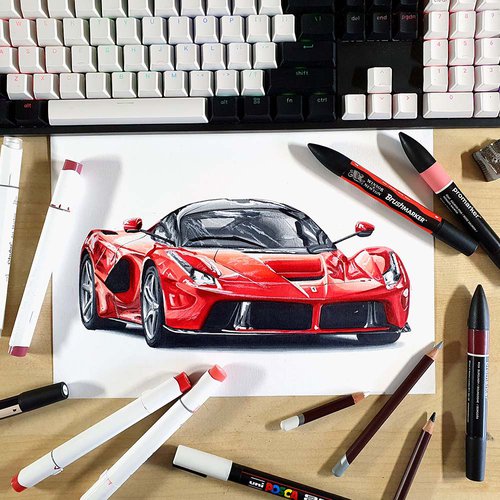

I love bringing cars to life with alcohol markers and colored pencils.
Whether you're just starting out or looking to improve your skills, I'm here to help!
Click here to learn more about me.


Be the first to comment!
Comments
There are no comments yet.