Beginner Bird Drawing Tutorial That Actually Helps
In this tutorial, I'm going to show you how to draw a simple and realistic bird.
This drawing isn't as difficult as it might seem at first. I've broken everything up into many easy-to-follow steps so you can draw one just as well as I did (hopefully).
Let's get started!
Disclaimer: In the name of full transparency, please be aware that this blog post contains affiliate links and any purchases made through such links will result in a small commission for me (at no extra cost for you).
Drawing Supplies I Used To Make This Bird Drawing
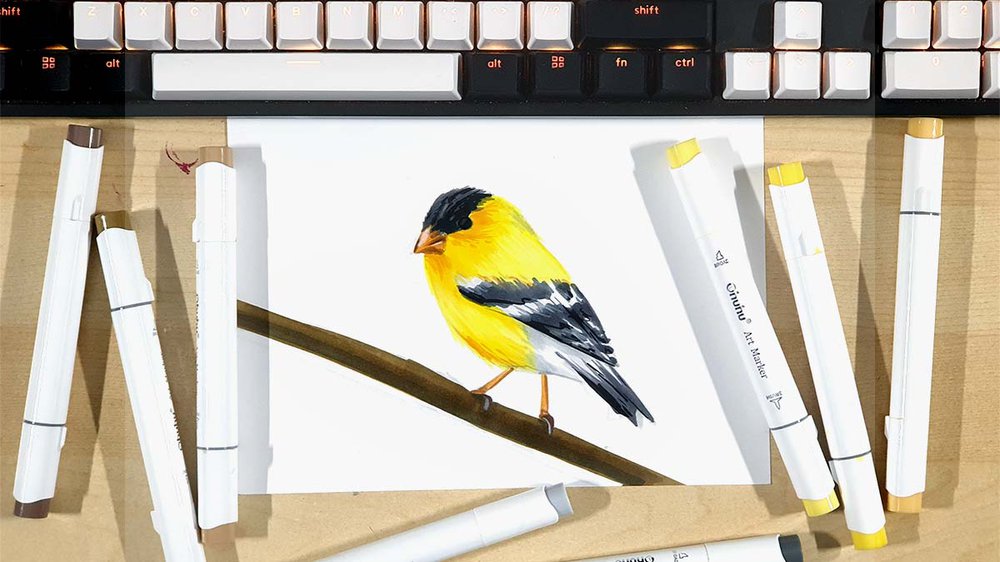
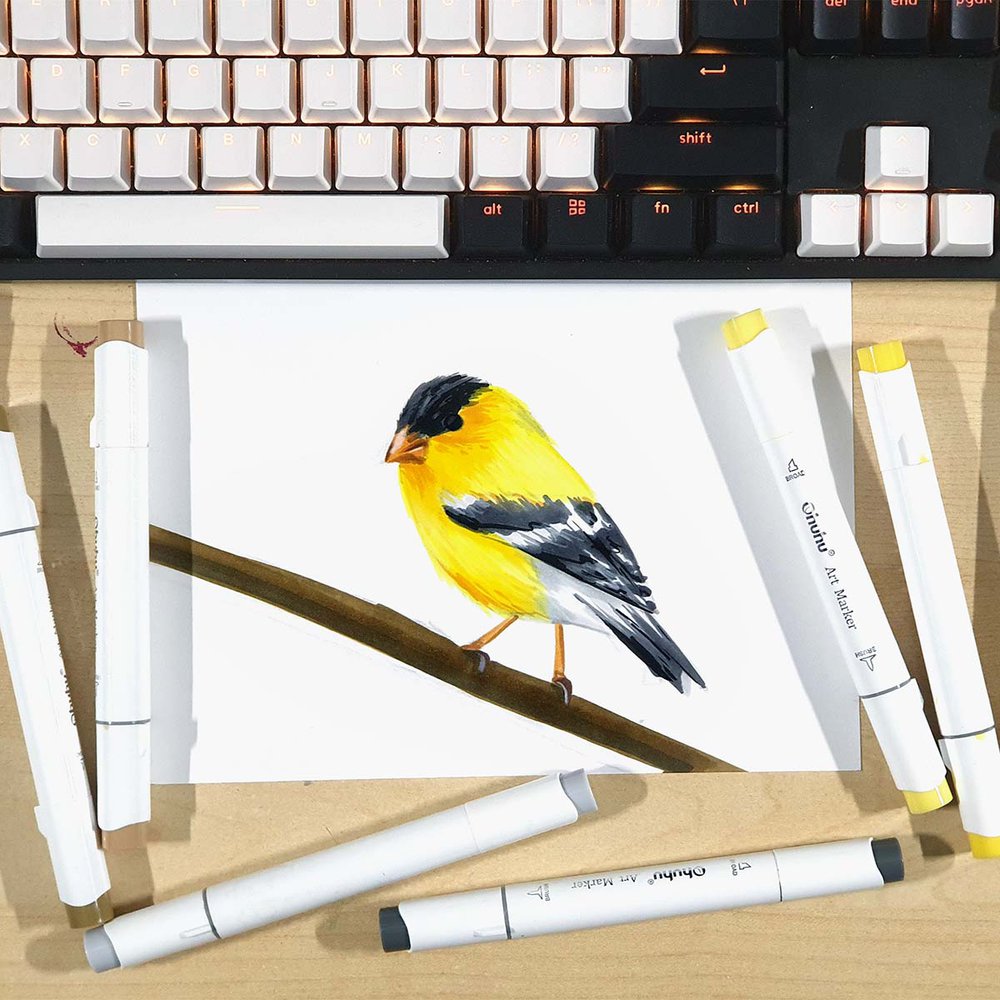
To make this bird drawing, I used Ohuhu Honolulu markers in the colors E450 Fennel Seed, Y080 Lightning Yellow, Y070 Acid Yellow, YR260 Yellowish Brown, E370 Light Walnut, E430 Pecan, CG030 Neutral Grey 03, CG070 Neutral Grey 07, and 120 Black.
If you're on a tighter budget, these Caliart markers seem like a good and cheap alternative.
I also used a white Derwent Chromaflow colored pencil.
And I made this drawing on Canson Illustration Manga paper.
How To Draw A Bird?
To draw a bird, you first sketch the outline, then add all the elements of the bird like the tail, the beak, the feather pattern, and so on. Next, you color the bird using markers, working from light to dark and using the brush nib to create a feather texture. Lastly, you add just a few highlights and details with a white colored pencil.
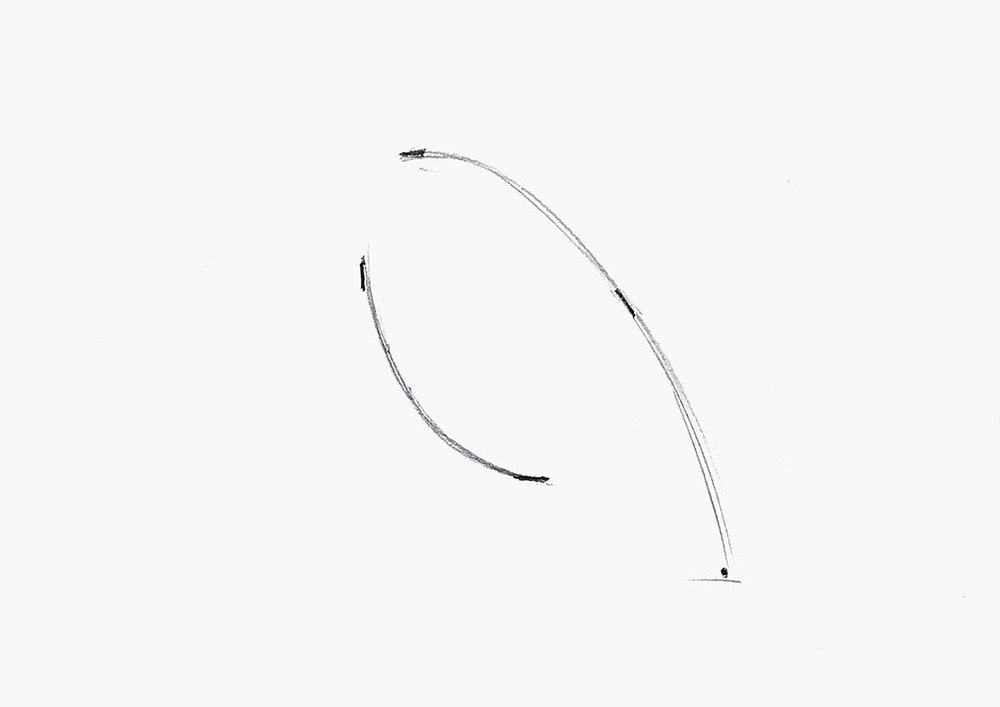
Step 1: Mark Some Key Points
To sketch a bird, I first marked the top, left, and bottom edges of its body. I also marked the middle of its back and the tip of its tail.

Step 2: Connect Those Key Points
Next, I connected the 2 dots on the left and the 3 dots on the right with curved lines.
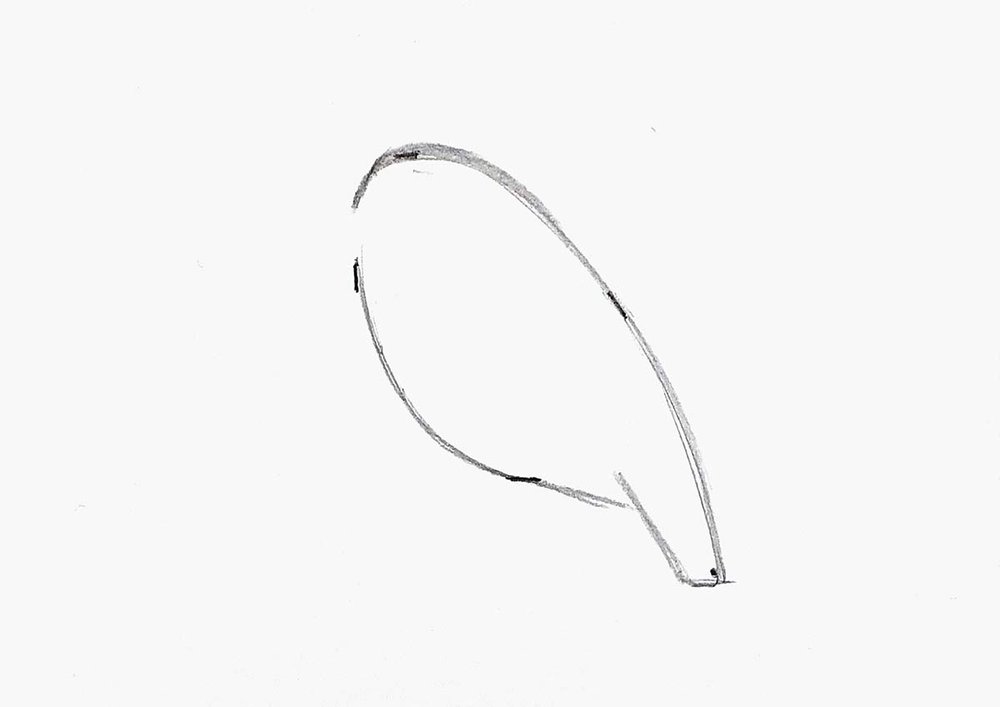
Step 3: Sketch The Tail & The Head
After that, I sketched the forehead of the bird and the tail.
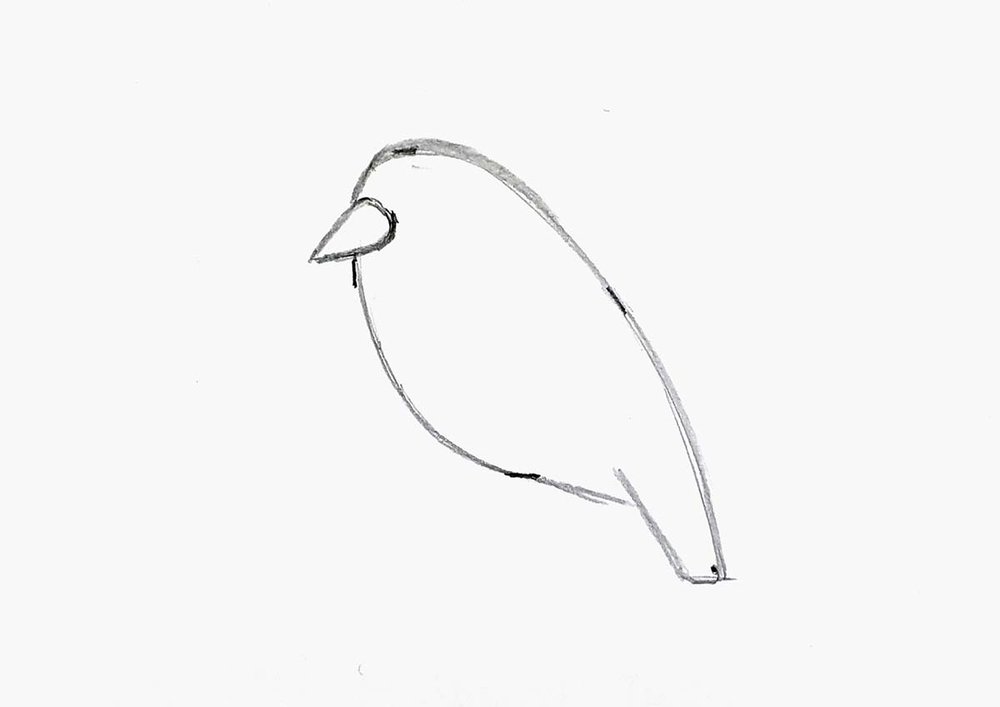
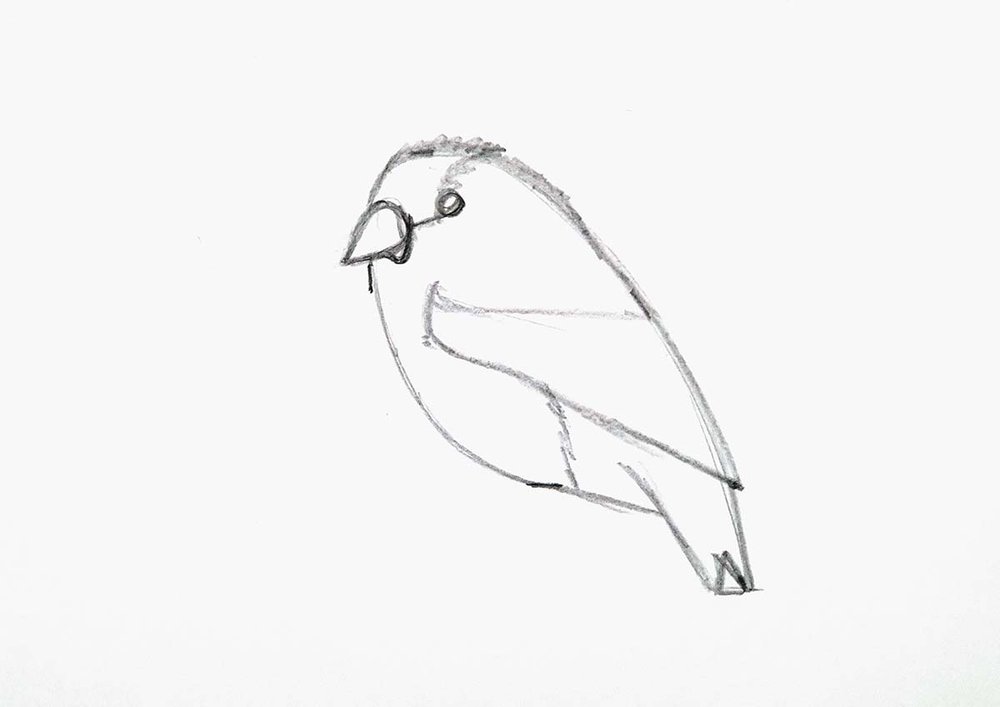
Step 4: Sketch The Beak
Then, I sketch the beak of the bird.
I first sketched the bottom half.

And then the top half.
Step 5: Sketch The Feather Pattern
Next, I made a few fixes to the beak.
The beak was looking a bit off, so I shortened it slightly and I curved the bottom right edge downward before it connected up to the top of the beak.
I also sketched the eye of the bird and its feather pattern.
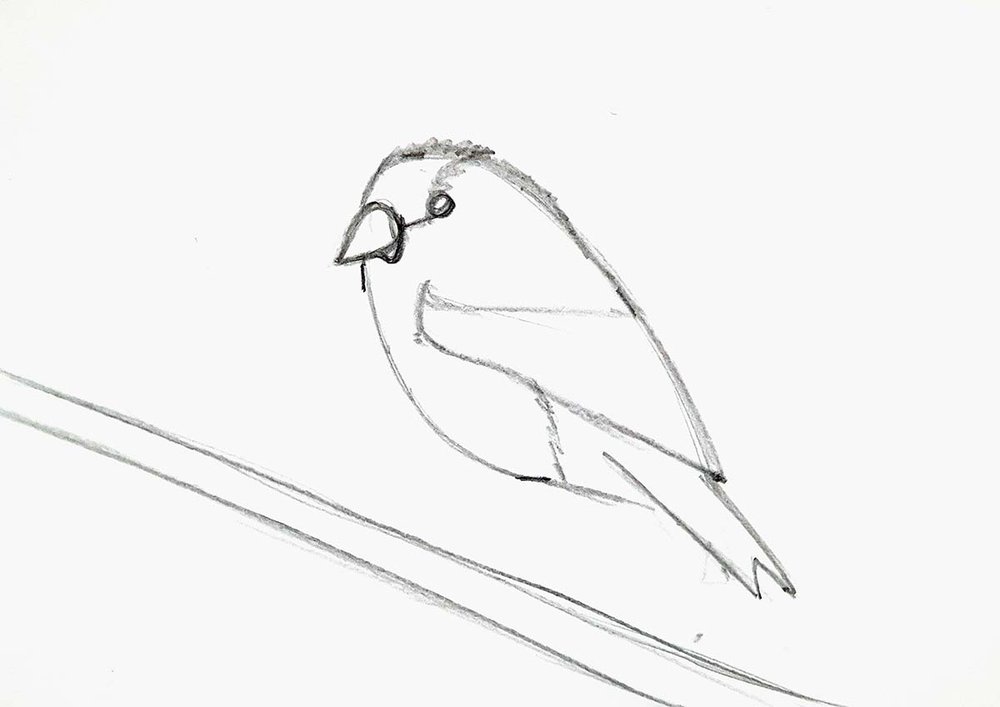
Step 6: Fix The Tail & Sketch The Branch
After that, I erased the tail and made it point more toward the left of the paper instead of down.
I also sketched 2 diagonal parallel lines from the left of the paper down toward the bottom right.
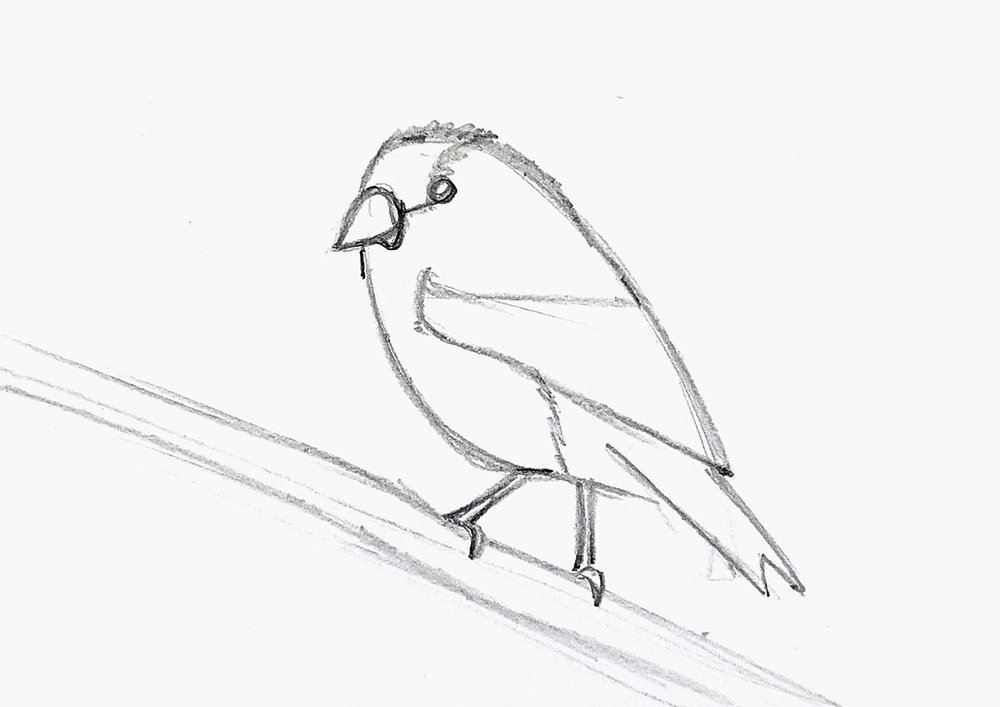
Step 7: Sketch The Legs Of The Bird
Next, I sketched the legs of the bird. One straight down and one pointing more towards the left. I also sketched the 2 nails of the bird.
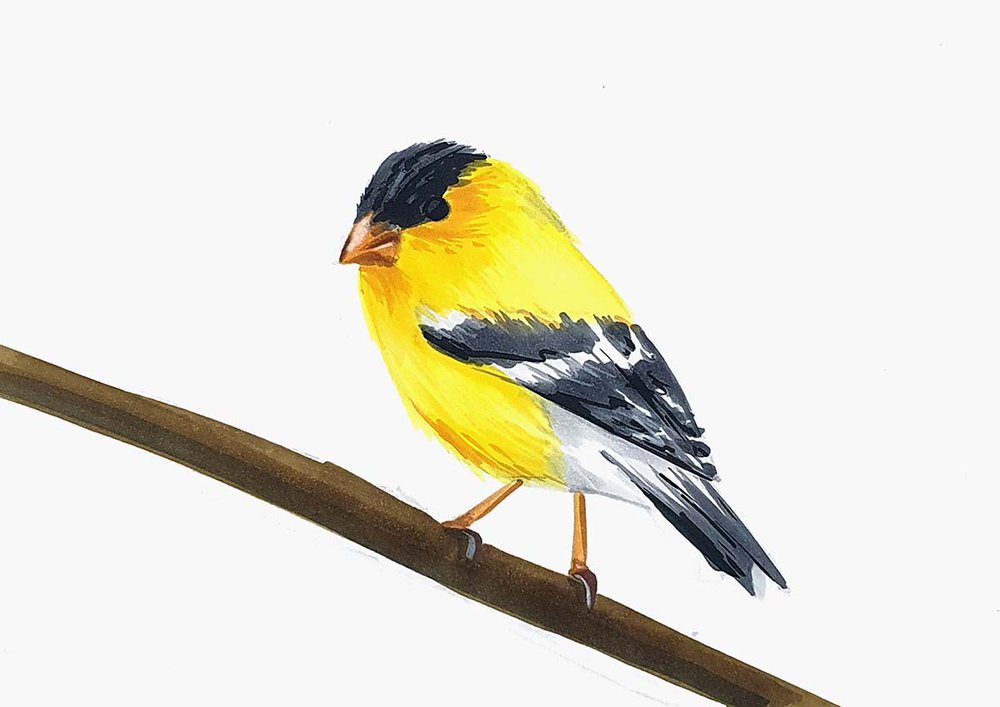
Step 8: Color The Bird With Markers
After that, I colored the bird with some alcohol markers.
I first colored the yellow feathers with Y080 Lightning Yellow and the branch with E450 Fennel Seed.
I added a 2nd layer of E450 Fennel Seed to the bottom half of the branch to make it darker.

Then, I colored the dark grey feathers with CG070 Neutral Grey 07.
I used the brush nib to create a feathery texture and overlapped the streaks with the yellow.

Next, I used CG030 Neutral Grey 03 to color the shadows on the white feathers. I left some spots white as there weren't any shadows.

After that, I used YR260 Yellowish Brown to color the bird's legs and beak.

Next, I used E370 Light Walnut to add shadows to the right edge and bottom of the legs and the top, bottom, and center-right of the beak.

Then, I used E430 Pecan to color the nails and to add a dark edge to the left and middle-right of the beak.

After that, I used 120 Black to color the black shadows in the dark grey feathers and the eye.
To do this I used the brush nib with little pressure to create some wiggly lines. on its head I added more black and on the feathers on its wings and tail I used a few lines.
I also used Y070 Acid Yellow to add texture to the yellow feathers. To do this I used the brush nib and created streaks that followed the direction of the feathers.
I only did this in the darker yellow parts.

Lastly, I used YR260 Yellowish Brown to add a few more dark feathers around its eye, below the beak, and at the bottom of its body.

Step 9: Add A Few White Highlights
To finish the bird drawing off, I used a white colored pencil to add some highlights.
I highlighted the left edge of the nail as it got lost a bit.
I also used the white pencil to add some light streaks on the lightest yellow parts, again following the direction of the feathers.
And that's it!
That's How You Draw A Simple Yet Realistic Bird
I hope you found this tutorial helpful!
Let me know how your drawing went!
Thank you for following along with me and I'll see you in my next step-by-step guide!
Tags
Articles You Might Also Like
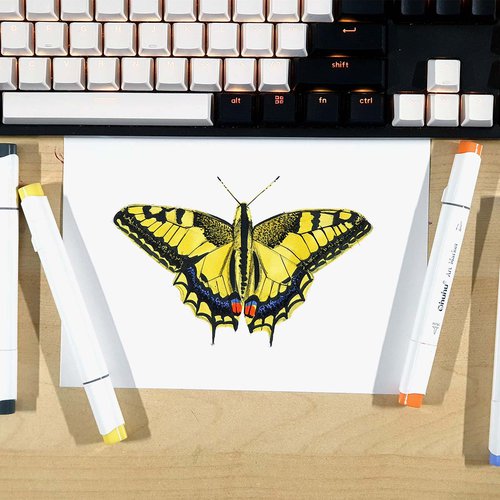
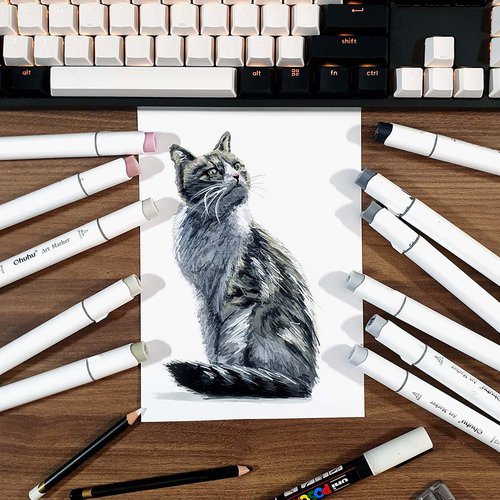

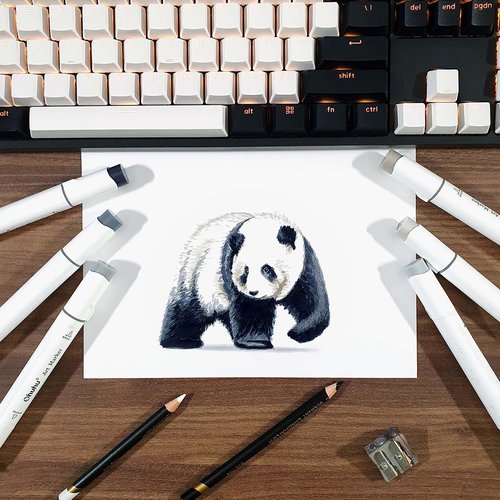


I love bringing cars to life with alcohol markers and colored pencils.
Whether you're just starting out or looking to improve your skills, I'm here to help!
Click here to learn more about me.


Be the first to comment!
Comments
There are no comments yet.