How To Draw A Cute Bat - Easy Step By Step Tutorial For Beginners
Bats don’t always have to be spooky, they can be downright adorable, too!
In this step-by-step tutorial, I’ll show you exactly how I drew this cute little flying bat using simple shapes, fluffy textures, and my favorite markers.
Whether you’re drawing for Halloween or just want to sketch something charming and fun, this guide will help you bring your own cartoon-style bat to life, fangs, wings, and all!
Let's get started!
Disclaimer: In the name of full transparency, please be aware that this blog post contains affiliate links and any purchases made through such links will result in a small commission for me (at no extra cost for you).
Drawing Supplies I Used To Draw This Adorable Bat
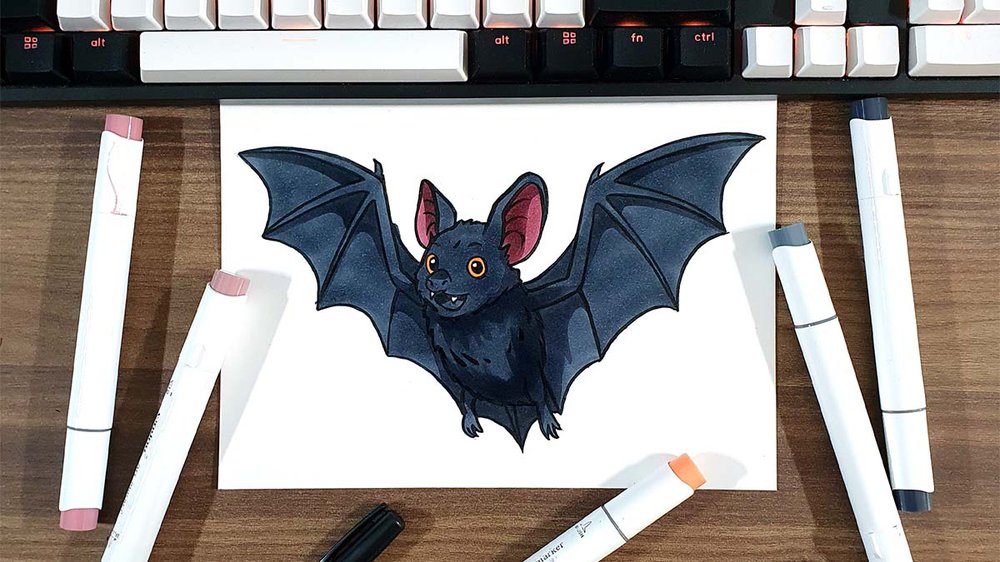
To make this cute bat drawing, I used Ohuhu Honolulu markers in the colors Cool Grey II 07 (CGII07), Cool Grey II 08 (CGII08), Currant (R280), Colocasia Torino (R282), and Peach Pie (YR090).

I used a Tombow Fudenosuke Brush Pen to outline the sketch.
I used a white Posca PC-3M paint marker to add white highlights.
And I made this drawing on Canson Illustration Manga Paper.
How Do You Draw A Bat?
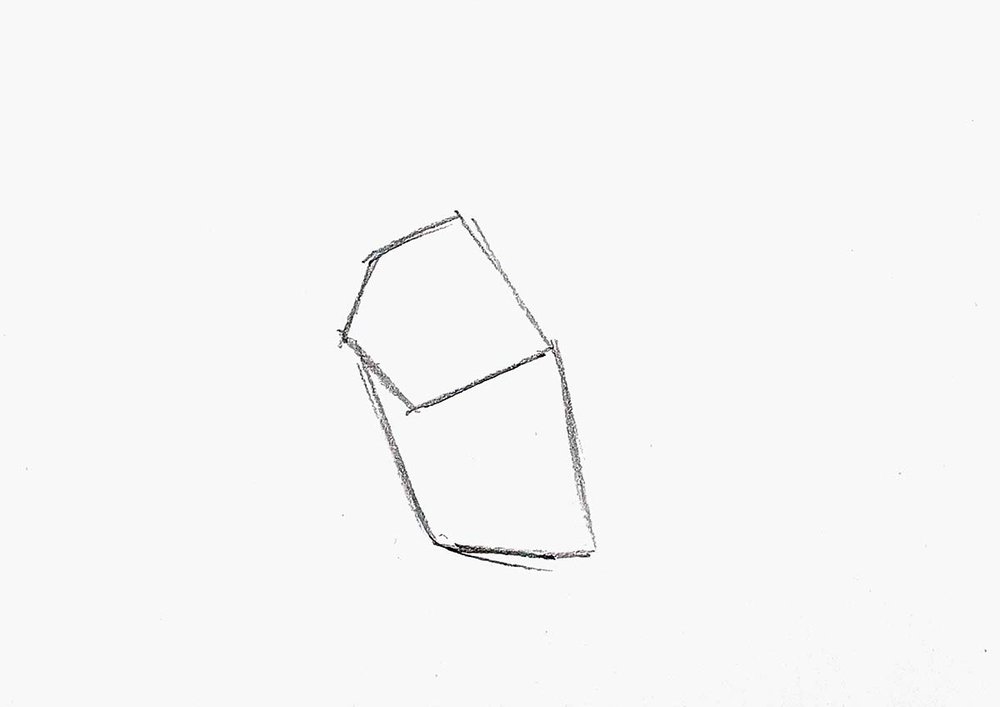
Step 1: Sketch The Basic Shape Of The Head & The Body
To draw a bat, I first sketched the basic shapes of the head and the body.
The head looks kind of like a diamond shape, but with a flattened left corner.
And the main body is just a wonky rectangle below the head shape.
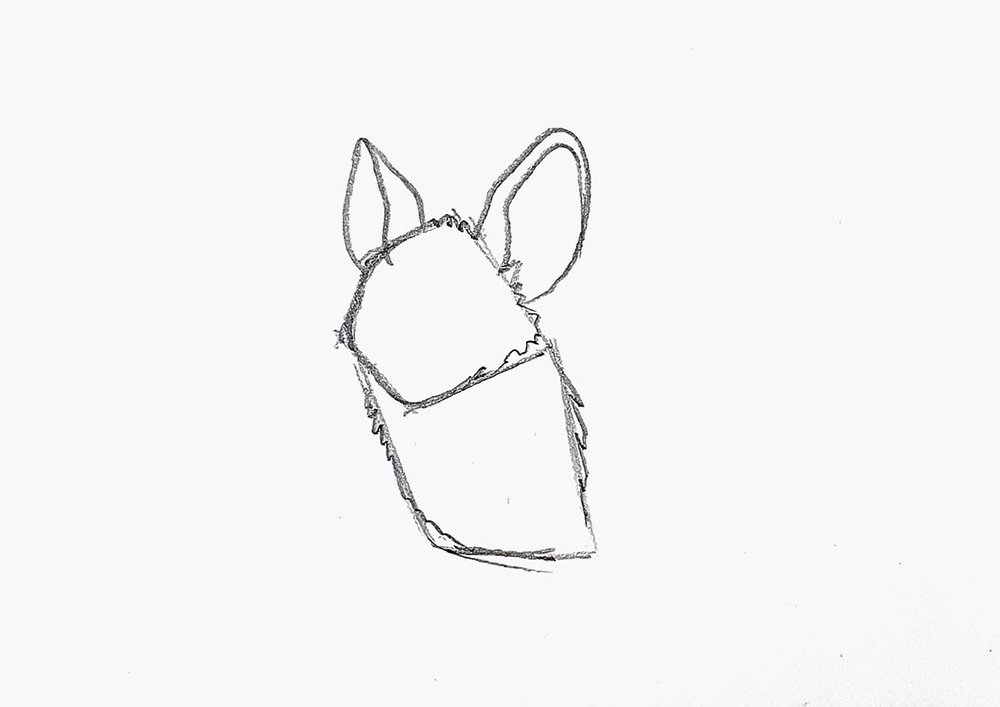
Step 2: Round The Basic Shapes And Add A Fur Texture & Ears
Next, I rounded the corners of the head and body shapes and added this fur-like texture to them.
I also added the big bat ears on top of the head.
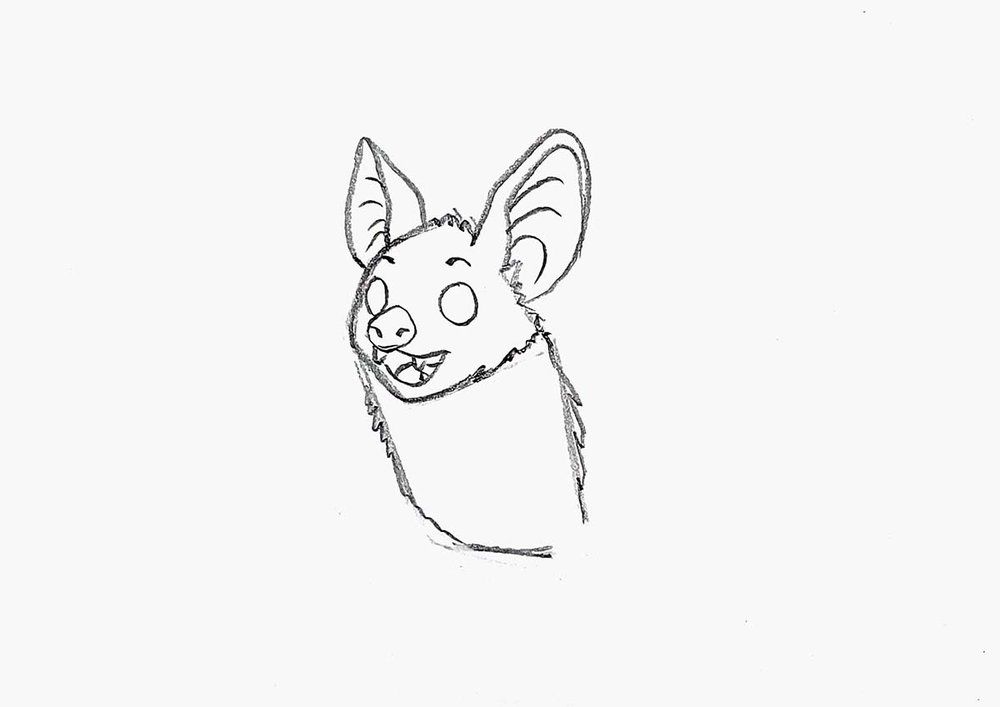
Step 3: Sketch The Face Of The Bat
After that, I added some texture to the ears, and I drew the bat's round eyes and the potato-shaped nose.
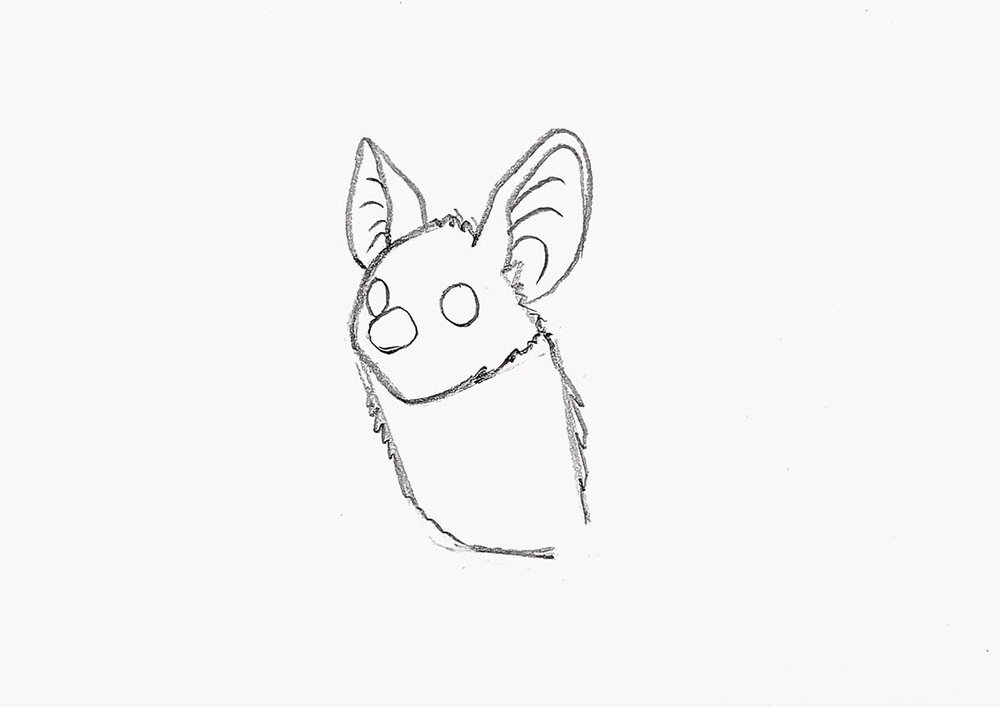
Then, I sketched the mouth with the fangs and its tongue, and I drew the eyebrows and the nostrils.
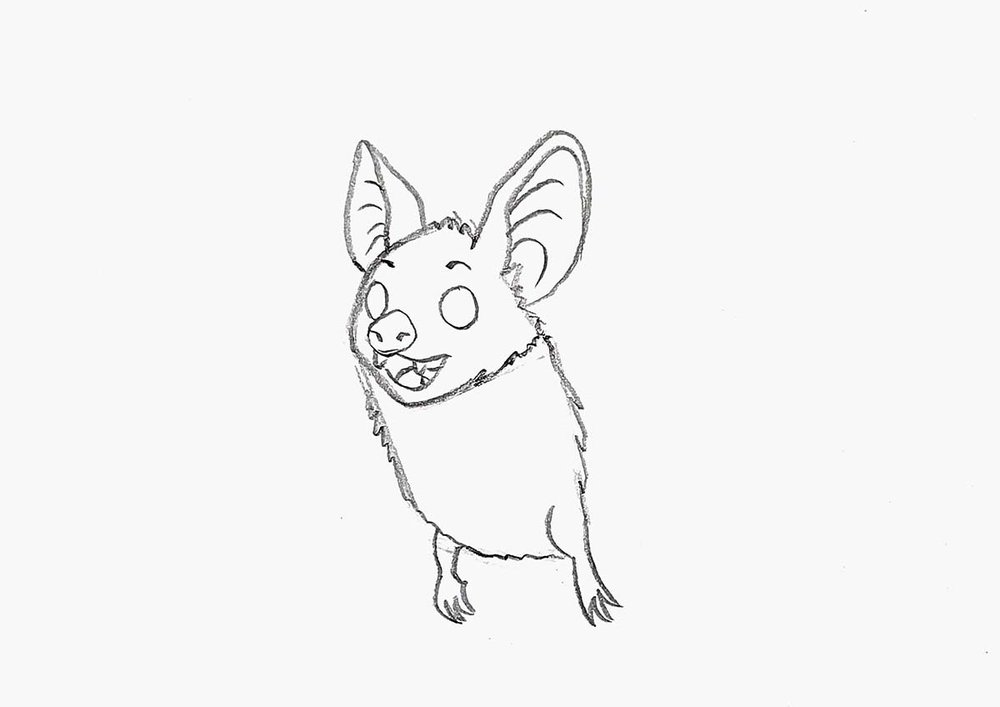
Step 4: Sketch The Legs Of The Bat
Next up, I added the bat's legs.
The legs are made up of a few curvy lines, keeping the shapes soft and loose.
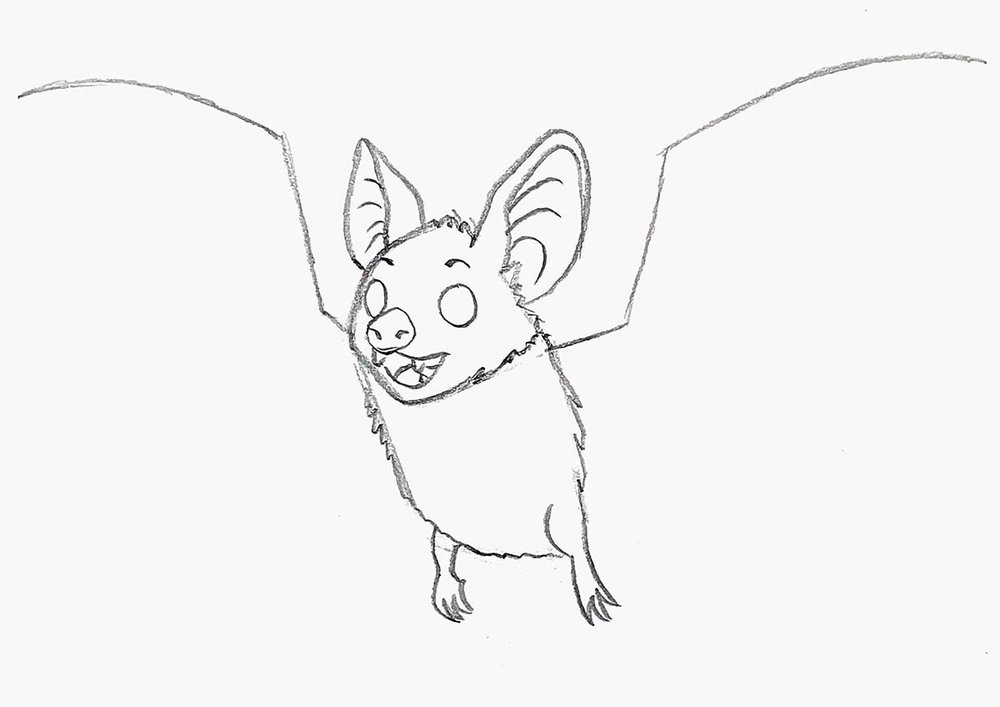
Step 5: Draw The Bat's Wings
Now, it's time to make it look more bat-like by adding the wings (my favorite part of this drawing).
I started by sketching the basic shape of the bat's arm bone structure.
The arms are made up of 3 lines, starting short and getting progressively longer.
Then, I added a similar line below each arm to give them some thickness.

After that, I added fingers on each wing, 5 on the right and 4 on the left as one falls completely behind its body.
I also added its tail.
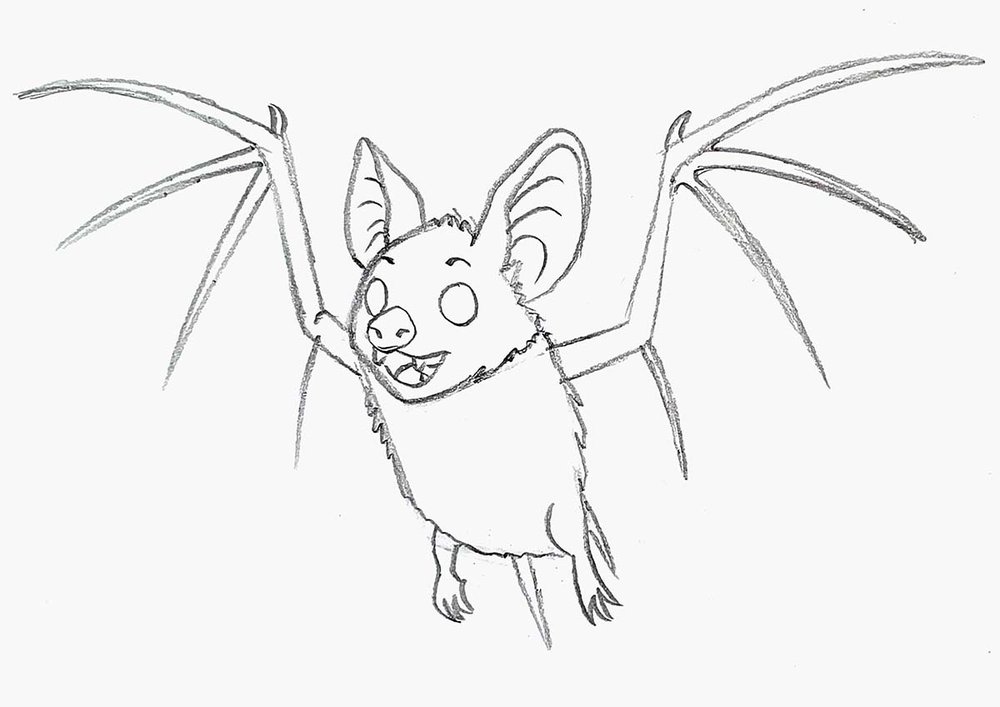
Lastly, I added the wing membrane by connecting the tips of each finger and the tail with a curved line.
I also added a little bit of skin above its arms.
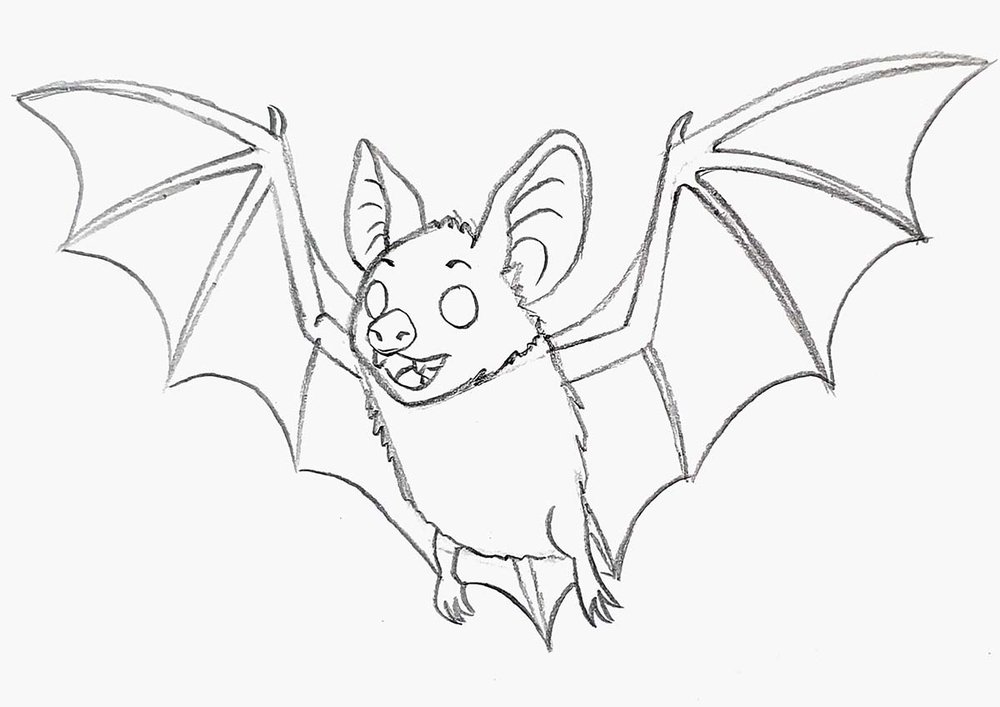
With the wings finished, it’s time to start outlining the sketch of the bat.
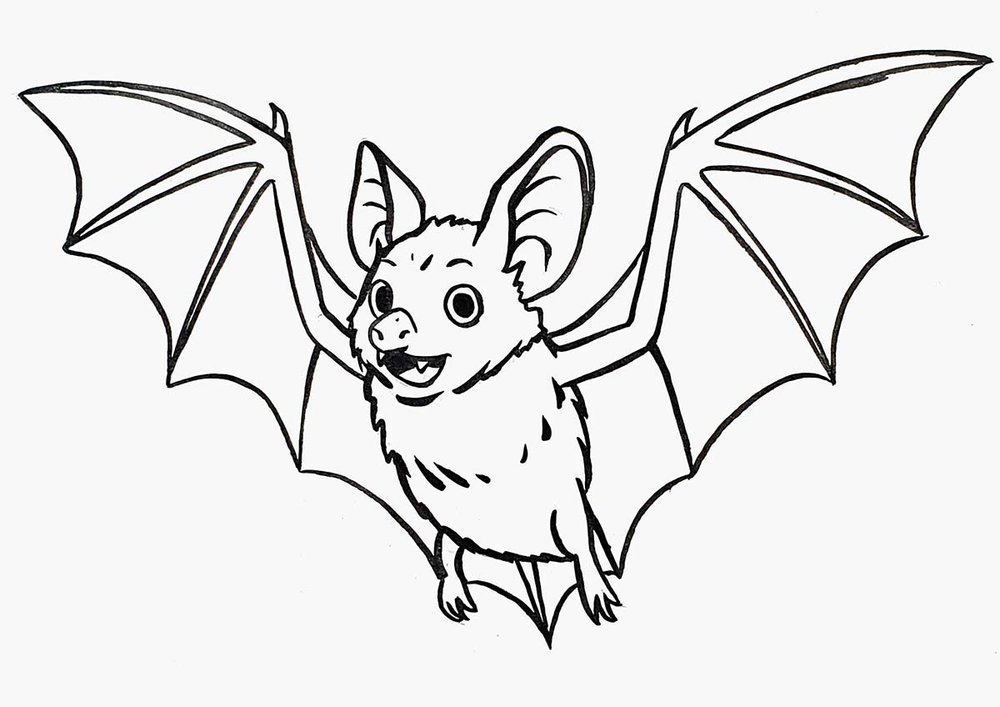
Step 6: Outline The Sketch With A Black Brush Pen
To outline the bat, I used my black Fudenosuke brush pen.
This makes creating the fluffy texture of the bat so much easier, and it makes the sketch look more dynamic.
I also decided to add black pupils to the bat's eyes.
Step 7: Color The Bat With Markers
Next, I colored the bat using Ohuhu Honolulu markers, my favorite alcohol-based markers!
I first colored the eyes of the bat with Peach Pie (YR090) and the ears with Currant (R280).
Then, I colored the remainder with Cool Grey II 07 (CGII07).
I did leave its fangs white, though.
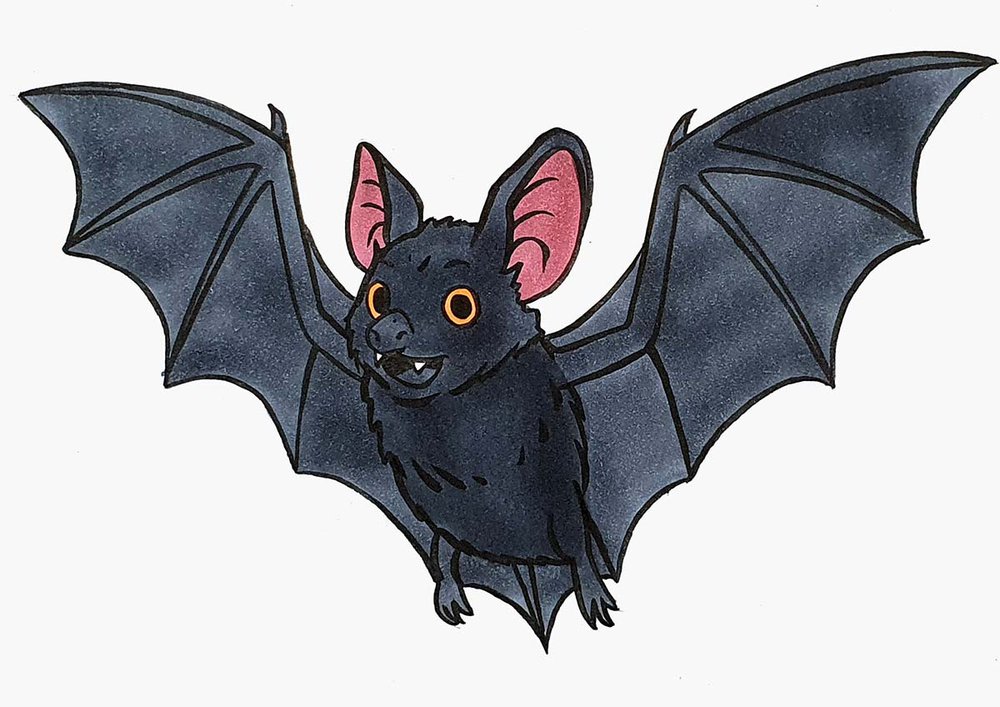
After that, I used Colocasia Torino (R282) to add some shading to its ears, and I used Cool Grey II 08 (CGII08) to add shading to the wings and its body.
Step 8: Add Highlights In The Bat's Eyes
And to finish the bat drawing, I added a white highlight in both eyes with a white paint marker.
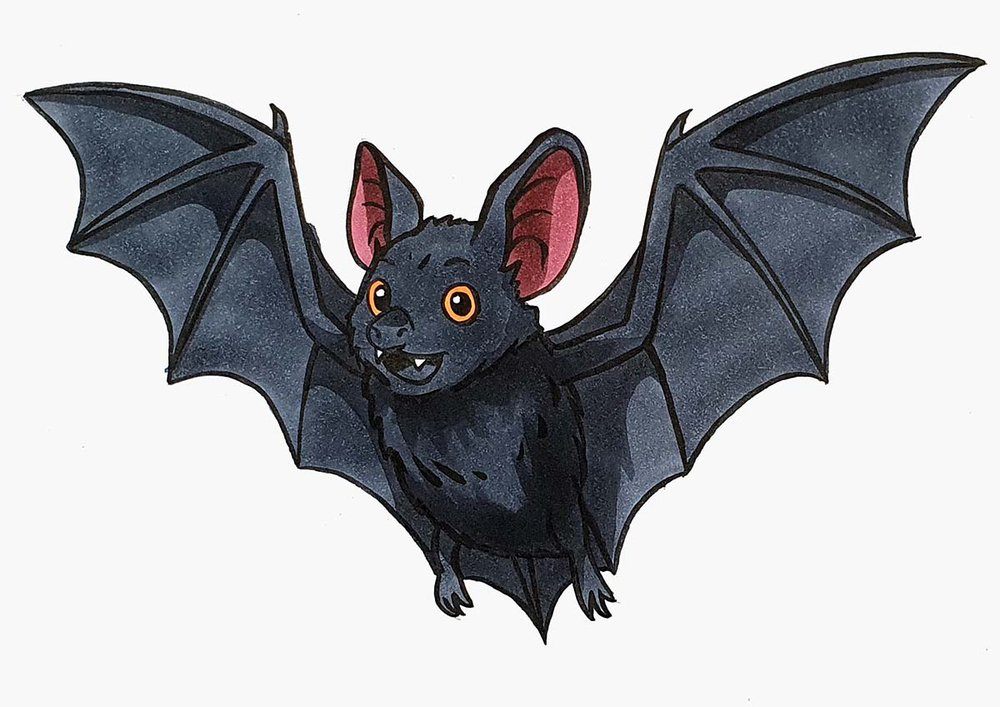
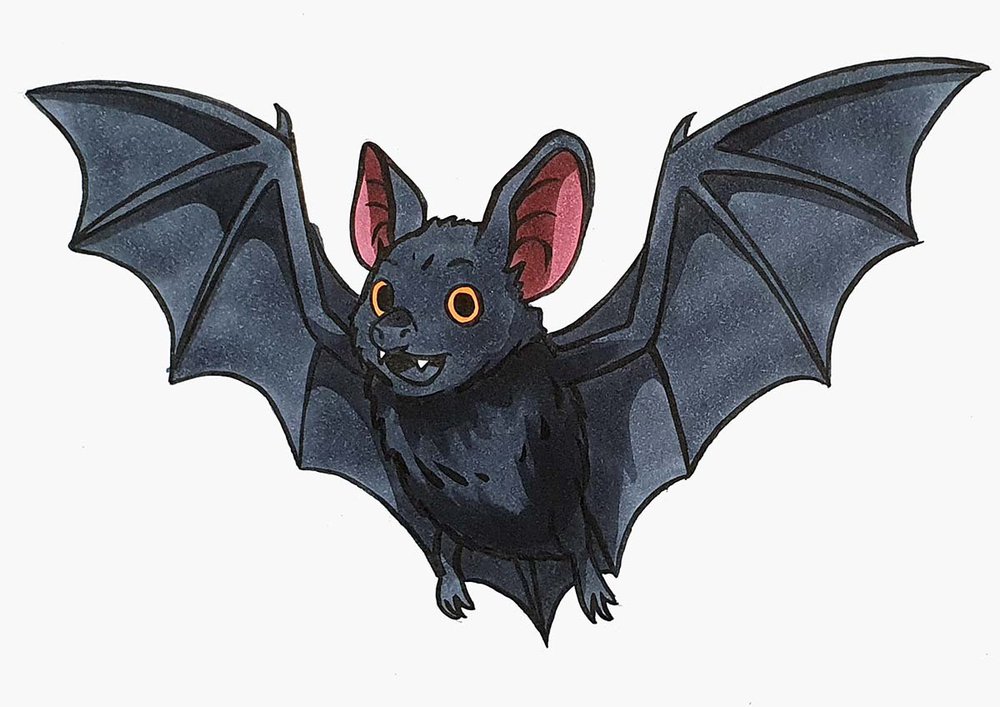
Final Result: A Cute Flying Bat!
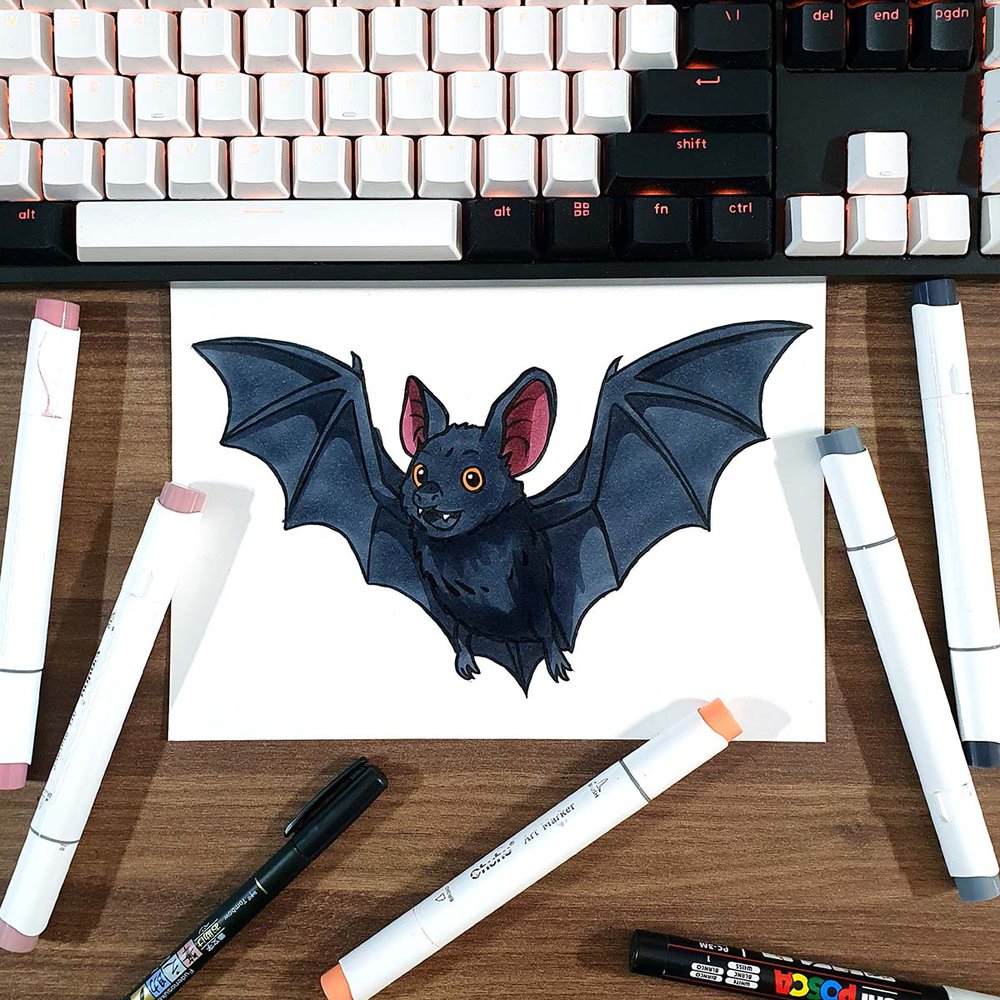
And that's how I drew this cute flying bat.
I hope you enjoyed this tutorial, and if you did, I'd love to see your creations, so feel free to tag me on Instagram (@luukminkman) when you decide to share them!
Thank you!
Tags
Articles You Might Also Like

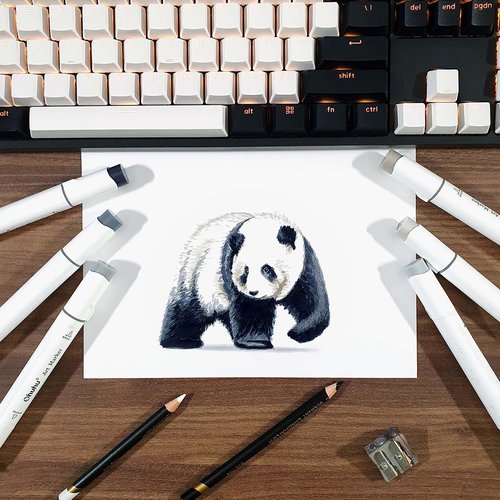
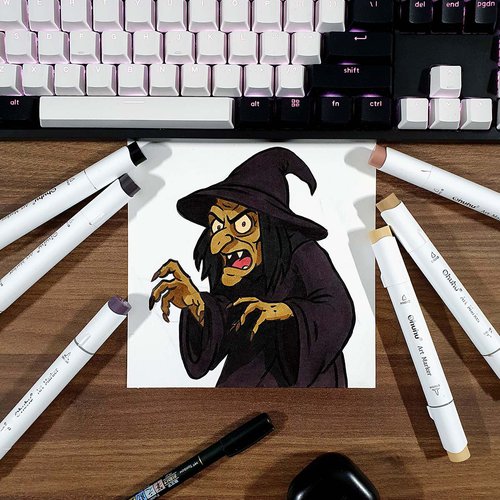
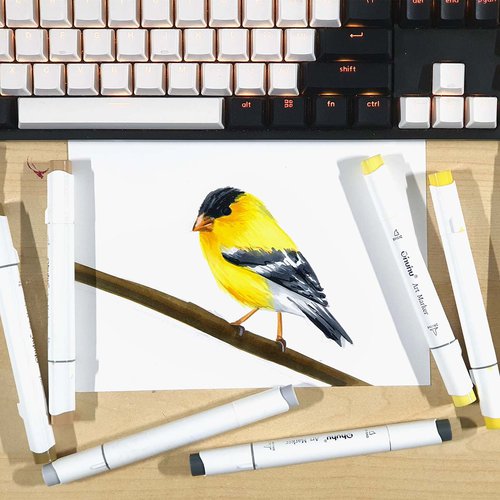

I love bringing cars to life with alcohol markers and colored pencils.
Whether you're just starting out or looking to improve your skills, I'm here to help!
Click here to learn more about me.


Be the first to comment!
Comments
There are no comments yet.