How To Burnish Colored Pencils: A Step-by-Step Guide
Burnishing is probably one of my most used techniques. I use it all the time to get my drawings to look smooth and finished. And today I'll be sharing how I do this. So let's get started!
What is Burnishing?
Burnishing is a technique used to create a smooth, polished finish on colored pencil artwork. This is achieved by blending and smoothing out the layers of color, resulting in a vibrant, glossy effect. Burnishing is incredibly useful for giving your artwork that professional, finished look we all strive for.
To get the best results, it's essential to use high-quality materials. Trust me, investing in good-quality colored pencils, paper, and blending tools will make a world of difference in your burnishing journey.
Materials For Burnishing Colored Pencils
Before we jump into the step-by-step instructions, let's make sure you have all the materials you need. Here's a list of the essentials:
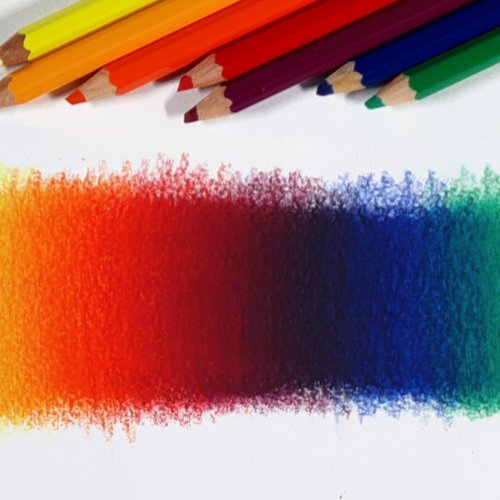
Colored pencils: Brands like Prismacolor, Faber-Castell, and Caran d'Ache offer excellent quality colored pencils that are perfect for burnishing. The higher pigment content and softer leads in these pencils make blending and layering a breeze. Here's a list of my favorite colored pencils.
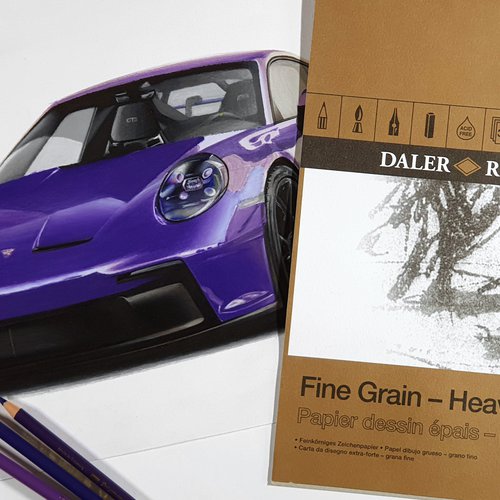
Paper: A slightly textured, heavyweight paper works best for burnishing. My personal favorite is the Daler & Rowney Fine Grain Heavyweight. These papers can withstand the pressure and layers required for burnishing without tearing or pilling.
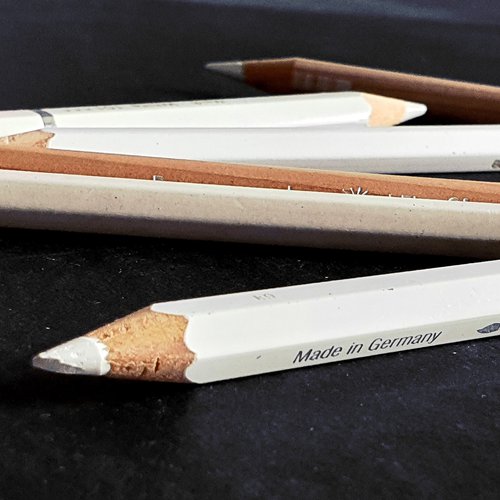
Colorless blender pencil or white pencil (optional): A colorless blender pencil (such as the Derwent Blender Pencil) is specifically designed to blend colored pencil layers without altering their color. Alternatively, a white pencil can also be used to create a similar effect, although it may lighten the colors slightly. My favorite white pencil to burnish is by far the Caran d'Ache Luminance white pencil.
Now that you've got your materials ready, we can move on to the actual process of burnishing colored pencils.
Step-by-Step Instructions to Burnish Colored Pencils
1. Applying Colors
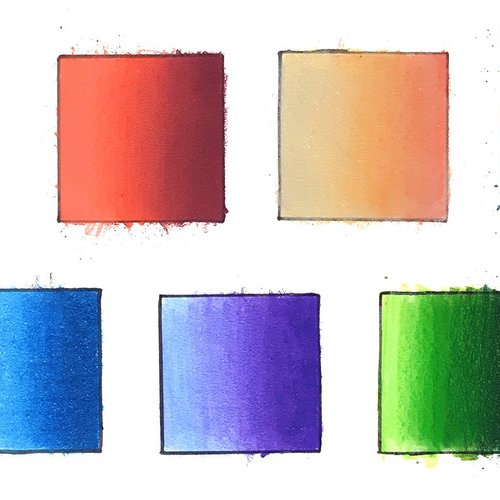
Choose your colors
Carefully select the colors you'd like to use in your artwork, considering the color harmony and overall mood you'd like to achieve. You may want to make a few color swatches on a separate piece of paper to test how they work together.
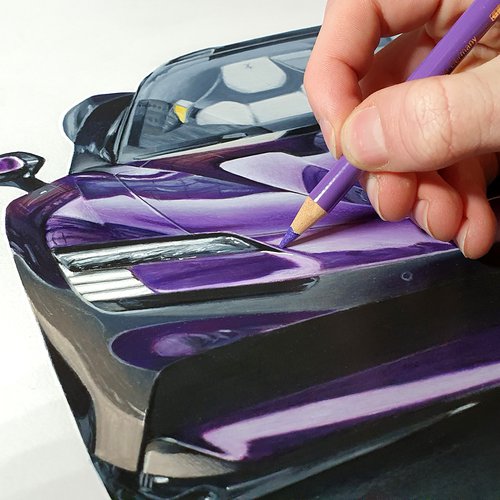
Apply the first layer
Start by applying a light layer of your base color to your paper using gentle, even strokes. Hold the pencil further back to ensure a lighter touch, and consider using the side of the pencil lead to create broader, softer strokes. Remember, it's essential to start with a light layer, as this makes it easier to build up and blend colors later on.
2. Layering Colors
Choose a slightly lighter or similar color
Pick a color that is either slightly lighter than or the same shade as the one you've already applied. This color should complement your base color and help create the color you want to achieve.
Layer the new color
Gently layer this new color over the initial color, using the same even strokes as before. Focus on the areas where you'd like to build up depth and saturation, while still maintaining a light touch to avoid overworking the paper.
Continue layering
Gradually build up layers of colors. Keep in mind that each new layer should be applied with a light touch, allowing the previous layers to show through and create a sense of depth and dimension in your work.
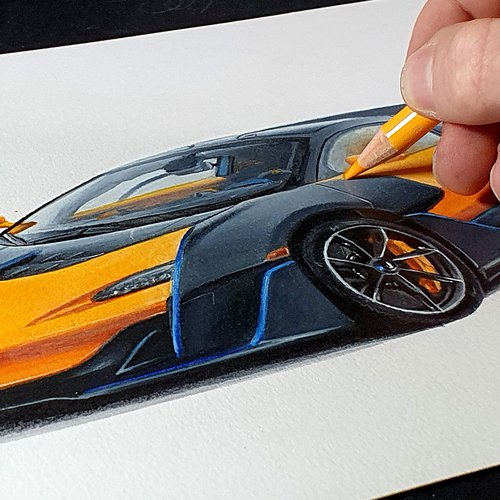
3. Burnishing
Prepare your colorless blender or white pencil
Ensure that your colorless blender pencil or white pencil is sharpened and ready for use. You'll need a fine point to achieve the smoothest blending possible.
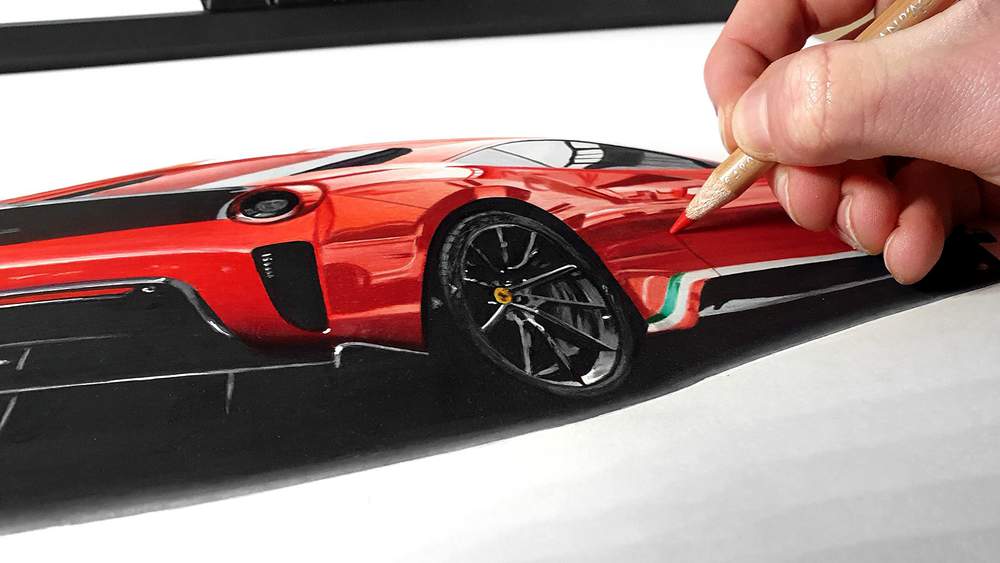
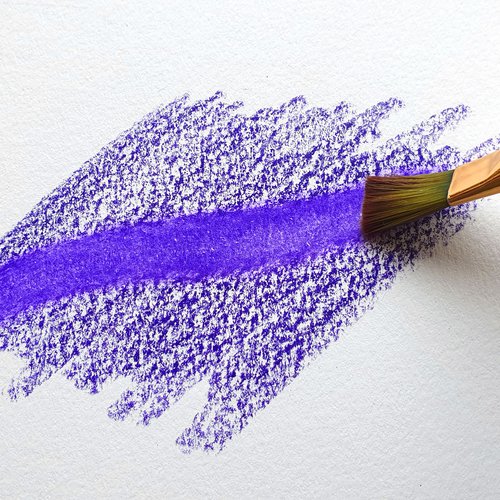
Begin burnishing
Start burnishing the area where you've applied your colored layers. Use the tip of your colorless blender pencil or white pencil to gently burnish the colors together to get rid of all the white spots of the paper showing through.
Circular motion
With a gentle touch, use a small circular motion to blend the colors together and smooth out any visible pencil strokes. The key is to work in a consistent, controlled manner, so your burnishing looks even and polished. Remember, applying too much pressure can damage the paper or create an uneven texture. Pressing too hard might also hurt your wrist, so be gentle and patient.
4. Adding More Layers
Evaluate your work
Take a step back and evaluate your artwork. If you feel it needs more depth, contrast, or additional colors, now is the time to add more layers.
Apply additional layers
Add new colors lightly and build them up gradually, just as you did before. Focus on enhancing the depth and dimension of your piece, and consider introducing new shades or complementary colors to add visual interest.
5. Continue Burnishing
Burnish between layers
As you add more layers of color, you may need to burnish in between to ensure a smooth, polished finish. Use your colorless blender or white pencil to blend and smooth out any rough edges or visible pencil strokes.
Burnish and layer until satisfied
Continue burnishing and layering colors until you achieve the desired effect. Be patient and take your time, as rushing through the process may result in a less polished finish. Remember, practice makes perfect, and with each new piece, you'll become more adept at burnishing colored pencils.
Now that you have a more in-depth understanding of the burnishing process, you're ready to create stunning, polished colored pencil artwork.
Tips for Burnishing Colored Pencils
To help you get the most out of your burnishing experience, here are some tips that I've picked up over the years.
1. Work in a well-lit area
Good lighting is essential for accurately assessing your colors and blending. Make sure your workspace is well-lit, ideally with natural light or a daylight lamp, to help you see the true colors and how they interact on the paper.
2. Use high-quality materials
As mentioned earlier, high-quality colored pencils, paper, and blending tools will significantly impact your burnishing results. Investing in the best materials you can afford will make the process smoother and more enjoyable.
3. Keep your pencils sharp
Maintaining sharp pencil points allows for more precise layering and blending. Regularly sharpen your pencils and consider using a high-quality sharpener to avoid breakage or uneven sharpening.
4. Practice patience
Burnishing takes time and patience. Give yourself the space to work slowly and carefully, allowing the colors to build up gradually. Remember, rushing can result in a less polished finish.
5. Experiment with different paper textures
Different papers will yield different results when burnishing. Try out various types of paper (smooth, slightly textured, heavyweight, etc.) to find the one that works best for you and your preferred style.
6. Clean your blender pencil
Occasionally, your colorless blender pencil may pick up pigment from the colored layers. To keep it clean and maintain its effectiveness, gently rub the tip on a scrap piece of paper to remove any excess pigment.
Common Mistakes to Avoid when Burnishing Colored Pencils
As you embark on your burnishing journey, be mindful of these common mistakes that beginners often make.
1. Using too much pressure
Applying too much pressure when layering or burnishing can damage the paper, create uneven textures, or even cause the colors to become muddy.
Additionally using too much pressure might also hurt your wrist.
So it's important to maintain a light touch and build up your colors gradually to avoid these issues.
2. Not layering colors properly
It's essential to layer your colors strategically, starting with lighter shades and building up to darker ones. This helps create a smooth and even finish and maintains the vibrancy of your colors.
3. Overworking the paper
Repeatedly layering and burnishing on the same area can cause the paper to become damaged or pill. Be mindful of how many layers you're applying and try to avoid overworking the paper.
4. Not experimenting
Each artist has their unique style and preferences. Don't be afraid to experiment with different techniques, tools, and materials to find the approach that works best for you. The more you explore, the more you'll grow as an artist.
By keeping these tips and common mistakes in mind, you'll be well on your way to mastering the art of burnishing colored pencils. Remember, practice makes perfect, and with each new piece, you'll gain more experience and confidence in your skills.
Tags
Articles You Might Also Like
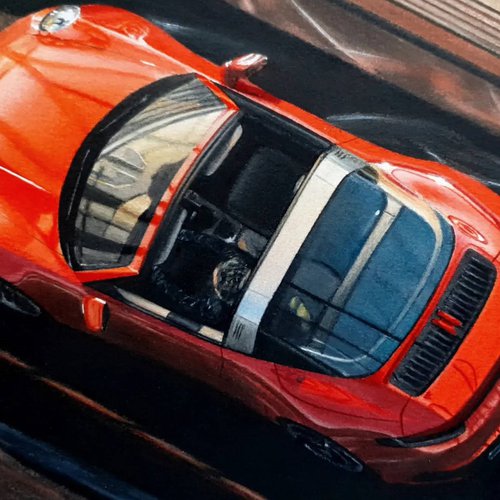


I love bringing cars to life with alcohol markers and colored pencils.
Whether you're just starting out or looking to improve your skills, I'm here to help!
Click here to learn more about me.


Add a comment
Comments
Finally, Someone who actually explains how to blend and how to burnish. I’m a retired school teacher who, for some inexplicable reason, decided to get back into art after decades of not doing much with it. I’ve never worked with colored pencils before but I enjoy drawing with graphite. Now I love using colored pencils. Your articles have been more informative than any I have seen. Thank you so much. Good luck with those cars. You like the Italian ones obviously.