How to Blend Colored Pencils (7 techniques)
Blending colored pencils can be a pain at first. But there are many techniques that make this a lot easier. In this blog are 7 techniques described on how to blend colored pencils on paper and what colored pencils are the best for blending colored pencils.
Blending colored pencils can be achieved by lightly layering colored pencils on top of each other while controlling the amount of pressure to make the colors transition. This can be done by just layering or burnishing, but also by using a solvent to blend the colored pencils.
How Do You Blend Colored Pencils?
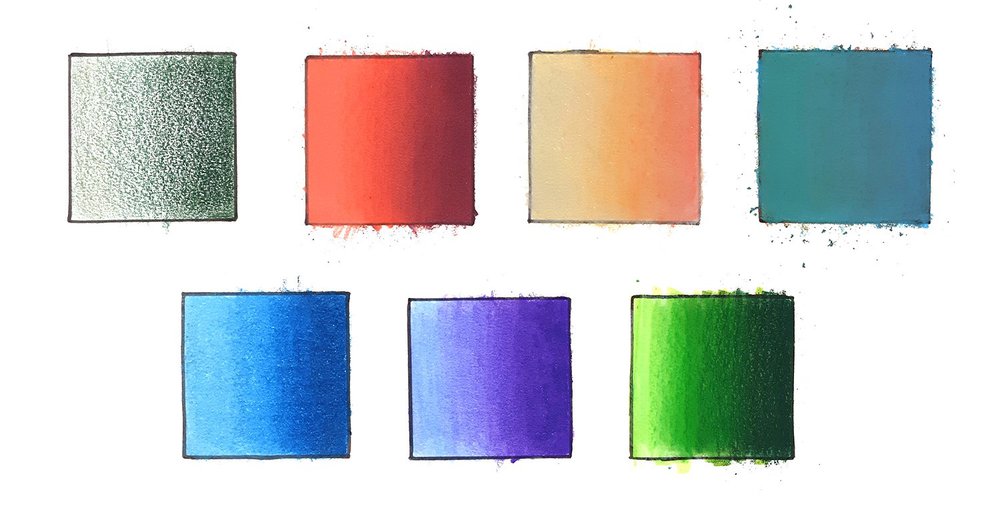
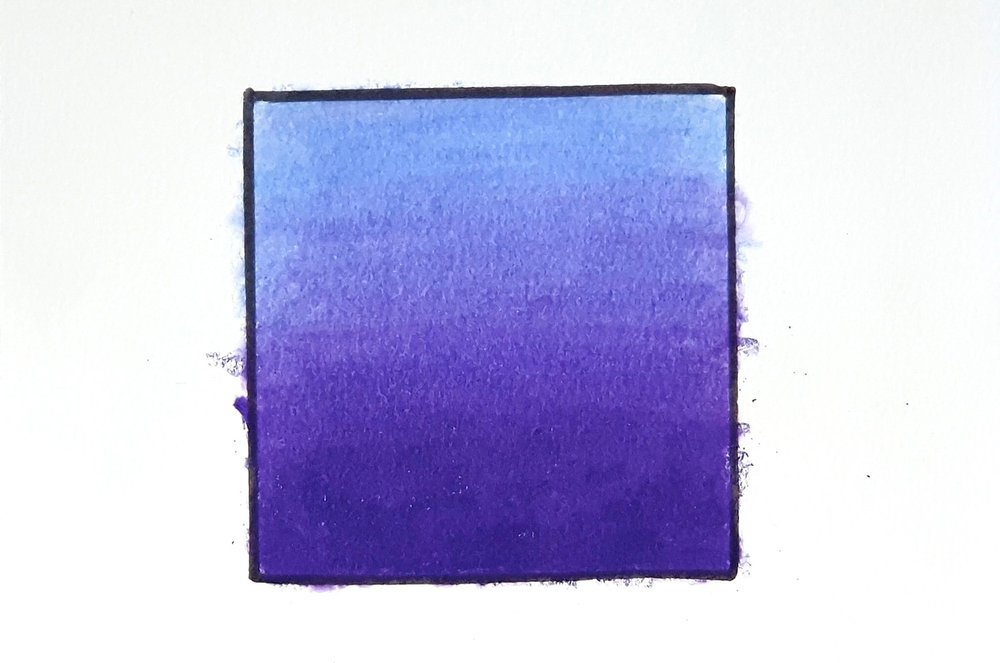
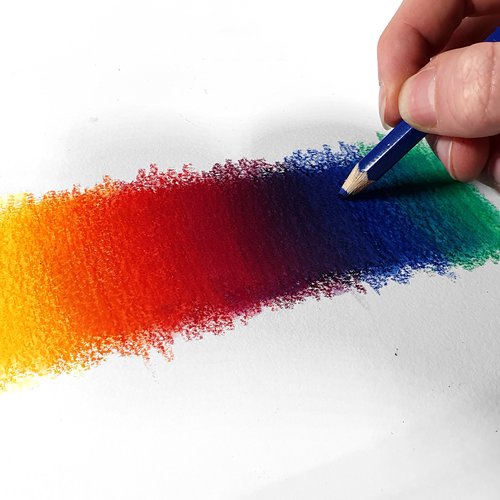
1. The layering method
The layering method is probably the easiest to blend colored pencils and it forms the base for all other methods. As the name suggests you use layers to blend the colors together.
To blend the colors you use layers of colored pencil and overlap them to create a gradient. It is very important that you use light pressure and control the amount of pressure.
To prevent inconsistencies it is best to hold the pencil further from the tip. By doing this you'll notice that it's way easier to control the pressure and layer very lightly. If you press too hard it will leave harsh lines.
This technique is great for beginners as it is the easiest and quickest. The only disadvantage is that the white grain of the paper will still be visible. If you don't like that then the next technique might be a better fit for you.
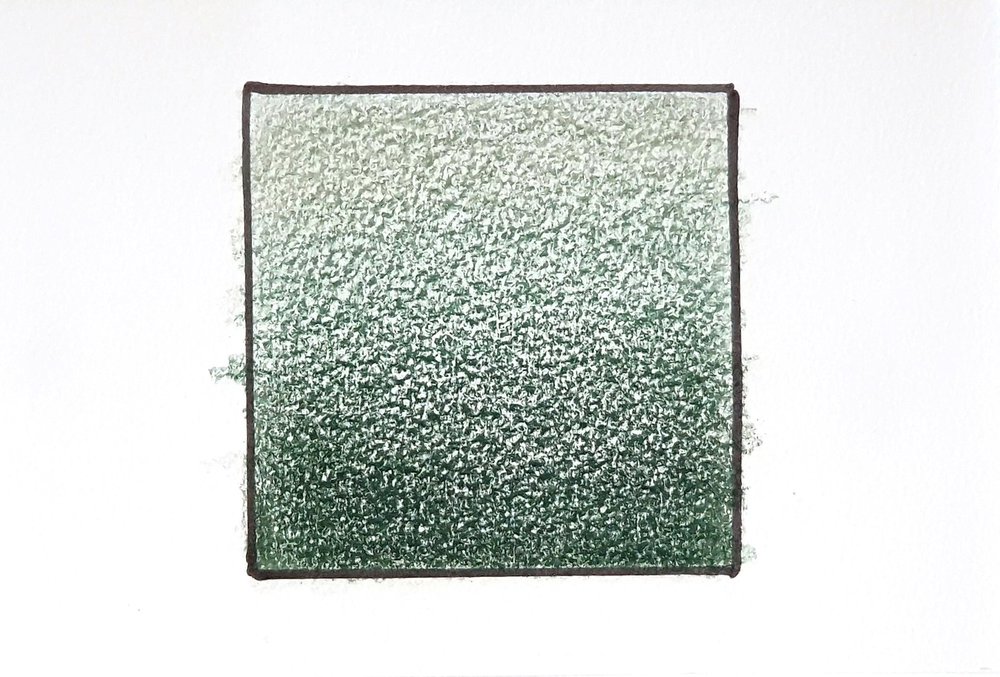
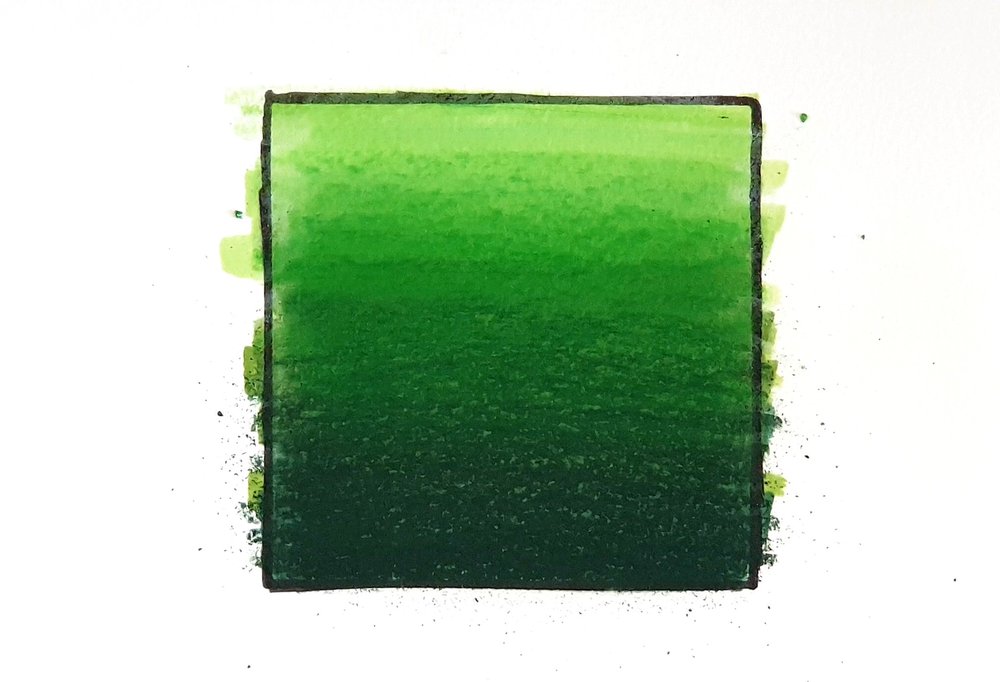
2. The burnishing method
Burnishing means coloring with much pressure which results in an often glossy finish. Unlike the layering method this technique covers all white of the paper.
The burnishing method essentially is an evolution of the layering method. It also uses layers to blend the colors, but with this technique you apply more and more pressure as the layers build up. So on the first few layers you use light pressure and then for the next layers you use more and more pressure, but just enough for the color to show up on the paper. You continue doing this until all white of the paper is covered.
The force of continuously pressing the pencil on the paper shouldn't hurt you hand or wrist. If that is the case you should use less pressure. Also make sure your pencils are sharp. This make it a lot easier to fill in the grain of the paper with a lot less pressure than you'd otherwise need if your pencils are blunt.
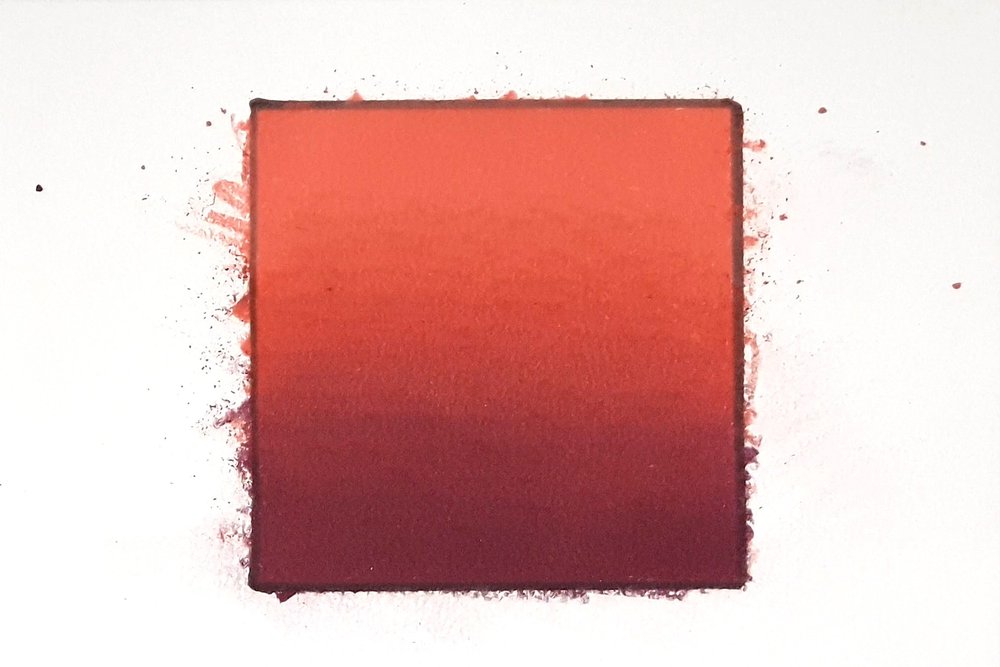
3. The saturation burnishing method
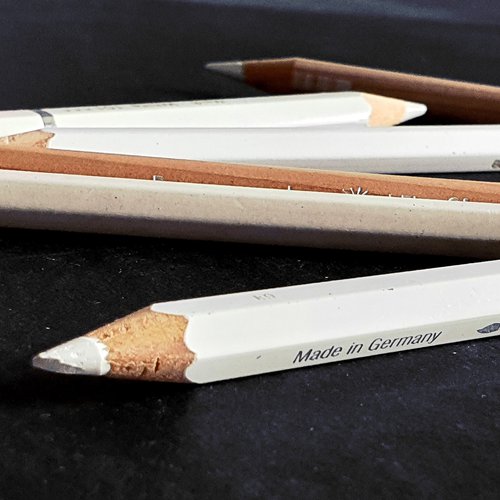
Saturation burnishing is a variation on burnishing, but instead of using colors to burnish you use a grey or white pencil.
This method starts the same as the normal burnishing method: you layer lots of layers of colored pencils with increasing amounts of pressure.
With this method however you don't fully burnish it with the colored pencils you used in the gradient. But you do this with a grey or white pencil as the final layer to blend everything together. By doing this you can create colors that aren't available as pencils.
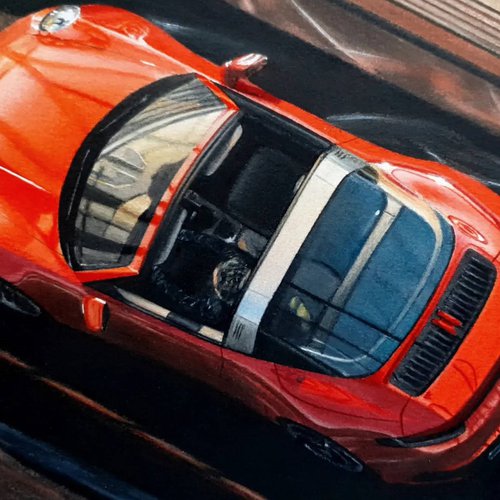
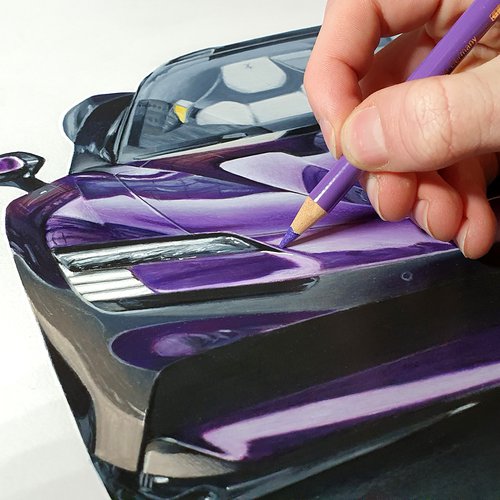
This technique is essential if you want to draw skin for example. It also works really wel for drawing reflections on cars.
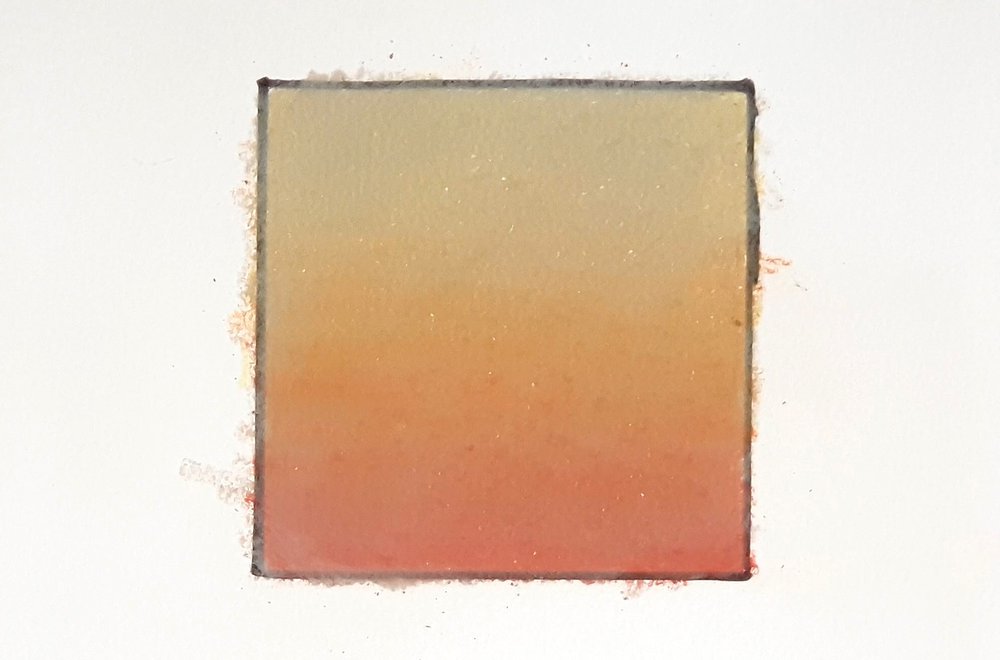
4. The tonal burnishing method
Just like saturation burnishing this technique is a variation on regular burnishing. And it works mostly the same as saturation burnishing. The only difference is that you use a color, mostly a light color close to the color range you're using to blend, to blend instead of a grey tone.
This technique is ideal for controlling the temperature. For example if the area is cool toned you burnish with a light blue and if the area is warm toned you burnish with a light orange.
You don't have to use this technique only for regulating the color temperature. You can also use to, again, create new colors that you don't already have as colored pencils.
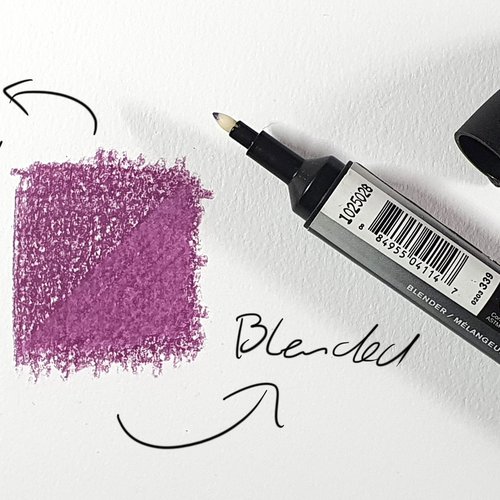
5. The colorless blender method

This method is a lot like burnishing and also results in a glossy finish. But unlike burnishing you don't have to build up as many layers.
You just layer as usual with the layering method. And than when you have enough pigment on the paper you burnish it with a colorless blending pencil. This will get rid of the white grain and blend the colors together.
To get the most out of this technique you draw short diagonal and horizontal lines next to each other with the colorless blender to blend the pencils until everthing is blended.
It is very important that there is enough pigment on the paper, otherwise the coverage might be uneven and spotty.
There are more tools you can use to blend colored pencils. I've listed them all in this article, so make sure to check them out.
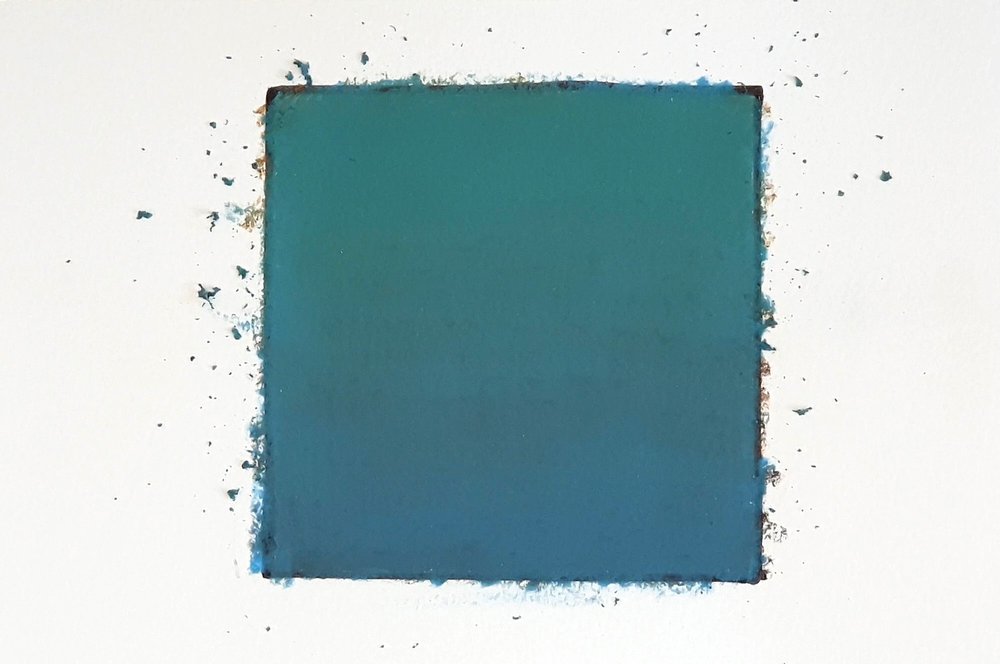
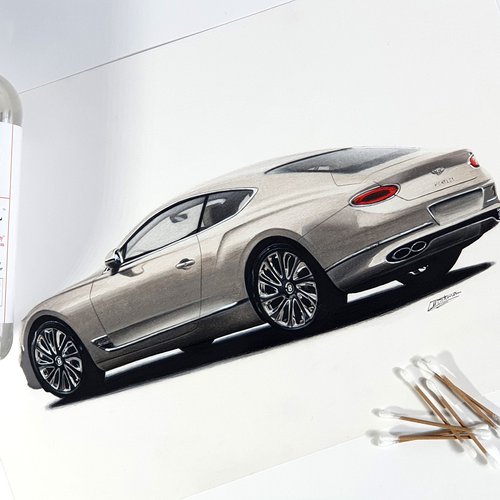
6. The solvent method
You might have never heard of this method. I didn't either for a long time, but it quickly became my favorite method to blend colored pencils.
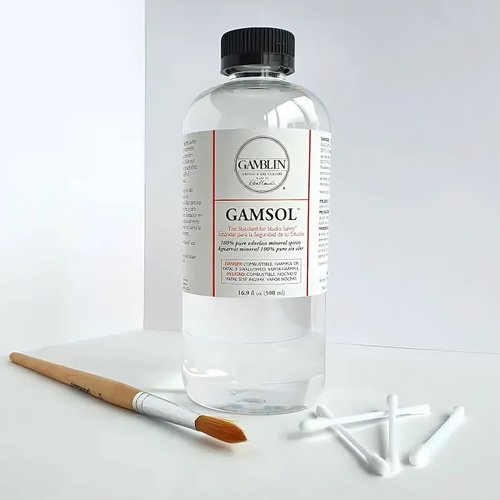
This method uses a solvent to blend the colored pencils. There are many solvents you can use. Any rhing like regular paint thinner, Zest-It pencil blend and oderless mineral spirits will work. The solvent breaks down the binder of the colored pencils and lets the pigment dissolve. It works very much like water colored pencils, but there are it is different in 2 ways. It is way more controllable than when you use water to blend water color pencils. The solvent also doesn't warp the paper unlike water.
To use this method you just layer as usual like the layering method. It is however very important that there is enough pigment on the paper, otherwise it will be uneven and spotty. When you have enough pigment down onto the paper you then dip a brush or cotton swab into the solvent and dab the excess off onto a paper towel. And then you apply it onto the paper with a circular motion until you blended everything. You might need a few layer to make it look perfect. But before you add a new layer the paper must be fully dry, otherwise you will damage the paper which makes it impossible to add more layers. I would suggest to wait for at least 10 to 20 minutes before adding a new layer. With every layer you add you should use less and less solvent to blend.
This technique works really well for blurry backgrounds because it has a sort of softenibg effect. It works also really well to get rid of the white of the paper. That is what I mostly use it for and why I like it so much. It is a very easy technique, but it can take some more time than other techniques.
I made a more in-depth article on how to use solvent to blend colored pencils if you'd like to check that out.
7. The marker layer method
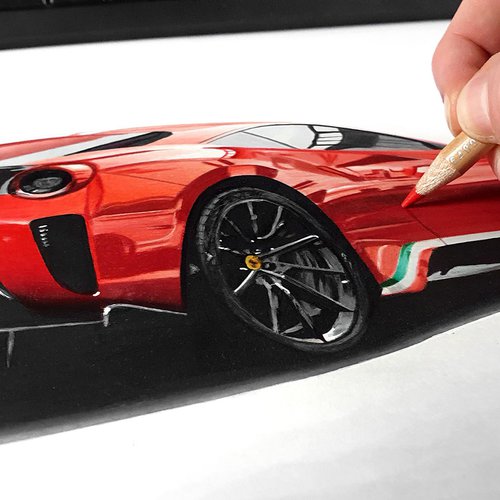
This method was invented by a fellow car artist: Samiesocal. She also made a video about it on YouTube. This technique is very quick compared to the other methods and it doesn't take too much practise to get right. For this technique you need the colored pencils you want to make the gradient with, some alcohol based markers close to that color range and a white pencil.
First you apply a layer of alcohol markers in the order you like. Then you blend the edges a bit with the lighter marker of the overlapping colors. It doesn't need to be blended very well. That's what you will be using the pencils for. The marker layer is to cover the white of the paper so you don't have to worry anymore about accidentally leaving white spots.
Next up you color a light layer of white pencil on top of the markers. It will look faded and desaturated, but the white pencil will help a lot with blending the pencils. It doesn't have to be a white pencil though. You can also use the lightest color of your color range for the gradient.
Now you grab to darkest pencil and color the darkest part of the gradient by pushing it hard on the paper and slowly press less hard while make side ways motion towards the lighter part. When you've reached about half way, depending on how many colors your gradient has, your pencil should be fully off the paper. Then you do the same thing with the next pencil that is lighter. But this time you don't start at the darkest part, but slightly below. And you do this until you gone through all pencils. You can also laye some white pencil in between the layers to make the blending easier and to prevent inconsistencies.
This technique works really well for blending smaller sections.
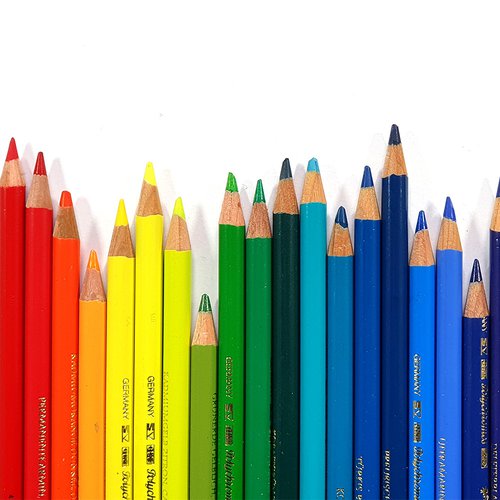
What are the best colored pencils to blend
The type of pencils can make a huge difference when it comes to blending. There are essentially two types of pencils: wax-based colored pencils and oil-based colored pencils. Oil-based pencils are generally harder and better for drawing details, but because they're rather hard it is more difficult to blend with them. Wax-based colored pencils, however, are very soft, so less effective for drawing small details, but they blend almost effortlessly. In the videos above I've used both wax-based and oil-based colored pencils. It's not at all impossible to blend oil-based colored pencils, but it takes just a bit more patience than blending wax-based colored pencils.
Here's a list of all the best blending colored pencils.
Tags
Articles You Might Also Like

I love bringing cars to life with alcohol markers and colored pencils.
Whether you're just starting out or looking to improve your skills, I'm here to help!
Click here to learn more about me.


Add a comment
Comments
I learned to use the "magic marker"/colored pencil technique in architectural rendering class at college in the mid 60's. Your discussion of the different techniques is most interesting to me and provides some opportunities to try some new stuff. Who says you can't teach an old dog new tricks! Great job! I hope you get those cars. I'll stick with my hot rods. Thanks.
love it