7 Tips for Achieving Smooth and Streak-Free Colored Pencil Drawings
When I started out with colored pencils (10 years ago) I found it sooo difficult to create a smooth and streak-free finish on my drawings...
Since then I learned so much about how to actually achieve this, and in this article, I will share everything I learned about it with you.
How Do You Get a Smooth Finish with Colored Pencils?
1. Use Quality Colored Pencils
You know what they say: "You're only as good as your tools." To create that smooth, buttery finish, you need to start with high-quality colored pencils. They'll have more consistent pigment, blend better, and make your life as an artist a whole lot easier.
When shopping for colored pencils, keep an eye out for these qualities:
- Rich, vibrant colors
- Consistent pigment distribution
- Strong, break-resistant cores
- Smooth laydown and easy blending
I've tried my fair share of colored pencils, and I recommend checking out these top-quality brands to level up your artwork.
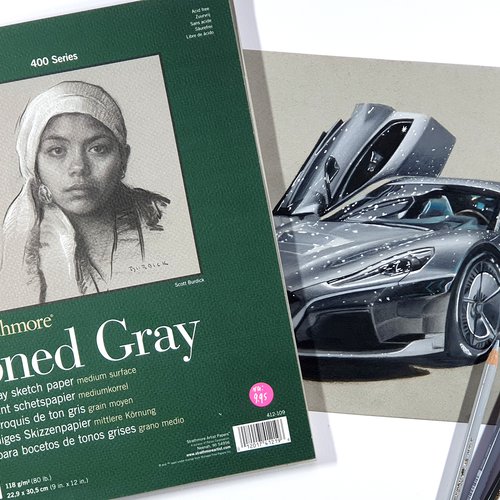
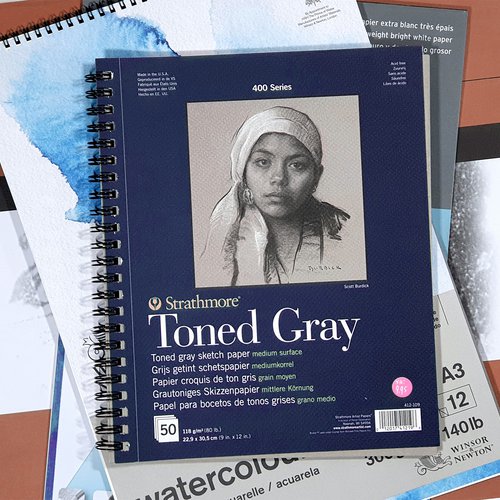
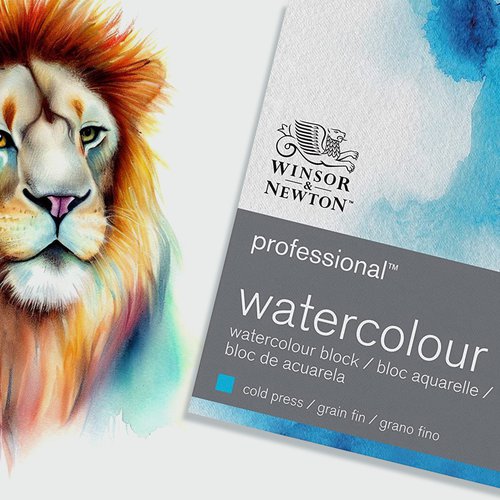
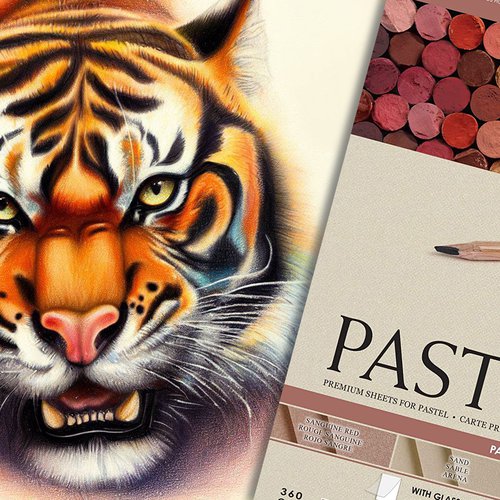
2. Choose the Right Paper
The paper you choose can make or break your smooth finish. Different papers interact with colored pencils in unique ways, so it's crucial to find the right match for your artwork.
When selecting paper, consider the following characteristics:
- Weight: Heavier paper can handle more layers and blend without tearing.
- Texture: A slightly textured surface can help grip the colored pencil pigment.
- Acid-free: Acid-free paper ensures your artwork will stand the test of time.
There's a wide variety of paper options that work well with colored pencils. Experiment with a few different types to find the one that best suits your style. For some suggestions, check out this list of my favorite brands of paper for colored pencils.
The paper's tooth (its texture) plays a crucial role in achieving a smooth finish. A medium tooth will grip the pigment well while still allowing for smooth blending and layering.
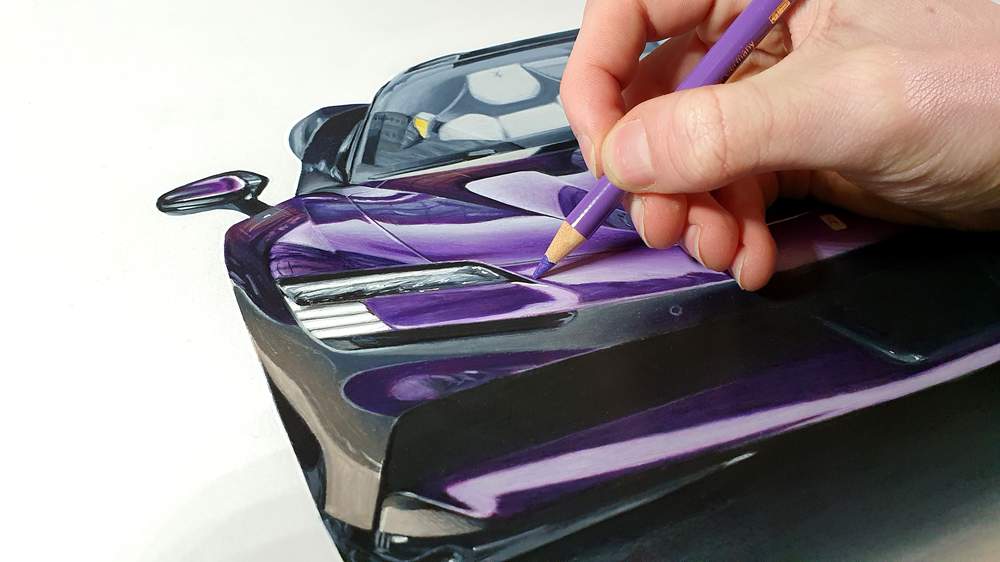
3. Use Circular Strokes
Circular strokes are a game-changer when it comes to preventing streaks and achieving a smooth, even texture in your coloring. By using circular motions, you'll avoid creating any harsh lines or noticeable streaks that can occur with other stroke techniques, like back-and-forth or diagonal strokes.
How to Master Circular Strokes:
Position your hand correctly: Hold the pencil near the back, allowing for a more fluid motion. This will give you better control over the circular strokes.
Move your hand in a circular motion: Gently move your hand in a circular motion as you apply color, making sure to keep consistent pressure.
Using circular strokes might take some getting used to, but I promise you that once you've mastered this technique, you'll see a noticeable improvement in the smoothness of your coloring.
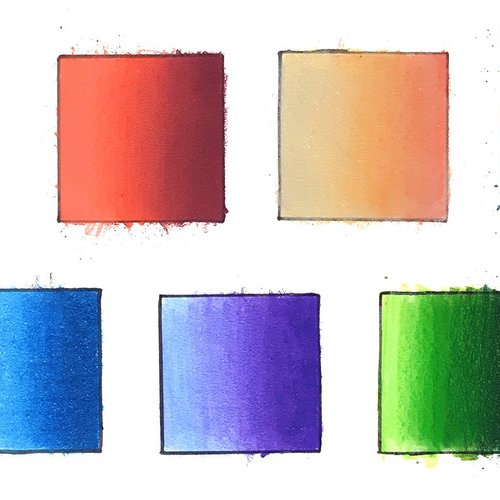
4. Layering
Layering is an essential technique for colored pencil artists. By building up multiple layers of color, you can create a smooth, even look and add depth to your artwork.
To layer effectively, follow these tips:
- Select colors that work well together for a harmonious result.
- Start with light pressure and gradually build up to avoid overworking the paper.
- Apply colors in circular or crosshatching motions to minimize visible lines.
To prevent visible lines, use a light touch and consistent pressure. Be patient and build up the color gradually to create a seamless, smooth finish.
I also made a more comprehensive list of colored pencil techniques for you to check out.
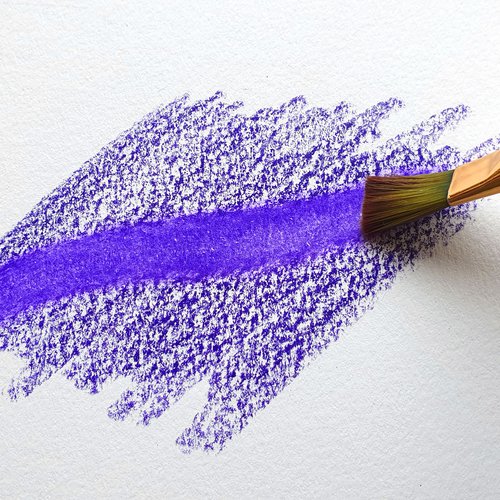
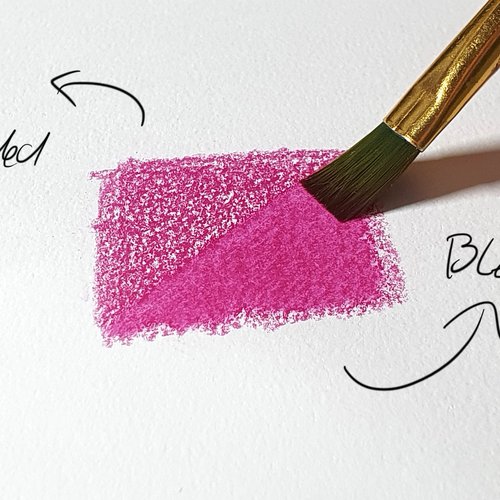
5. Blending
Blending is another essential technique that helps smooth out colors and create gradual transitions in your artwork. It can be achieved using various tools and methods, each offering a unique effect.
Some popular blending techniques include:
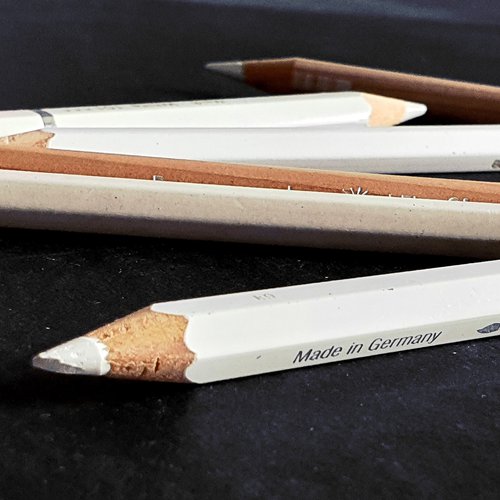
- Colorless blender: Colorless blenders are colored pencils without any color and to blend and smooth out the colors you use them to draw over your colored pencils.
- Solvents: Solvents like odorless mineral spirits can break down the pigment, allowing for easier blending.
- Blending stump or tortillon: These paper-based tools can be rubbed gently over your colored pencil layers to blend and smooth out colors.
When blending, keep these tips in mind:
- Work slowly and gently to avoid smudging the surrounding areas.
- Clean your blending tool frequently to prevent color transfer.
- Experiment with different blending techniques to find the one that works best for you.
Check out this article about different blending techniques if you want to know more.
6. Burnishing
Burnishing is the process of applying heavy pressure to your colored pencil layers, creating a smooth, shiny surface. It's a fantastic technique for giving your artwork that polished, professional look. I use this technique all the time to get a super smooth finish.
To burnish effectively, follow these tips:
- Use a colorless blender pencil or a burnishing tool to apply firm pressure over your colored pencil layers.
- Work in small sections and use consistent pressure to avoid overworking the paper.
- Experiment with different burnishing tools to find the one that works best for you.
In this article about different blending techniques, I also talk about how burnishing works. And I also made a more in-depth article on how to burnish with colored pencils. So make sure to check those out if you'd like to know more.
7. Use a Light Touch
Using a light touch when applying colored pencil layers is essential for preventing visible lines and achieving a smooth finish. It also allows for easier blending and layering.
To use a light touch effectively:
- Maintain consistent, gentle pressure when applying colored pencil strokes.
- Keep your pencil sharp for precise application.
- Experiment with different pencil grips and hand positioning to find the most comfortable and controlled method. You generally have more control when you hold your pencils toward the end.
To prevent visible pencil strokes, use a combination of a light touch, circular or crosshatching motions, and careful layering. Patience and practice will help you achieve a seamless finish.
Tags
Articles You Might Also Like
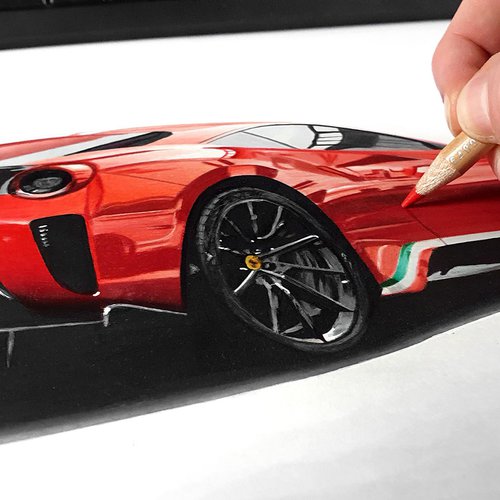
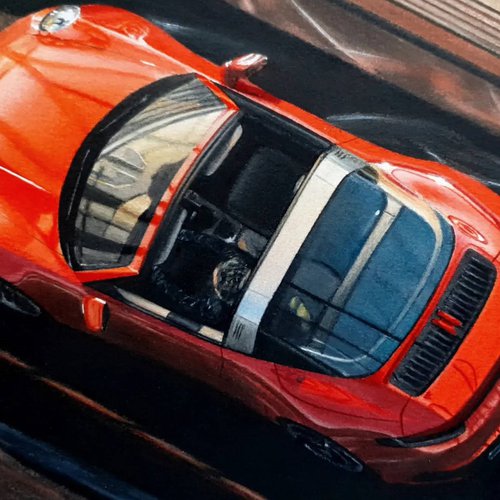
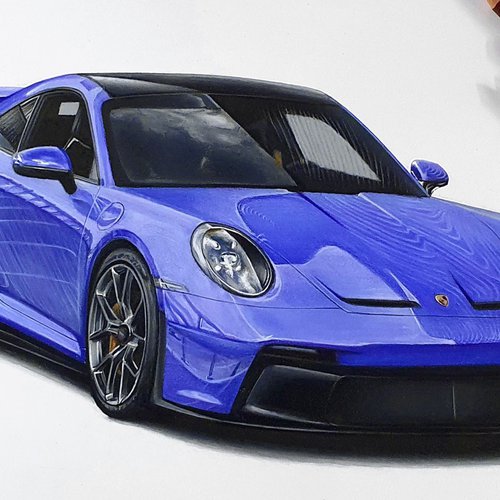
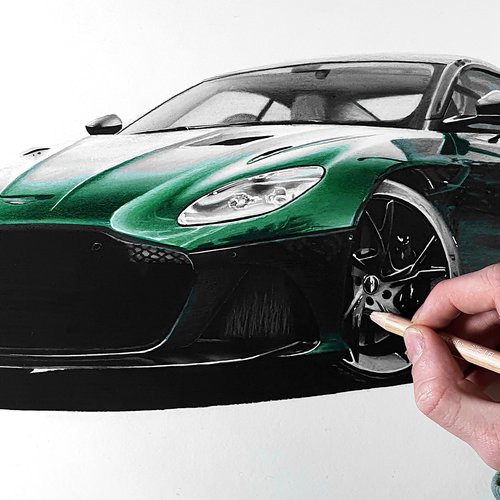

I love bringing cars to life with alcohol markers and colored pencils.
Whether you're just starting out or looking to improve your skills, I'm here to help!
Click here to learn more about me.


Be the first to comment!
Comments
There are no comments yet.