12 Colored Pencil Drawing Techniques You Should Try in 2025
There are so many things you can do with colored pencils and there are lots of techniques to create different effects and textures.
In this article, I listed 12 techniques you should try. Some basic techniques, but also techniques that totally change the way I use colored pencils like scraping off the pigment and then applying that with a blending stump.
So keep on reading to find out all of the colored pencil techniques!
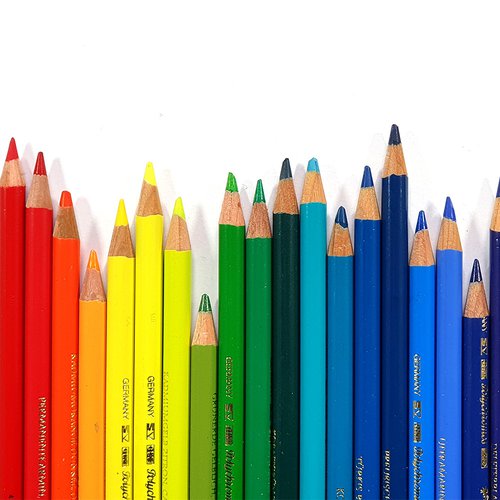
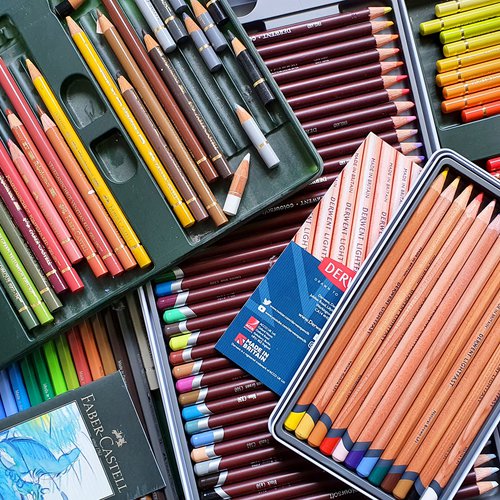
If you're looking for the perfect set of colored pencils to add to your art supplies, check out this article listing my favorite brands. And if you want a more in-depth view of how to use colored pencils, check out this article.
What Colored Pencil Techniques Can You Use?
1. Back and Forth
Back and forth is probably the most well-known colored pencil technique. For most people, this is the default technique and I almost always use it when I need to color an area. You just put your pencil on the paper and start moving back and forth as the name suggests.
You can create lighter colors by pressing lighter or leaving more white space between each line.
To create a darker color you can draw the lines very closely together or press harder.
This technique is also very useful for creating evenly colored areas. By holding the pencil more towards the end and leaving no gaps between the lines you can easily draw evenly.
You can find more tips and techniques for creating a streakless and smooth finish here.

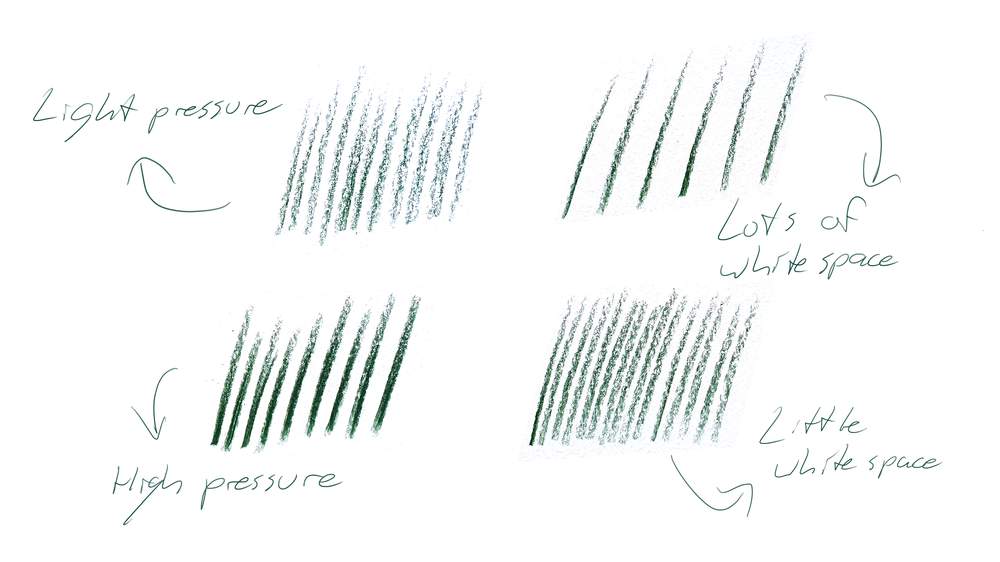
2. Hatching
Hatching is probably a technique you might have heard of before. To hatch you draw parallel strokes next to each other drawn in one direction.
To create lighter shades you can again leave more white space between the lines or you can press lighter.
To get darker tones you can press harder or leave less white space between the lines.
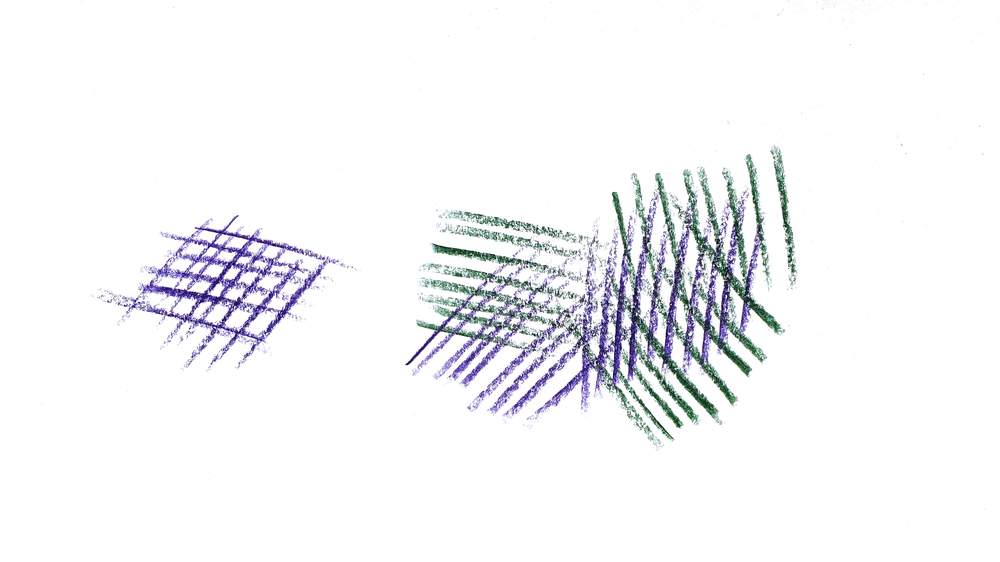
There are actually more than just this hatching technique. You can also cross hatch or formative hatch.
Cross-Hatching
The basics are the same as regular hatching, but instead of only drawing lines parallel in one direction you overlap parallel lines in multiple directions.
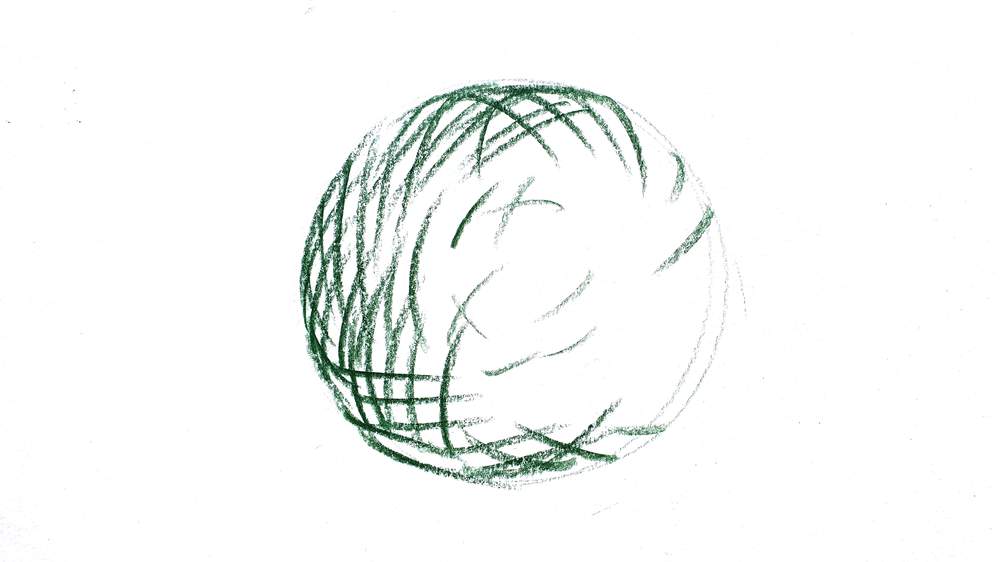
Formative Hatching
Formative hatching takes into account the contour/3d shapes of the things you're drawing. So instead of only drawing straight lines you draw lines that follow the form of the shape.
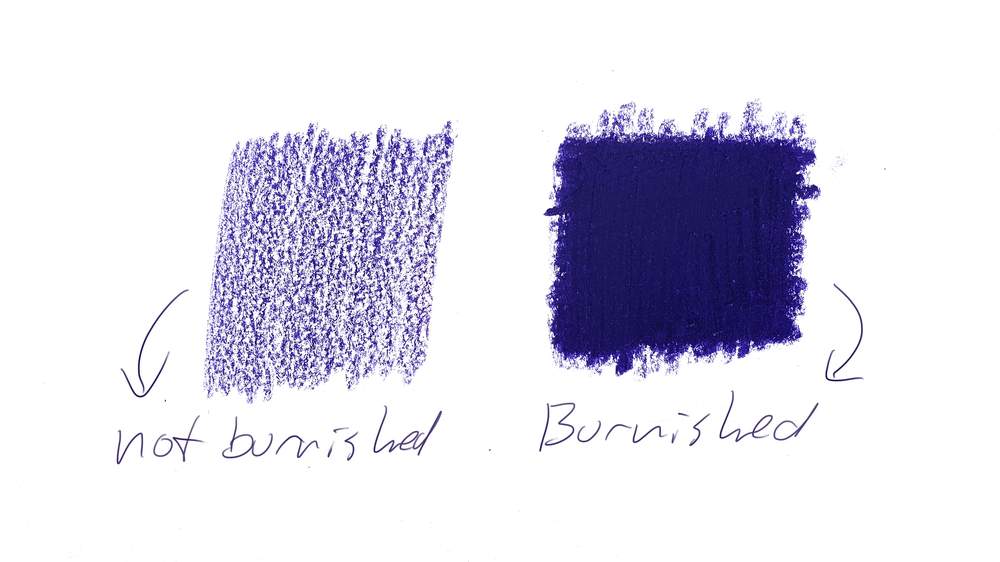
3. Burnishing
Burnishing is a technique to fill in every white spot on the paper by pressing hard. This will damage the tooth of the paper making it more difficult to layer more layers of colored pencils on top. So be sure when you use this technique you don't need to add more layers.
Instead of pressing hard, you can also layer lots of layers on top of each other to fill in every white spot. By using lots of layers and pressing less hard you are less likely to hurt your wrist when burnishing.
There are multiple techniques of burnishing. You can read more about them in this article I wrote called How to blend colored pencils (7 techniques). I also wrote a more in-depth guide on how to burnish.
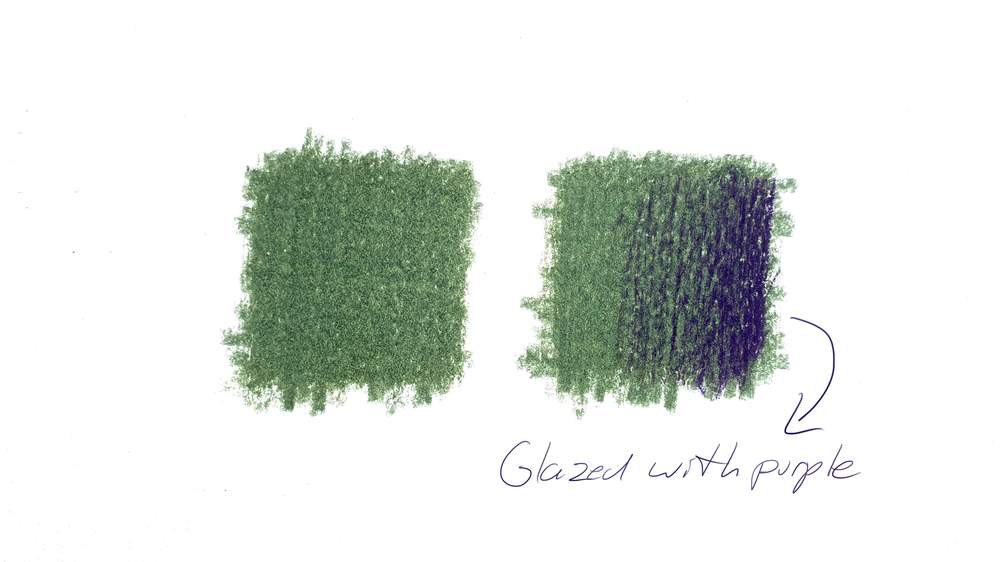
4. Glazing
Glazing is an excellent technique for color corrections or changing the color temperature. To glaze you just lightly draw over a burnished layer of colored pencils. As the layer you're drawing onto is already fully burnished the pencils won't give off much pigment, but it's more than enough to make some color corrections and temperature corrections.
This technique works best with soft wax-based pencils as they give off their pigment a lot easier than harder oil-based colored pencils.
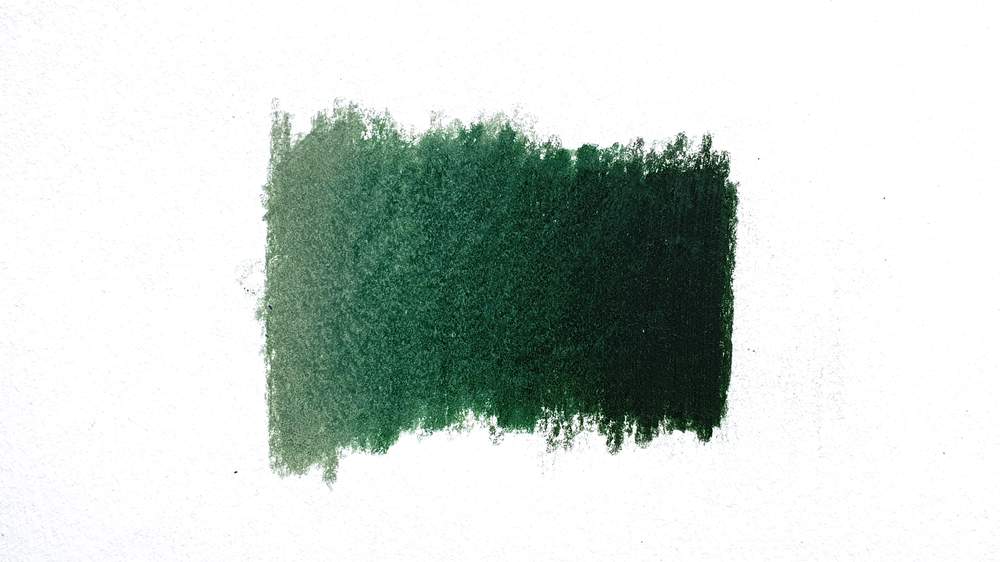
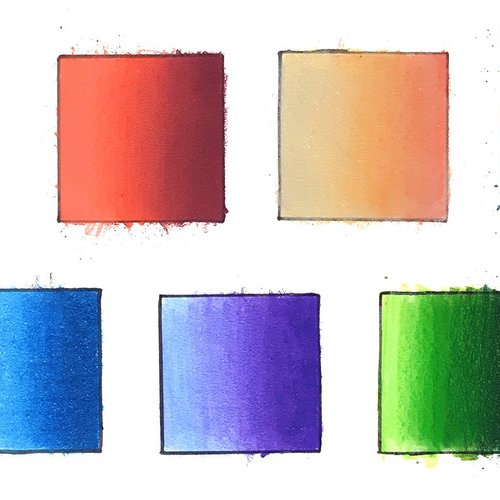
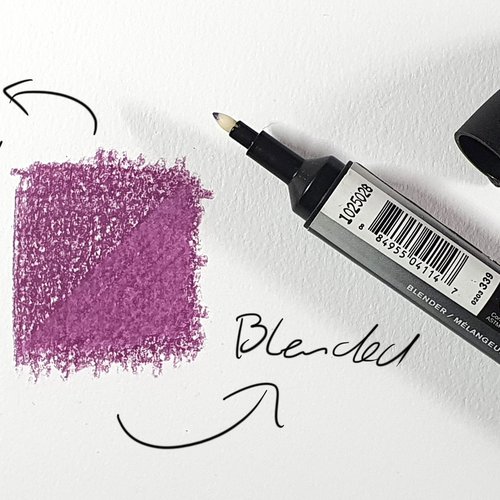
5. Blending
Blending is a technique to draw color transitions. And there are lots of ways to blend with colored pencils. An often-used method is layering where you overlap lots of layers of different colored pencils to draw a gradient.
I have made a more detailed blog article about this called How to blend colored pencils (7 techniques). In this article, I explain the different techniques you can use and how to use them.
However, not all colored pencil brands are as easy to blend with. So to help you a bit I've made a list of the best blending colored pencils on the market.
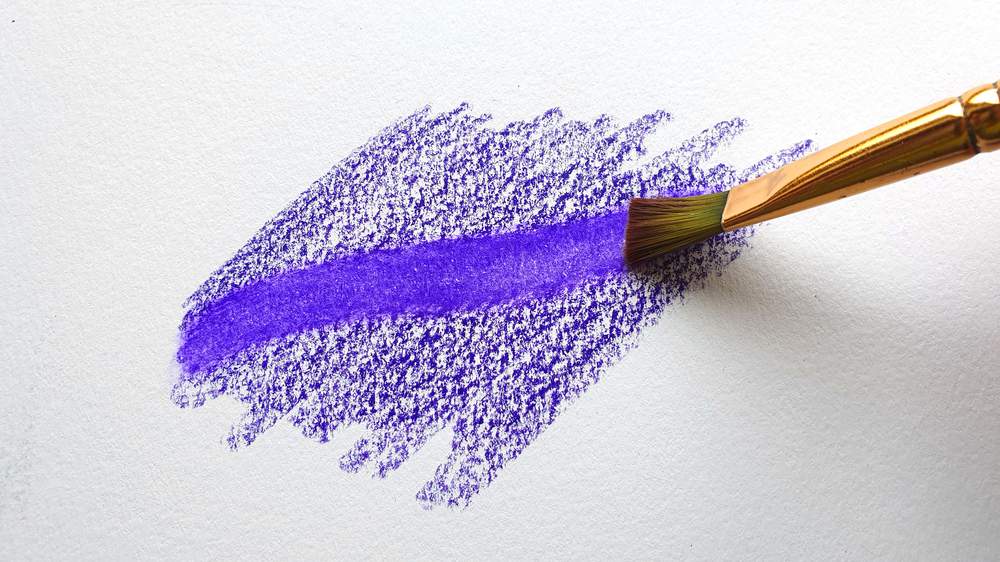
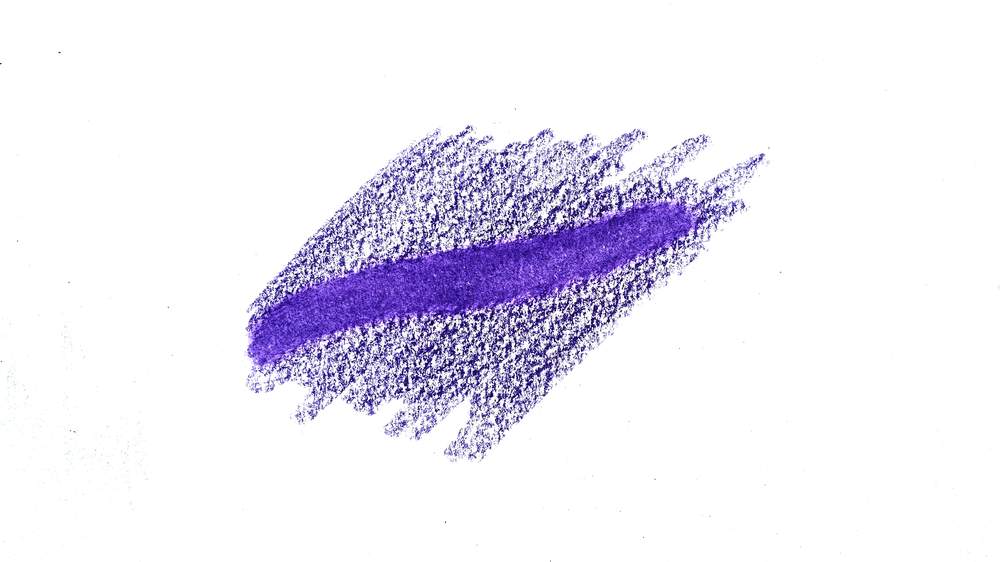
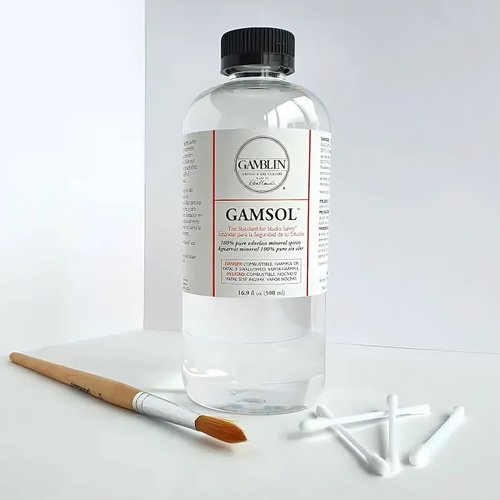
6. Solvent
This is one of my favorite techniques. Using a solvent can speed up your drawing process so much and it makes blending a lot easier. It also makes your colored pencil drawings look more paint-like.
A solvent is a medium that dissolves the binder in the pigment of colored pencils. This results in a more painterly drawing and it works more like watercolor pencils.
To use this technique you just layer some color onto the paper. Make sure you have enough pigment on the paper, otherwise it'll look spotty and uneven. once you have enough pigment down you grab a cotton swab, paper towel, or just a paintbrush and dip it into some paint thinner or another solvent. Then just go over your colored pencil drawing to smoothen everything out and get rid of all the white on the paper very quickly.
If you'd like to know more about this technique, make sure to check out my guide on how to use solvent to blend colored pencils.
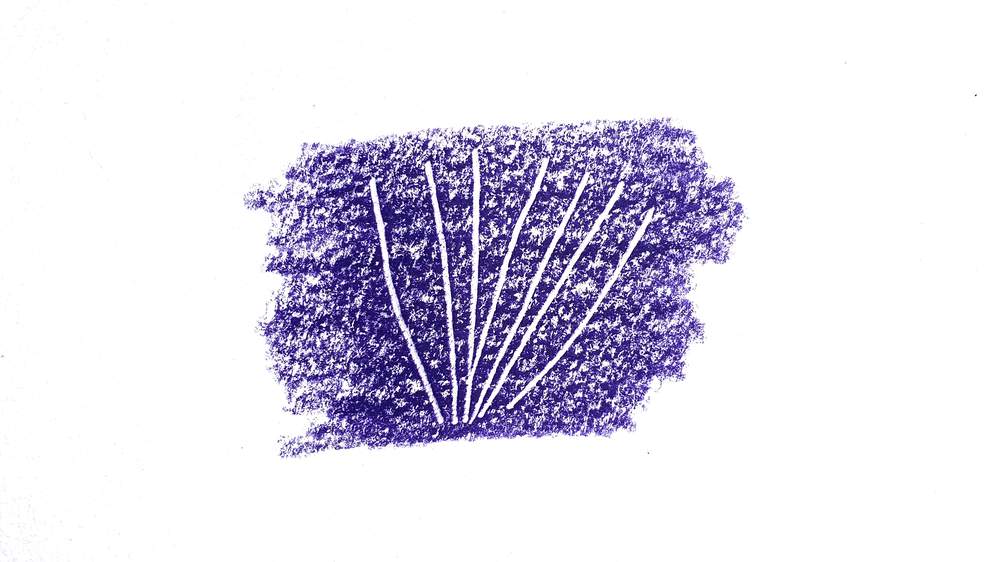
7. Embossing
Embossing is a very useful technique if you want to draw something with many tiny white spots or lines. You can easily preserve these white spots by indenting or embossing the paper with an empty ballpoint pen or an indenting tool.
This doesn't only work with white, you can also do it with other colors. You then just draw a layer with any color you want and after that, you indent the paper before layering another color on top.
8. Frottage
Frottage is just a fancy name for using an underlayer with some texture. When using something textured and placing a piece of paper on top of that you can easily and very quickly draw interesting textures. You can use wood, a piece of bark, cardboard, etc. Just anything with a texture.

9. Sgraffito
Another one of those fancy names. Sgraffito is a technique where you use an X-ACTO knife to scrape off the pigment from the paper. For example when you want to draw hear or any sort of fur you can, when you're done drawing, scrape bits of pigment to create tiny hairs.
For this technique to work you must use a white (or any color you want) underlayer, because when you carefully scrape off the pigment it'll reveal the layer underneath. When you've only drawn one layer it won't work very well.

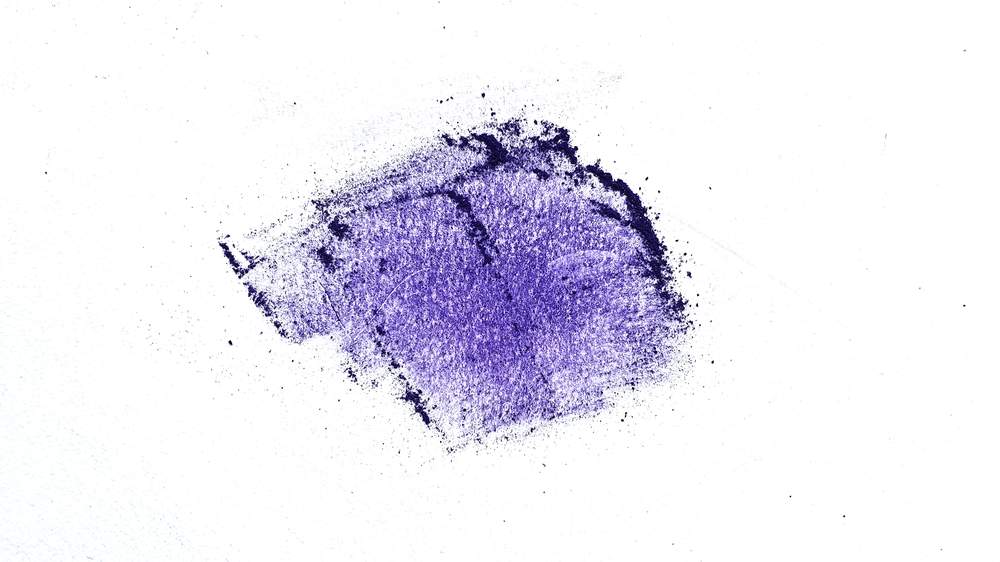
10. Sanding/scraping pigment/Grinding
This is an interesting technique and it works more like how pastels work. You can sand colored pencils to create a powder of the pigment and then apply it to your paper with a blending stump. You can also create a powder of the pigment by scraping it off with a knife.
By using a blending stump to apply the pigment to the paper you can create soft shapes and transitions. This technique is ideal for blurry backgrounds and quickly coloring larger areas.
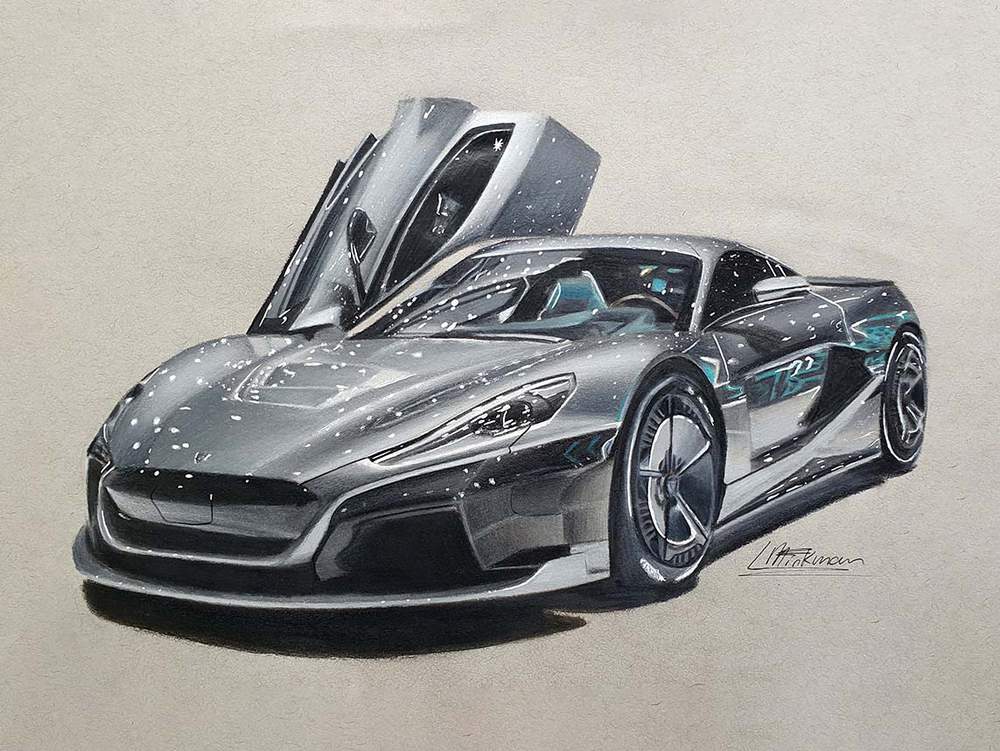
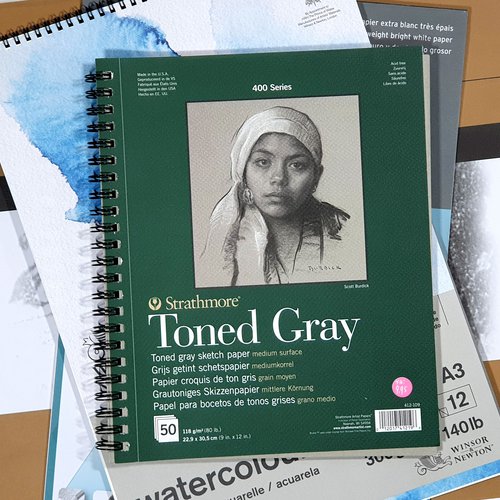
11. Toned and Black Paper
Drawing on toned or black paper can give your drawings a nice effect and you'll learn a lot about drawing light and dark.
By drawing on toned paper you suddenly can add highlights with white and other white colors and they will show up and stand out more than on white paper.
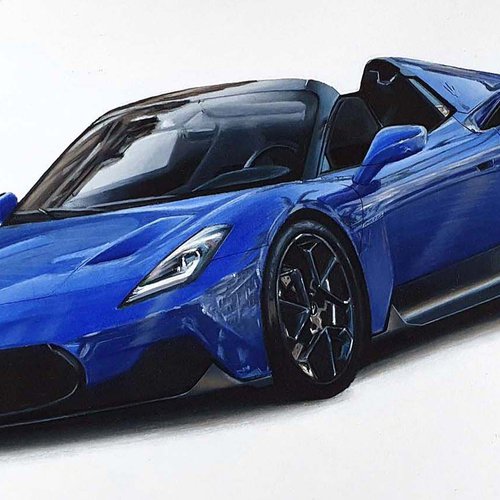
Grey-toned paper is great if you're drawing an object and want it to stand out from the background. For example, this car I drew stands out a lot more on grey-toned paper than it would have on regular white paper.
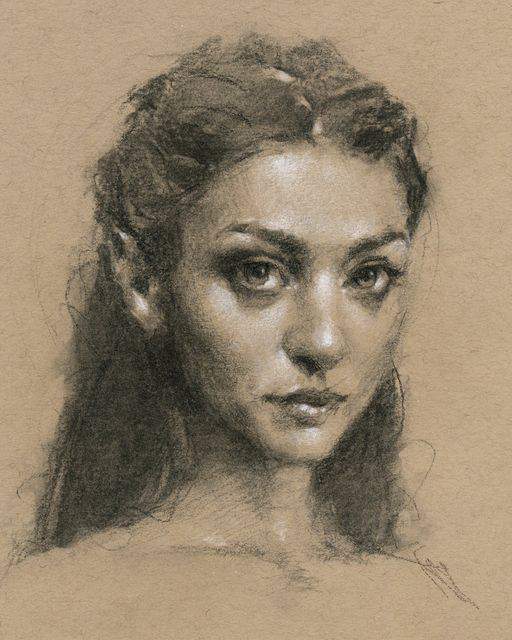
Toned tan paper is great for drawing portraits for example. With toned tan paper, the skin tone is already there, you only need to add in the darker tones and the highlights to create a face.
Drawing on black paper is kind of reverse drawing. Instead of drawing the darker values like you normally do on white paper, you draw the light. You'll learn a lot about how light reacts to different surfaces when drawing on this paper.

Not all colored pencils are suited for this technique. You'll need pencils that are very opaque like the Prismacolor Premier Soft Core or the Faber-Castell Black Edition colored pencils.
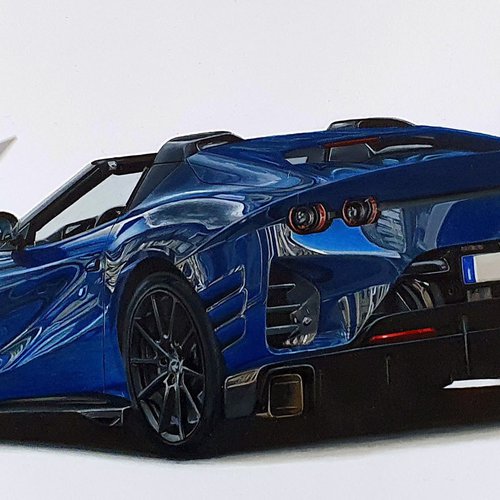
12. Highlight Burnishing
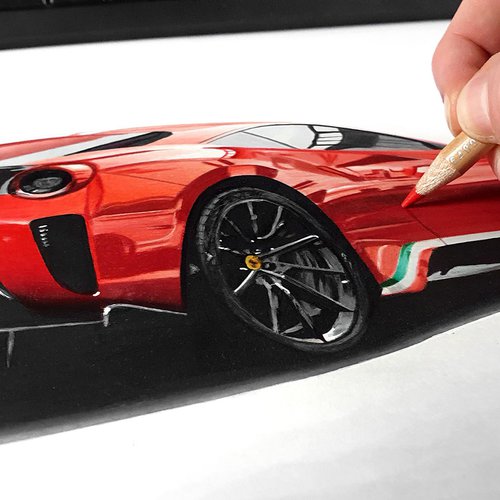
Highlight burnishing is adding lighter highlights on a darker color by pressing hard. I use this technique all the time when drawing cars.
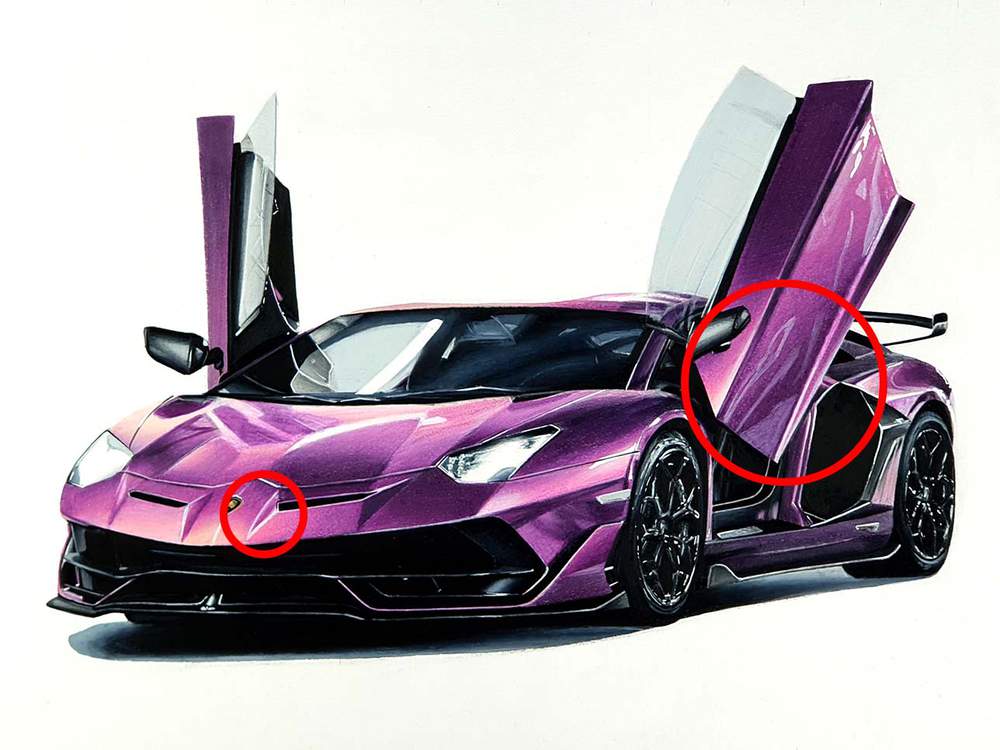
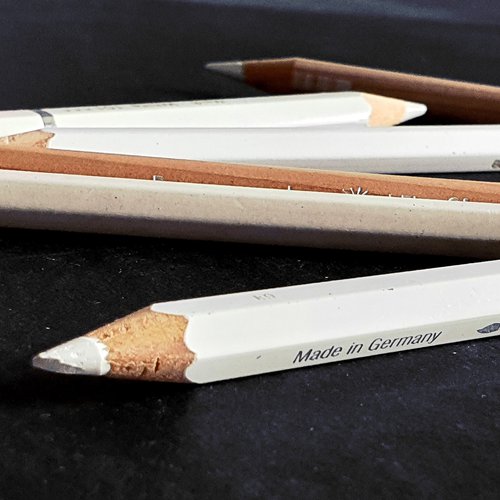
To highlight burnish you can use white as I often do, but you can do this with any color that is lighter than the color that's already on your paper.
For example, you can use red to highlight burnish on black, you can use pink on red, yellow on green, etc.
Not all pencils can do this, however. Most wax-based pencils and watercolor pencils work well for this technique. I mostly used the white Caran d'Ache Luminance and Supracolor. These work really well for adding highlights.
Tags
Articles You Might Also Like

I love bringing cars to life with alcohol markers and colored pencils.
Whether you're just starting out or looking to improve your skills, I'm here to help!
Click here to learn more about me.


Add a comment
Comments
Amazing pencil techniques. I will certainly apply them. Thanks,
Some great new techniques for me. Thank you!
Thank you. Lots of good techniques & ideas to improve the drawings. I plan to try them soon.
Thank you!
You are so talented! Thank you for helping me better my artwork :)
Thank you for the awesome ways to do colored pencils. I had know idea there were so many ways . I love your art work .
Nice tips 🙂🙃
Thank you, Luuk! i am working to improve my drawing skills and your information presented is in perfect format for me to get started! Bless you and your work!