How to Create a Smooth Gradient with Colored Pencils
Hey there, fellow artists! As an experienced colored pencil artist, I'm excited to share my tips and techniques for drawing beautiful, seamless gradients with colored pencils. This skill can elevate your art by adding depth and dimension, and with some dedication, you'll be able to perfect it in no time. So, let's jump right in!
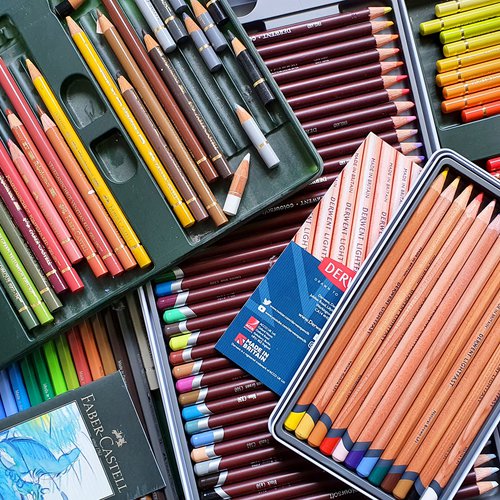
If you're interested in a list of the best colored pencils for drawing gradients, check out this article about the best colored pencils for blending.
How to Create a Smooth Gradient?
In this article, we'll go through the following steps to create a smooth gradient with colored pencils:
- Choosing your colors
- Starting your gradient
- Adding colors to your gradient
- Blending your gradient
- Repeating the process
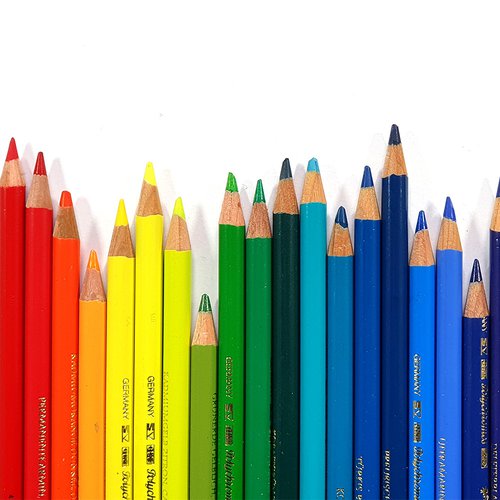
1. Choosing Your Colors
The first step in creating a smooth gradient is to choose your colors wisely. Pick colors that are close to each other on the color wheel or have a natural transition, like different shades of the same color. This will make it easier for you to blend them seamlessly.
Colors that blend well together will create a more harmonious and visually appealing gradient. This is especially important if you're trying to achieve a realistic look in your artwork.
Here are a few tips to help you select the perfect colors for your gradient:
- Choose colors from the same color family or colors that are next to each other on the color wheel.
- Test the colors on a scrap piece of paper before using them in your artwork to see how they blend together.
- Consider the type of colored pencils you're using. Some brands are more blendable than others, so it's essential to choose colors that will work well with your specific pencils.
2. Starting Your Gradient
To start your gradient, begin with the lightest color. This will serve as the base for your other colors and make it easier to build up layers and achieve a smooth transition.
Starting with a light layer is essential because it allows you to build up color gradually without creating harsh lines or over-saturating the paper. A light layer also makes it easier to blend and layer colors.
Here are some tips for applying the first layer:
- Use a sharp pencil to create an even layer of color.
- Apply light pressure and use small, circular motions to fill in the area.
- Work slowly and carefully, ensuring that the color is evenly distributed.
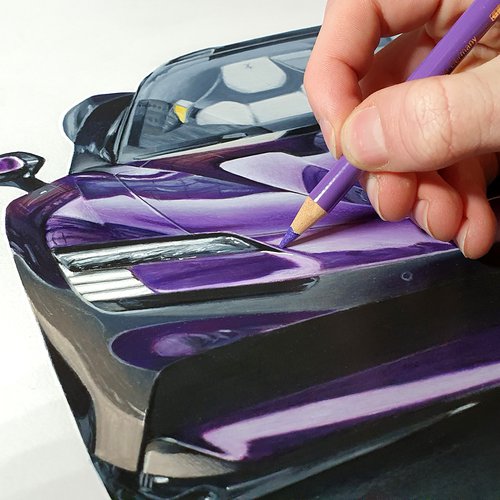
3. Adding Colors to Your Gradient
Once you've applied the lightest color, it's time to add the next color in your gradient. Begin by lightly layering the second color over the first, gradually increasing pressure as you move away from the initial color.
Increasing pressure gradually helps to create a smooth transition between the colors. The lighter pressure where the colors meet will allow for easier blending, while the increased pressure further away will create a more saturated and intense hue.
Here are a few tips for adding each color to the gradient:
- Start by applying the second color slightly over the edge of the first color to create a seamless blend.
- Use small, circular motions to build up the color gradually.
- As you move away from the first color, gradually increase pressure to achieve a more intense hue.
- Continue this process for each subsequent color in your gradient, making sure to overlap the previous color slightly to ensure a smooth transition.
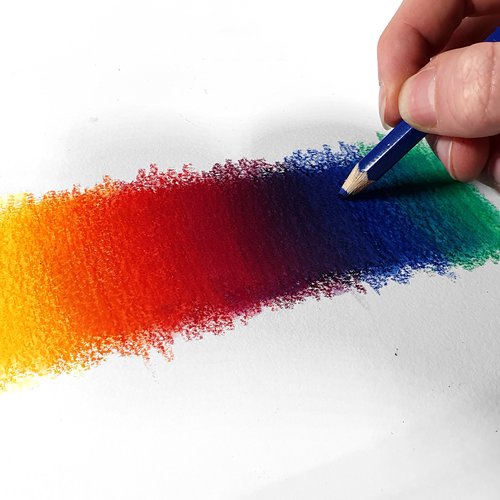
4. Blending Your Gradient
Blending is the key to creating a smooth gradient. To blend your colors, use small, circular motions and a light touch to merge the colors where they meet. This will create a seamless transition between the hues.
Using circular motions when blending colored pencils helps to create a more even and smooth blend. Circles help to distribute the color evenly across the paper and avoid harsh lines or streaks.
Here are some tips for blending the colors:
- Use a light touch when blending to avoid overworking the paper or creating a muddy appearance.
- Blend in the direction of the gradient, working from the lightest color to the darkest.
- Be patient and take your time to ensure a smooth and even blend.
5. Repeating the Process
As you work through your gradient, continue adding colors and blending them together. This process of layering and blending will create a smooth and visually appealing gradient.
Layering is crucial in creating a smooth gradient because it allows you to build up the intensity and saturation of the colors gradually. This results in a more controlled and seamless transition between hues.
Here are a few tips for repeating this process:
- Always start with the lightest color and work your way up to the darkest.
- Layer and blend colors gradually to achieve the desired intensity and saturation.
- Be patient and take your time to ensure a smooth and even gradient.
Useful Blending Tools for Colored Pencils
While it's possible to blend colored pencils without any additional tools, some tools can make the process easier and more efficient.
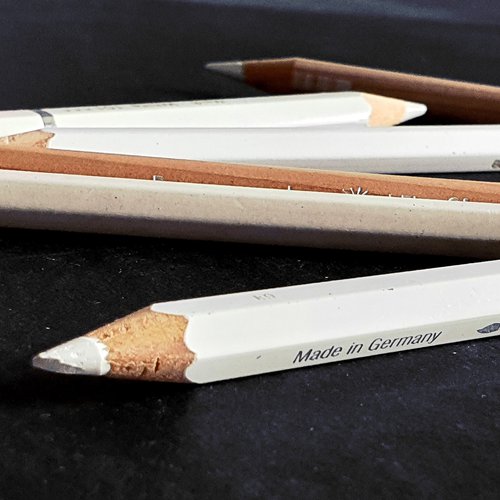
- Colorless Blender Pencil: A colorless blender pencil is designed to help blend colored pencil layers without adding any color. This can be especially useful for achieving a smooth gradient.
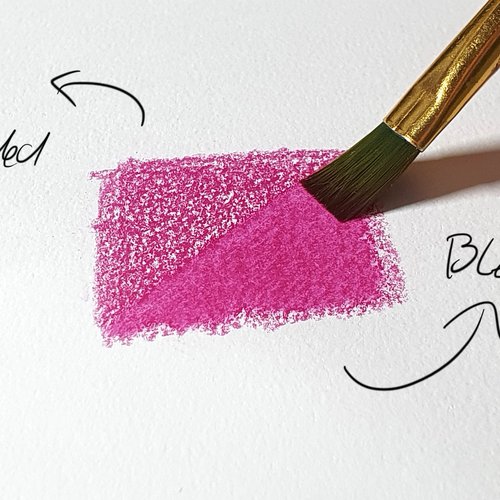
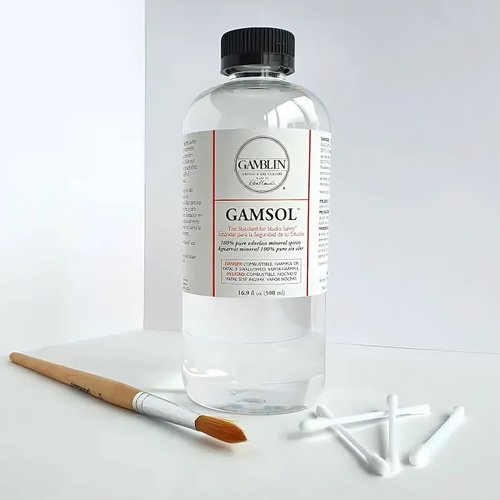
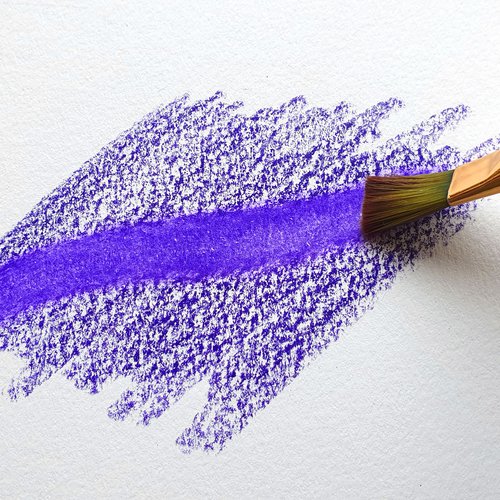
- Solvent: Solvents, like odorless mineral spirits or Zest-it Pencil Blend, can be used to break down the binder in colored pencils, making it easier to blend the pigments together. Use a small brush to apply the solvent to your colored pencil layers and watch as the colors seamlessly blend.
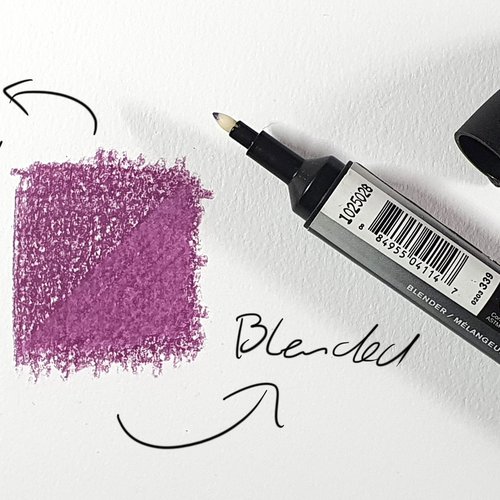
- Colorless Alcohol Marker: A colorless alcohol marker can also be used as a blending tool for colored pencils. The alcohol in the marker helps to break down the binder and blend the colors together. Gently apply the colorless marker over your colored pencil layers and watch the colors merge smoothly.
You can find the full list of blending tools for colored pencils here.
What is a Gradient?
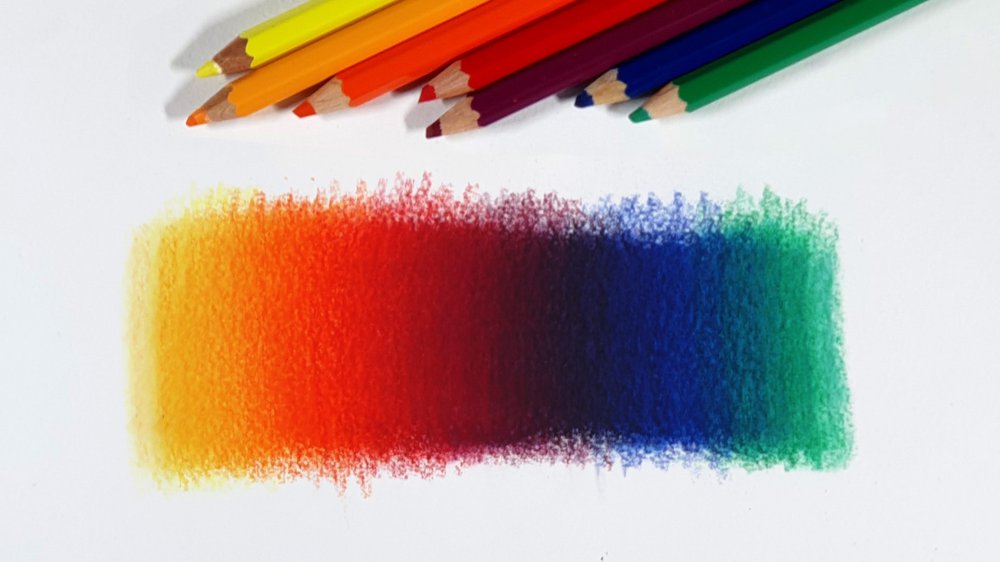
A gradient is a gradual transition between two or more colors. You've likely seen gradients used in digital art or graphic design, but they can also be achieved with traditional mediums like colored pencils. The key is to blend the colors seamlessly, creating a smooth and visually pleasing transition.
Why is it Important to Learn?
Knowing how to create a smooth gradient with colored pencils is an essential skill for any artist. Gradients can add depth, dimension, and realism to your work, making it more eye-catching and engaging. Plus, mastering this technique will also help you become more proficient in blending and layering colors, which are crucial for creating detailed and lifelike drawings.
Articles You Might Also Like
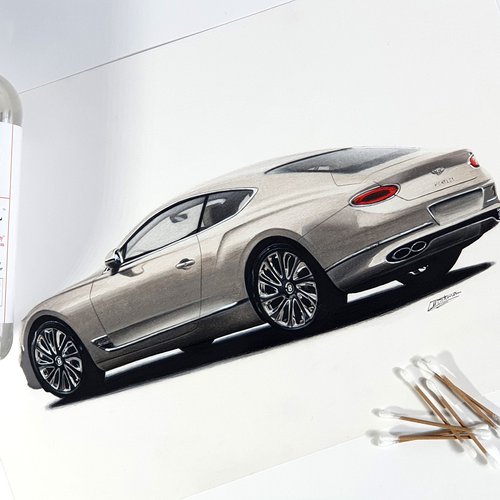
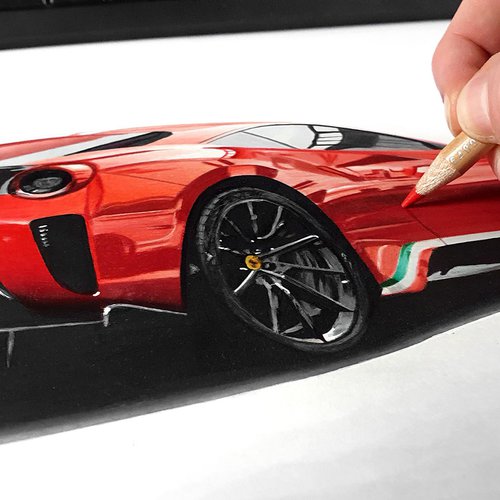
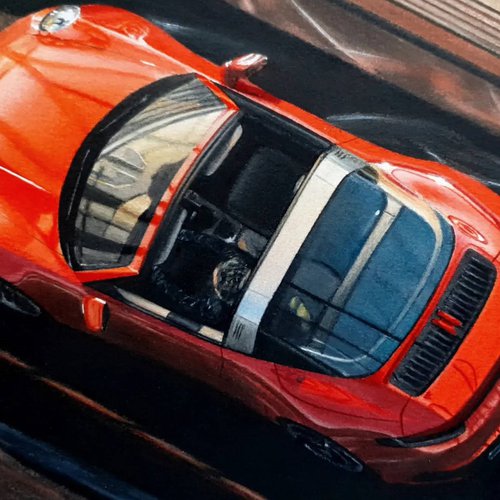

I love bringing cars to life with alcohol markers and colored pencils.
Whether you're just starting out or looking to improve your skills, I'm here to help!
Click here to learn more about me.


Add a comment
Comments
Thank you so much for writing this.Ive learned quite a bit here.