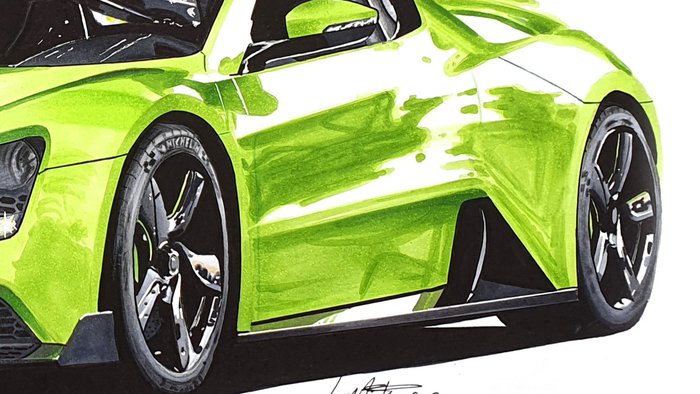
Zenvo TS1 GT in Lime Green

This drawing is my favorite alcohol marker drawing I have made.
The color, the blending, the details, the precision, the dedication.
I love everything about it.
And it's definitely a milestone for me in my drawing journey.
The Materials I Used for this Drawing
I used 4 green Copic Sketch markers that I especially bought for this drawing.
I
remember looking at all the green Copic markers to figure out which ones
combined well and were closest to the color of the car. Luckily Copics are available in plenty of colors, so I quickly found the ones I thought would work best.
I also used Graph'it alcohol markers, a Stabilo fine liner in black to outline all black parts, a Stabilo marker in black to create really deep blacks and a Sakura Gelly Roll for the bright white highlights.
And I made the drawing on Canson Bristol 250GSM paper.
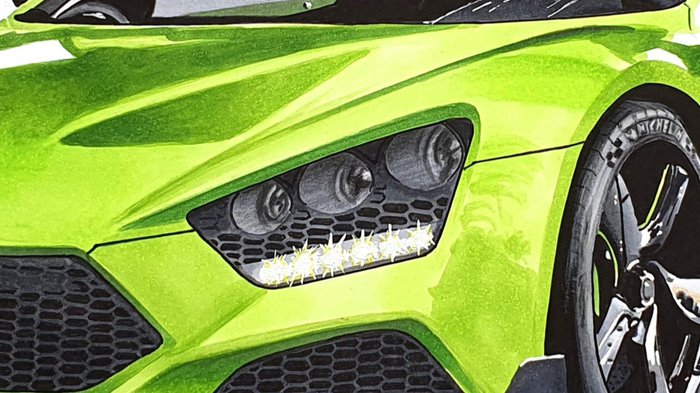
The Reference Photo I Used
I was scrolling through a Flickr Album full of supercar photos and stumbled on this photo of a Zenvo TS1 GT in Lime Green and it really spoke to me. It looks so good, especially in this lime green color!
I always liked the distinguished design of Zenvo's and this color and model were perfect. And I hadn't seen anyone else draw a
Zenvo before I made mine.
So I decided to make a drawing of it.
The Drawing Process
Once I had made the sketch I started outlining the black parts with the fine liner which made it easier to color those parts in with the black alcohol marker without bleeding too much.
Then I colored all other parts that weren't the green body color, so the wheels, the grill, the headlights, the splitter, the side skirt and intake, and the interior.
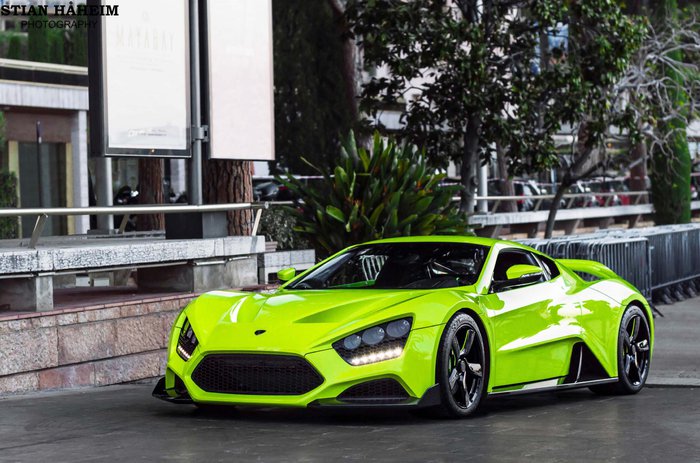
Coloring the Grills
The grill took the most time as they are very detailed and required my full focus. They also ended up taking the most time by far as I wanted it to be as detailed as I could which meant that I needed to draw every single hexagon in there.
I first colored the whole grill with a dark grey marker and then I colored every little hexagon black with the fine liner. And it turned out really well I have to say.
I remember when I drew the next car (also a Zenvo TS1 GT) I
didn't put in the effort to draw those tiny details because they took sooo
much work in this drawing...
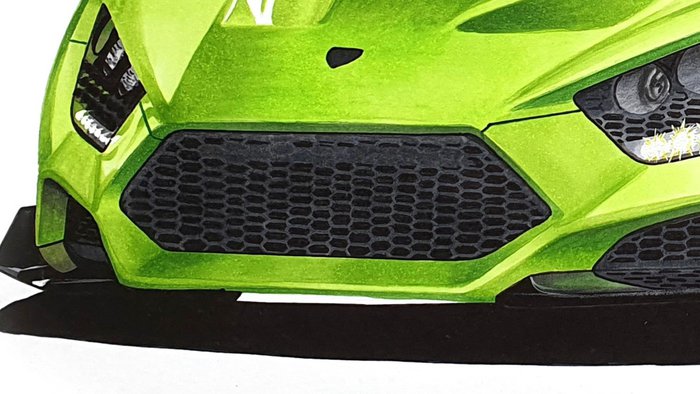
Coloring the Wheels
And then came the wheels, which were also kind of difficult as they also had a
ton of tiny details and they were very reflective and shiny.
So as I usually do, I first colored every black part in the wheels as wheels often contain a lot of plain black. When you color all those black parts first the wheels become a lot less overwhelming.
Then I started with the lightest color and build up from there to
the darkest color. This gave me a chance to sort of plan it a bit while
drawing.
First, I drew everything that's at least light grey with
the light grey marker and for the next color, I colored everything medium
grey that was supposed to be medium grey, leaving the bits that are actually light grey
uncolored this time and so one until the were fully colored.
I did find it difficult to reserve a very narrow green line on the side of each of the 2 spokes. But I did manage to make it work.
Once I had colored the whole wheels with markers, I then added tiny reflections with the fine liner and I added some warmth to some areas with a light warm toned grey marker.
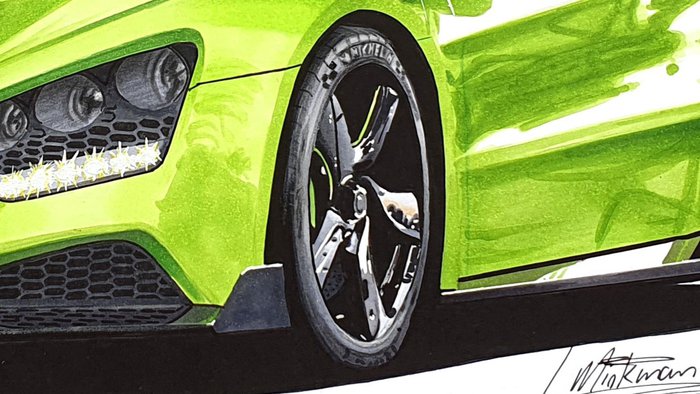
Coloring the Headlights
Next up were the headlights. The headlights might be my favorite
feature of this drawing.
These were also very detailed and they even contained a grill with those hexagons again. I tried to be as precise as possible and that really paid off.
The headlights also contained a row of brightly little lamps on the bottom. I added the white light with a white gel pen when the headlights were fully colored with markers.
Coloring the Body
Once I had colored all black parts as I like to call them, I continued with the body of the car. I worked from the front to the back.
I started by coloring the whole front with the lightest green and worked my way up to the darkest one and I blended in between each layer by going over the edges with the lighter marker.
To blend I also used a feathering motion with the brush nibs of the Copic markers to blend. Using this technique you can create smoother color transitions.
And then I continued doing this for the rest of the car too.
I Made a Mistake while Coloring...
One mistake I made was when I was drawing the reflections on the side of the car.
I first colored everything with the lighter green and then immediately added the reflections with the darker green, but because I didn't wait the reflections blended together with the lighter green a bit resulting in this slightly faded look...
But I wanted them to be sharp and clean and now they are a bit blurry and slightly muddy.
It is what it is...
I did try to fix it, but that only made it look darker and less detailed...
Making this Drawing Made Me really like Zenvo's
Once I had made this drawing, the brand started to really grow on me and it's become one of my favorite car manufacturers right now. Of course, when I have the money, I would love to own one one day. Especially in this very car I drew.
Making this drawing made me really like the Zenvo TS1 GT and appreciate its details.
When
drawing cars you need to look at every single detail of them to fully
capture them and this car is full of tiny details that make the car
look amazing.
Maybe I should draw another Zenvo one day?

